Brakes - The Final Frontier
....to roadworthiness
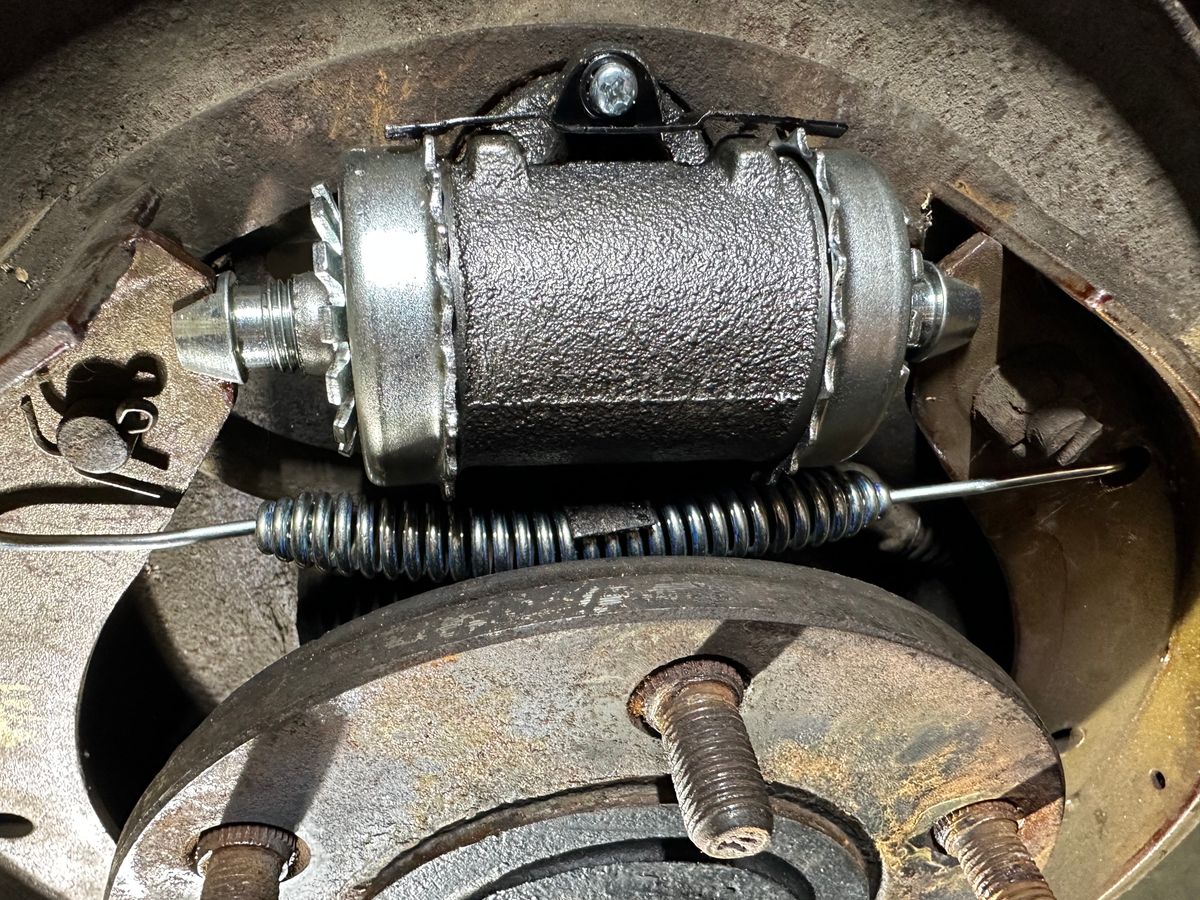
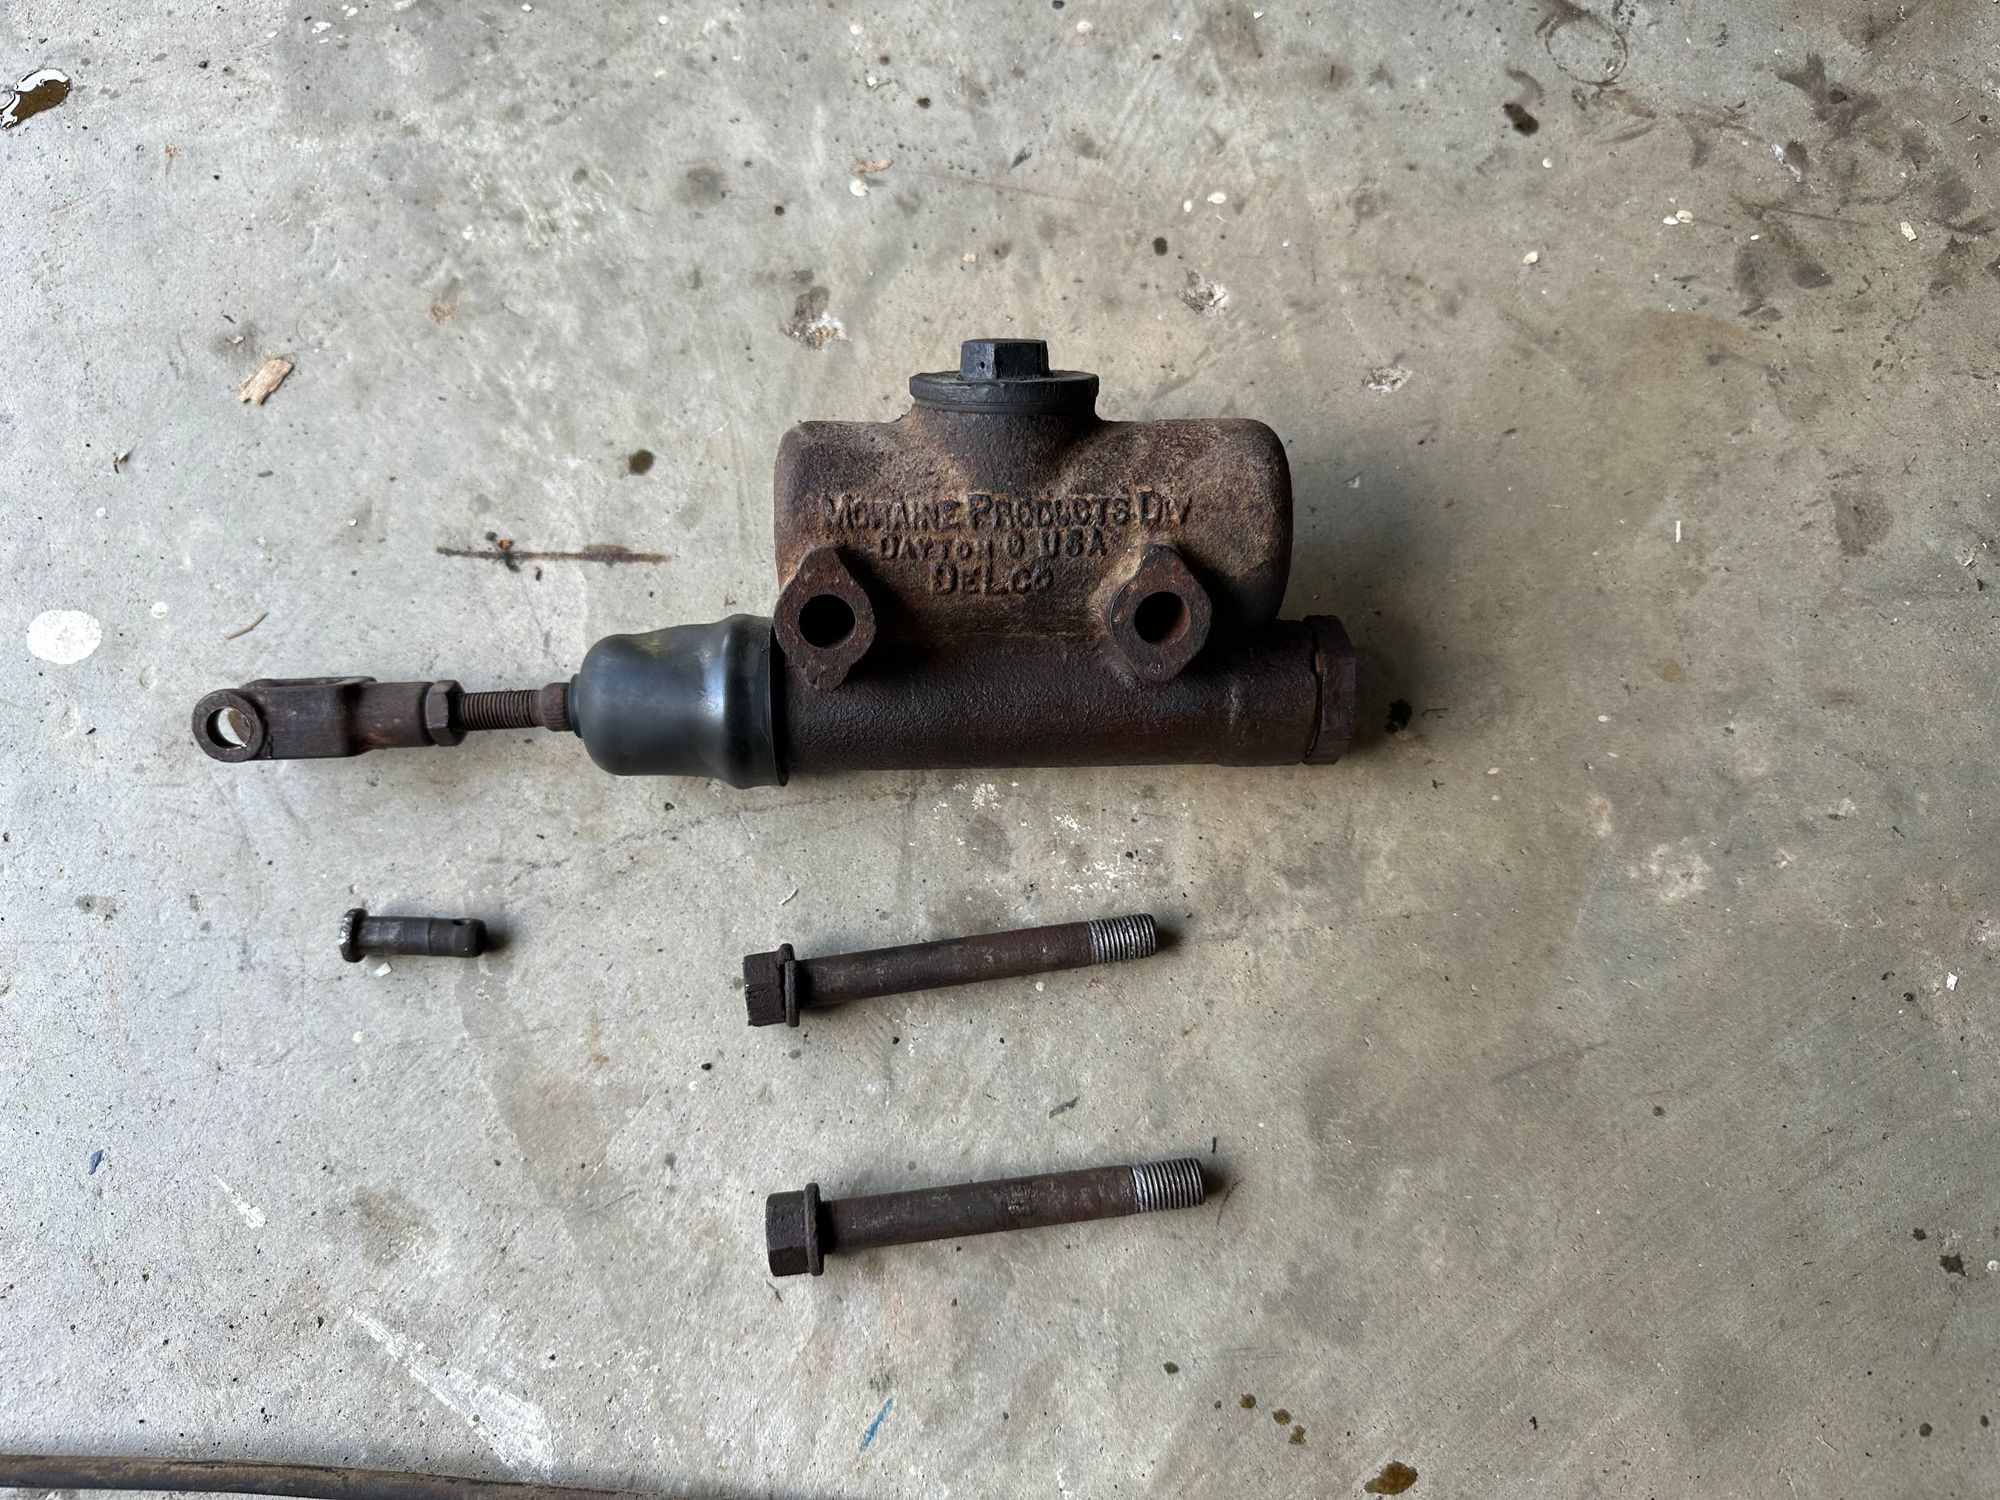
I got Dad's truck running back toward the end of May. If you'd like to see that part of the journey, there is a YouTube video here. Once I got the truck in running condition, I had every intention on just replacing the wheel cylinders and the master cylinder and jumping in for a spin. Sounds easy right?
A vehicle of this vintage is generally VERY easy to work on, especially in contrast to the other vehicles I regularly wrench on....a 2002 Volkswagen Jetta GLI, a Ford F-250 Super Duty Powerstroke Diesel, and a 2006 Nissan Pathfinder that is affectionally known as "Snow White." Everything on Dad's truck is front and center; there is generally little to no disassembly of ancillary parts to get to the item you are addressing. There is so much room under the hood of this truck that I could climb into the engine bay and shut the hood....and I'm six foot three and tip @ 225 lbs. I could only do this on our other vehicles if I were dead, cremated, and you scattered my ashes in the engine bay.
Despite the fact that there is great, easy access to most of the major components, this is still a 73 year old truck as of this writing. Metal fatigue is a thing, as my grandfather Aubry used to remind me of (he was a WWII B-17 and B-24 pilot and would know). This was the first challenge.
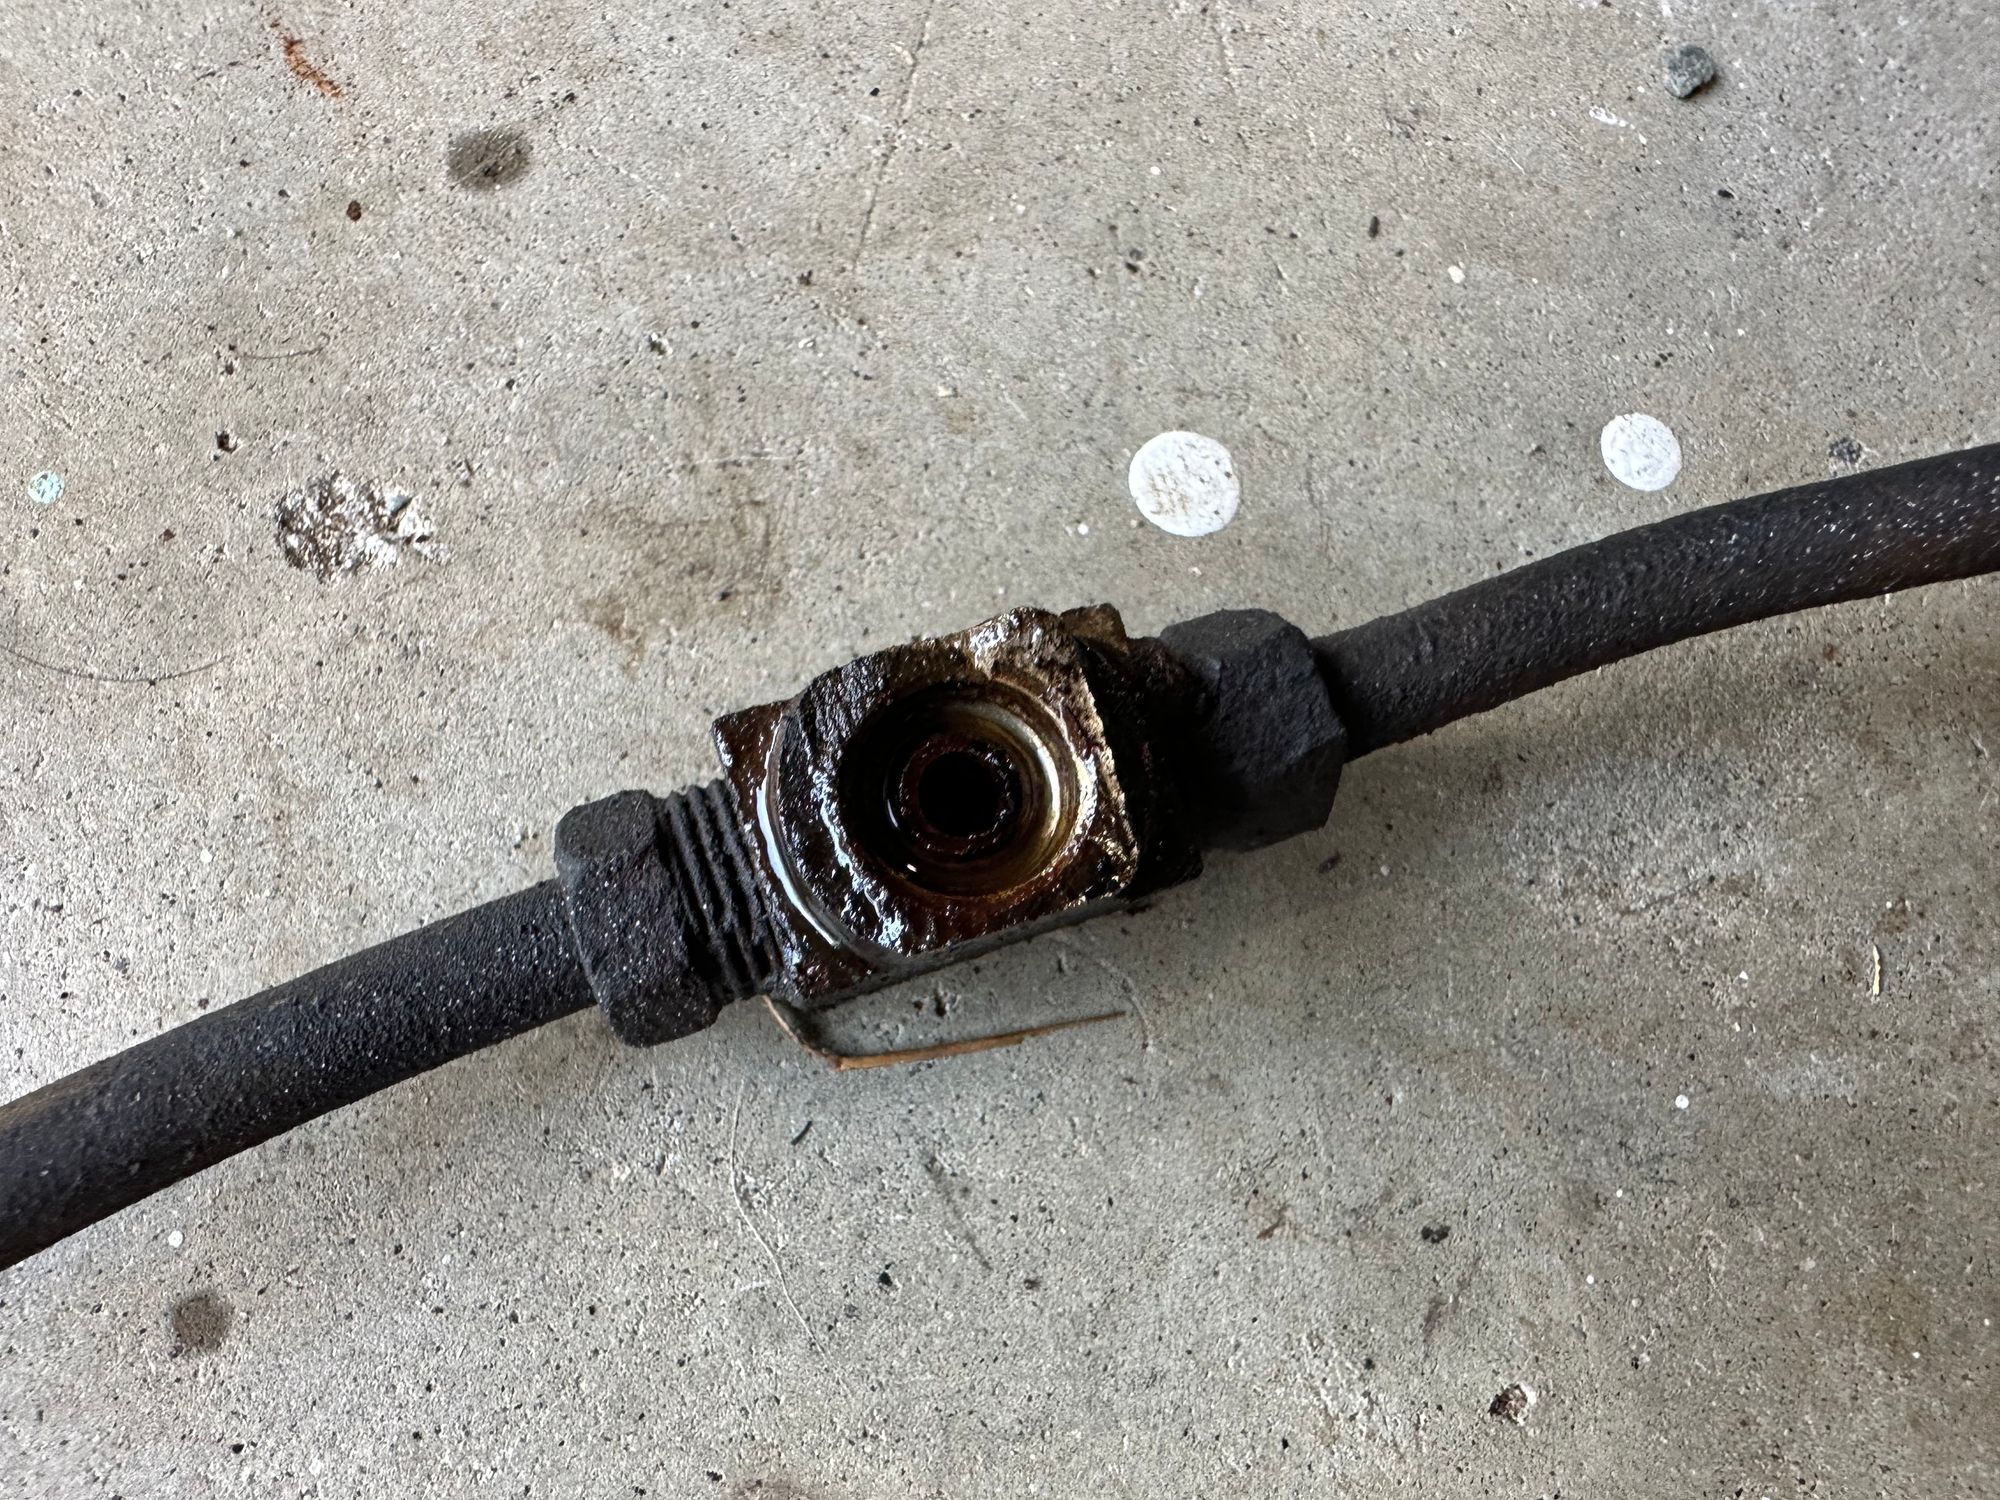
As I started to disassemble the lines running to the wheel cylinders, I discovered that the vast majority of the fittings were frozen solid. No amount of AeroKroil would loosen these to the point where I could get them off. The 73 year old steel lines also kinked and bent with the amount of force required to loosen the fittings, and the flange fitting ends were frozen to the lines. It was a shit show. One brass fitting just snapped as I tried to get it off. This is where I decided to replace all of the brake hydraulics, including lines. Off to the Truck Shop I go...
WHAT THE HUCK?
Shoe brakes in general are old, from a bygone era, and almost no modern cars have them. "Modern" brake shoe systems are from the Bendix corporation. They are self adjusting, and generally pretty easy to work on....it's a tried and true system that worked well for years before newer, safer, modern disc systems became the standard. The basic concept is: You mash your foot on the brake pedal, a plunger goes into the brake master cylinder and hydraulic fluid is put under pressure....the force of that fluid moves through the lines out to the wheel cylinders, where plungers move the brake shoes outward...they put friction on the surrounding brake drums, slowing the vehicle.
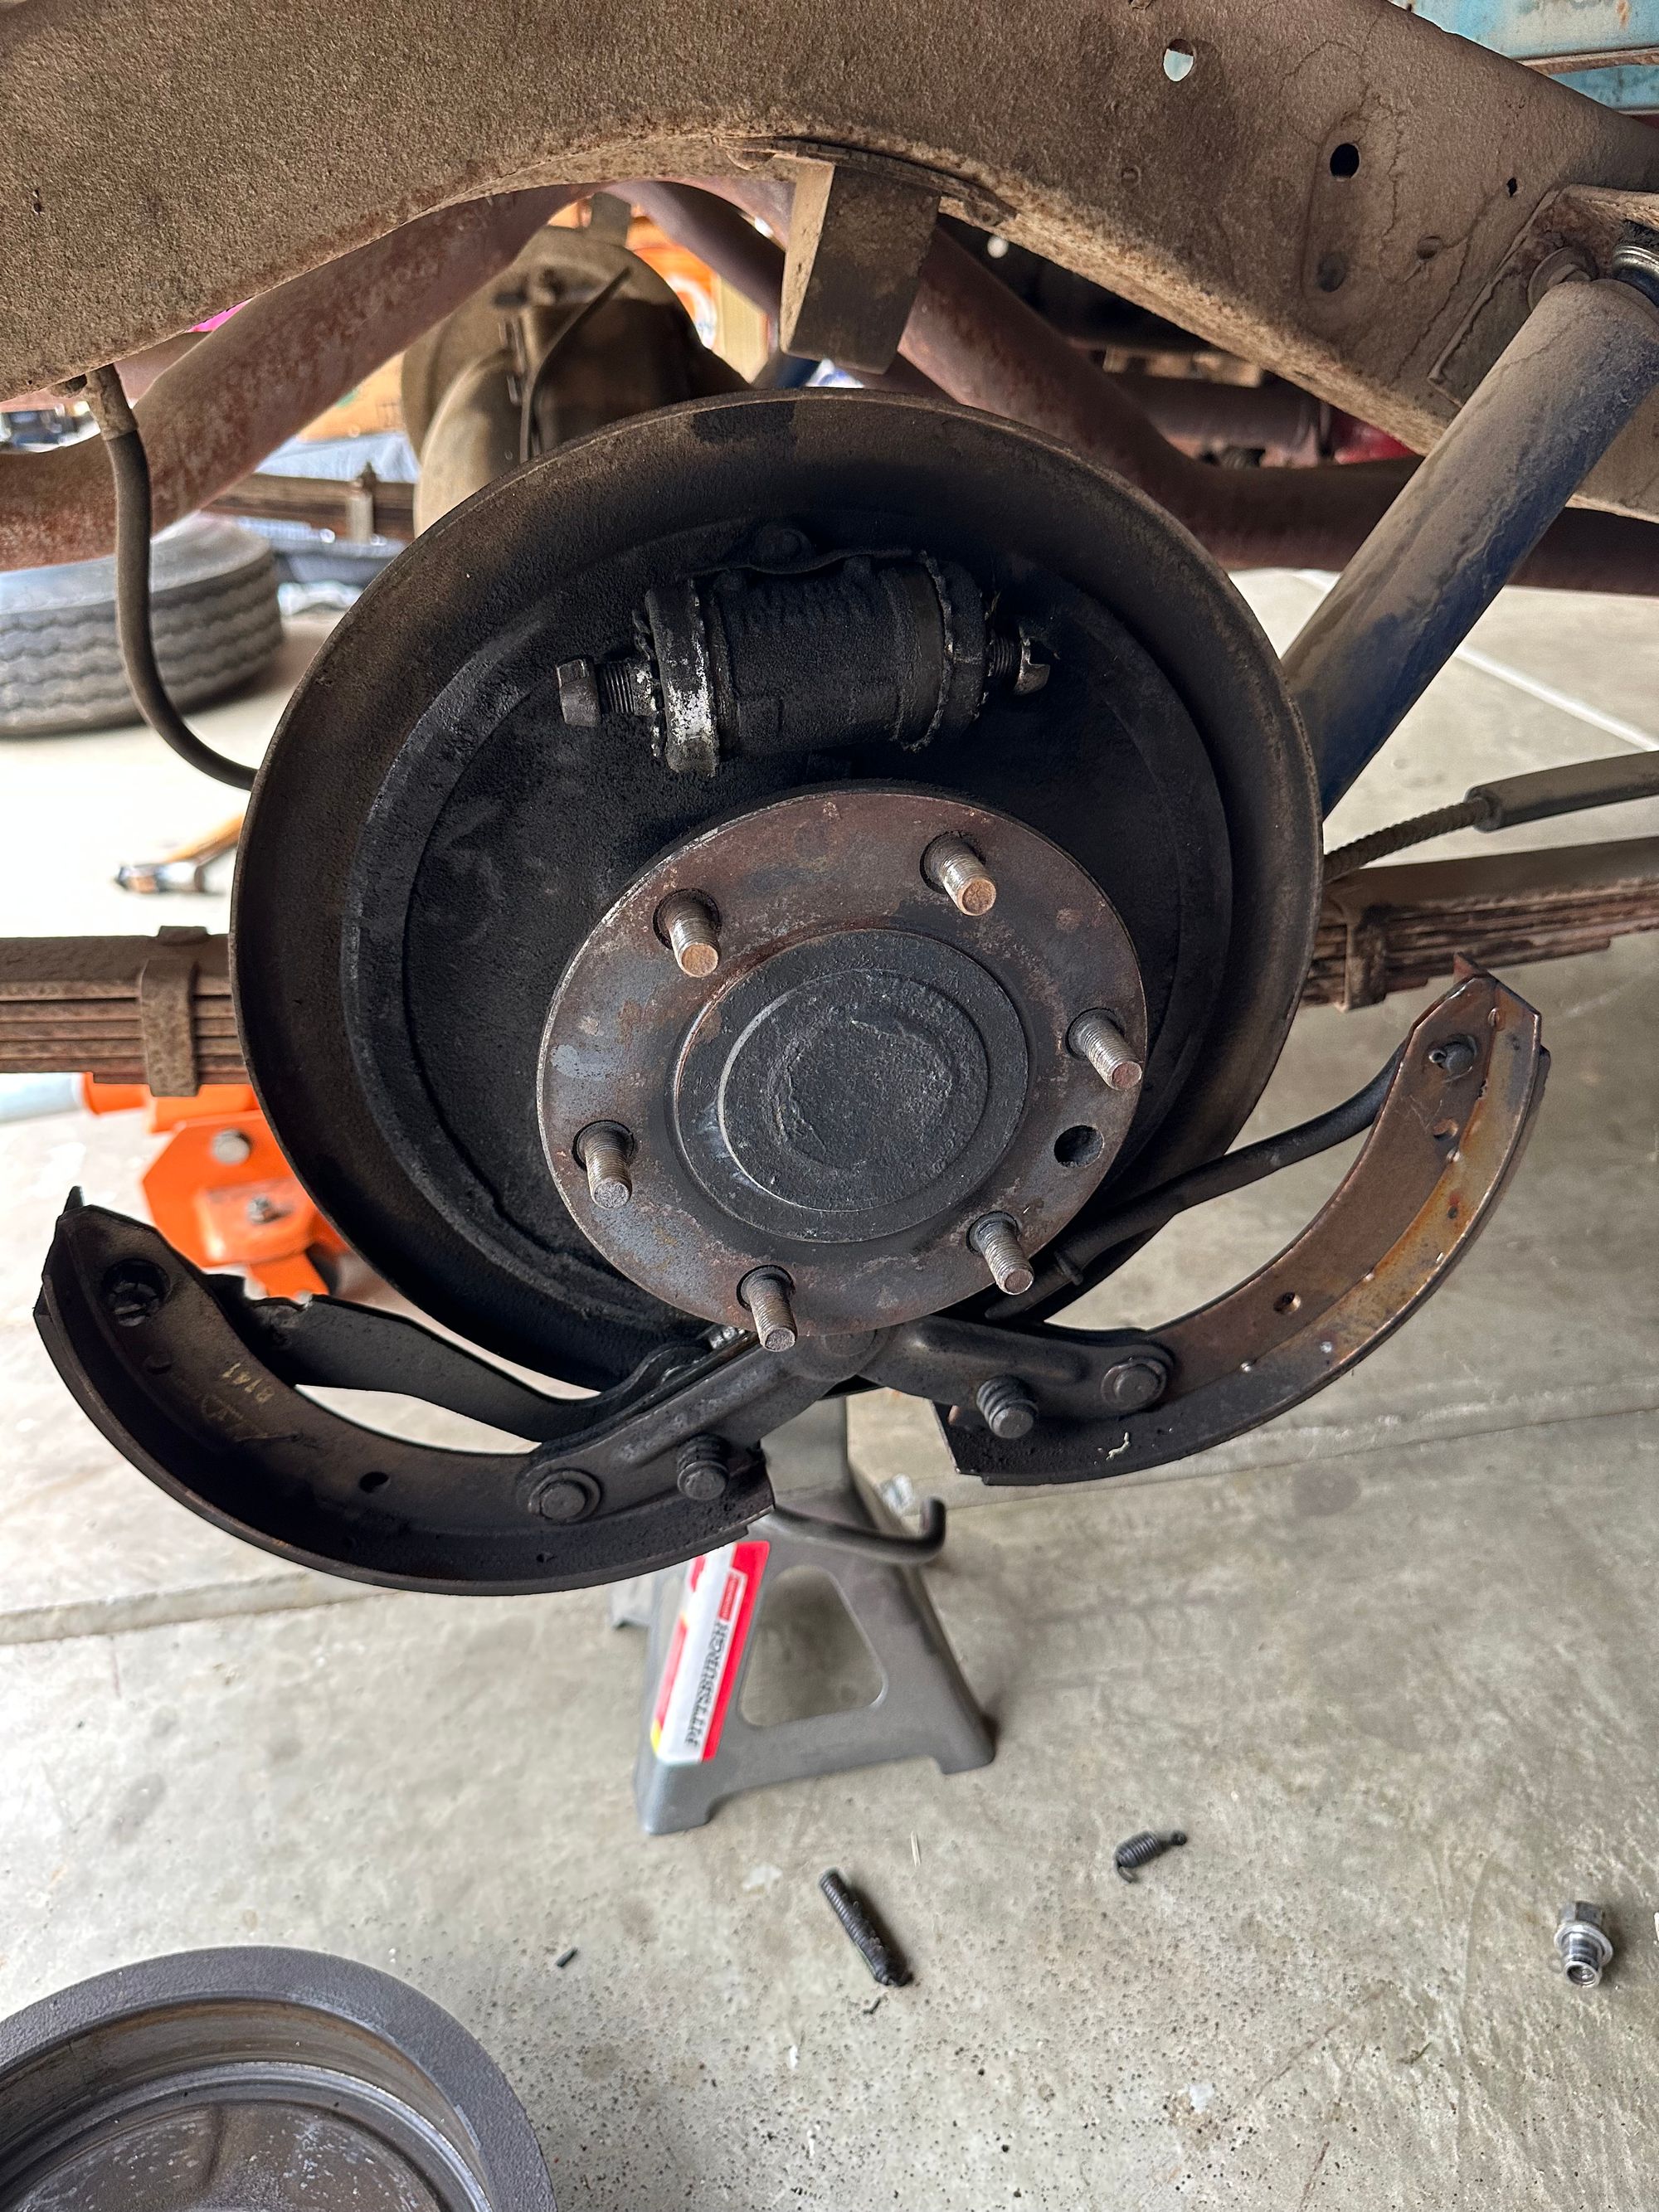
Chevrolet Advanced Design Trucks (1947 - 1955) like Dad's all had shoe brake systems; 1951 and up had Bendix style, but 1950 and back had the "Huck" style brakes found on early Chevys. This is what's on Dad's truck as it's almost all original and is a 1950.

The main challenge of Huck brakes is the fact that nothing holds this whole mess together until you install the main spring. See that exploded view of the wheel cylinder above? It all comes apart unless there is pressure on the outside adjusting screws and covers. The shoes are also on a pivot on the bottom, rather than being held down with springs and caps like on Bendix style shoe brakes.
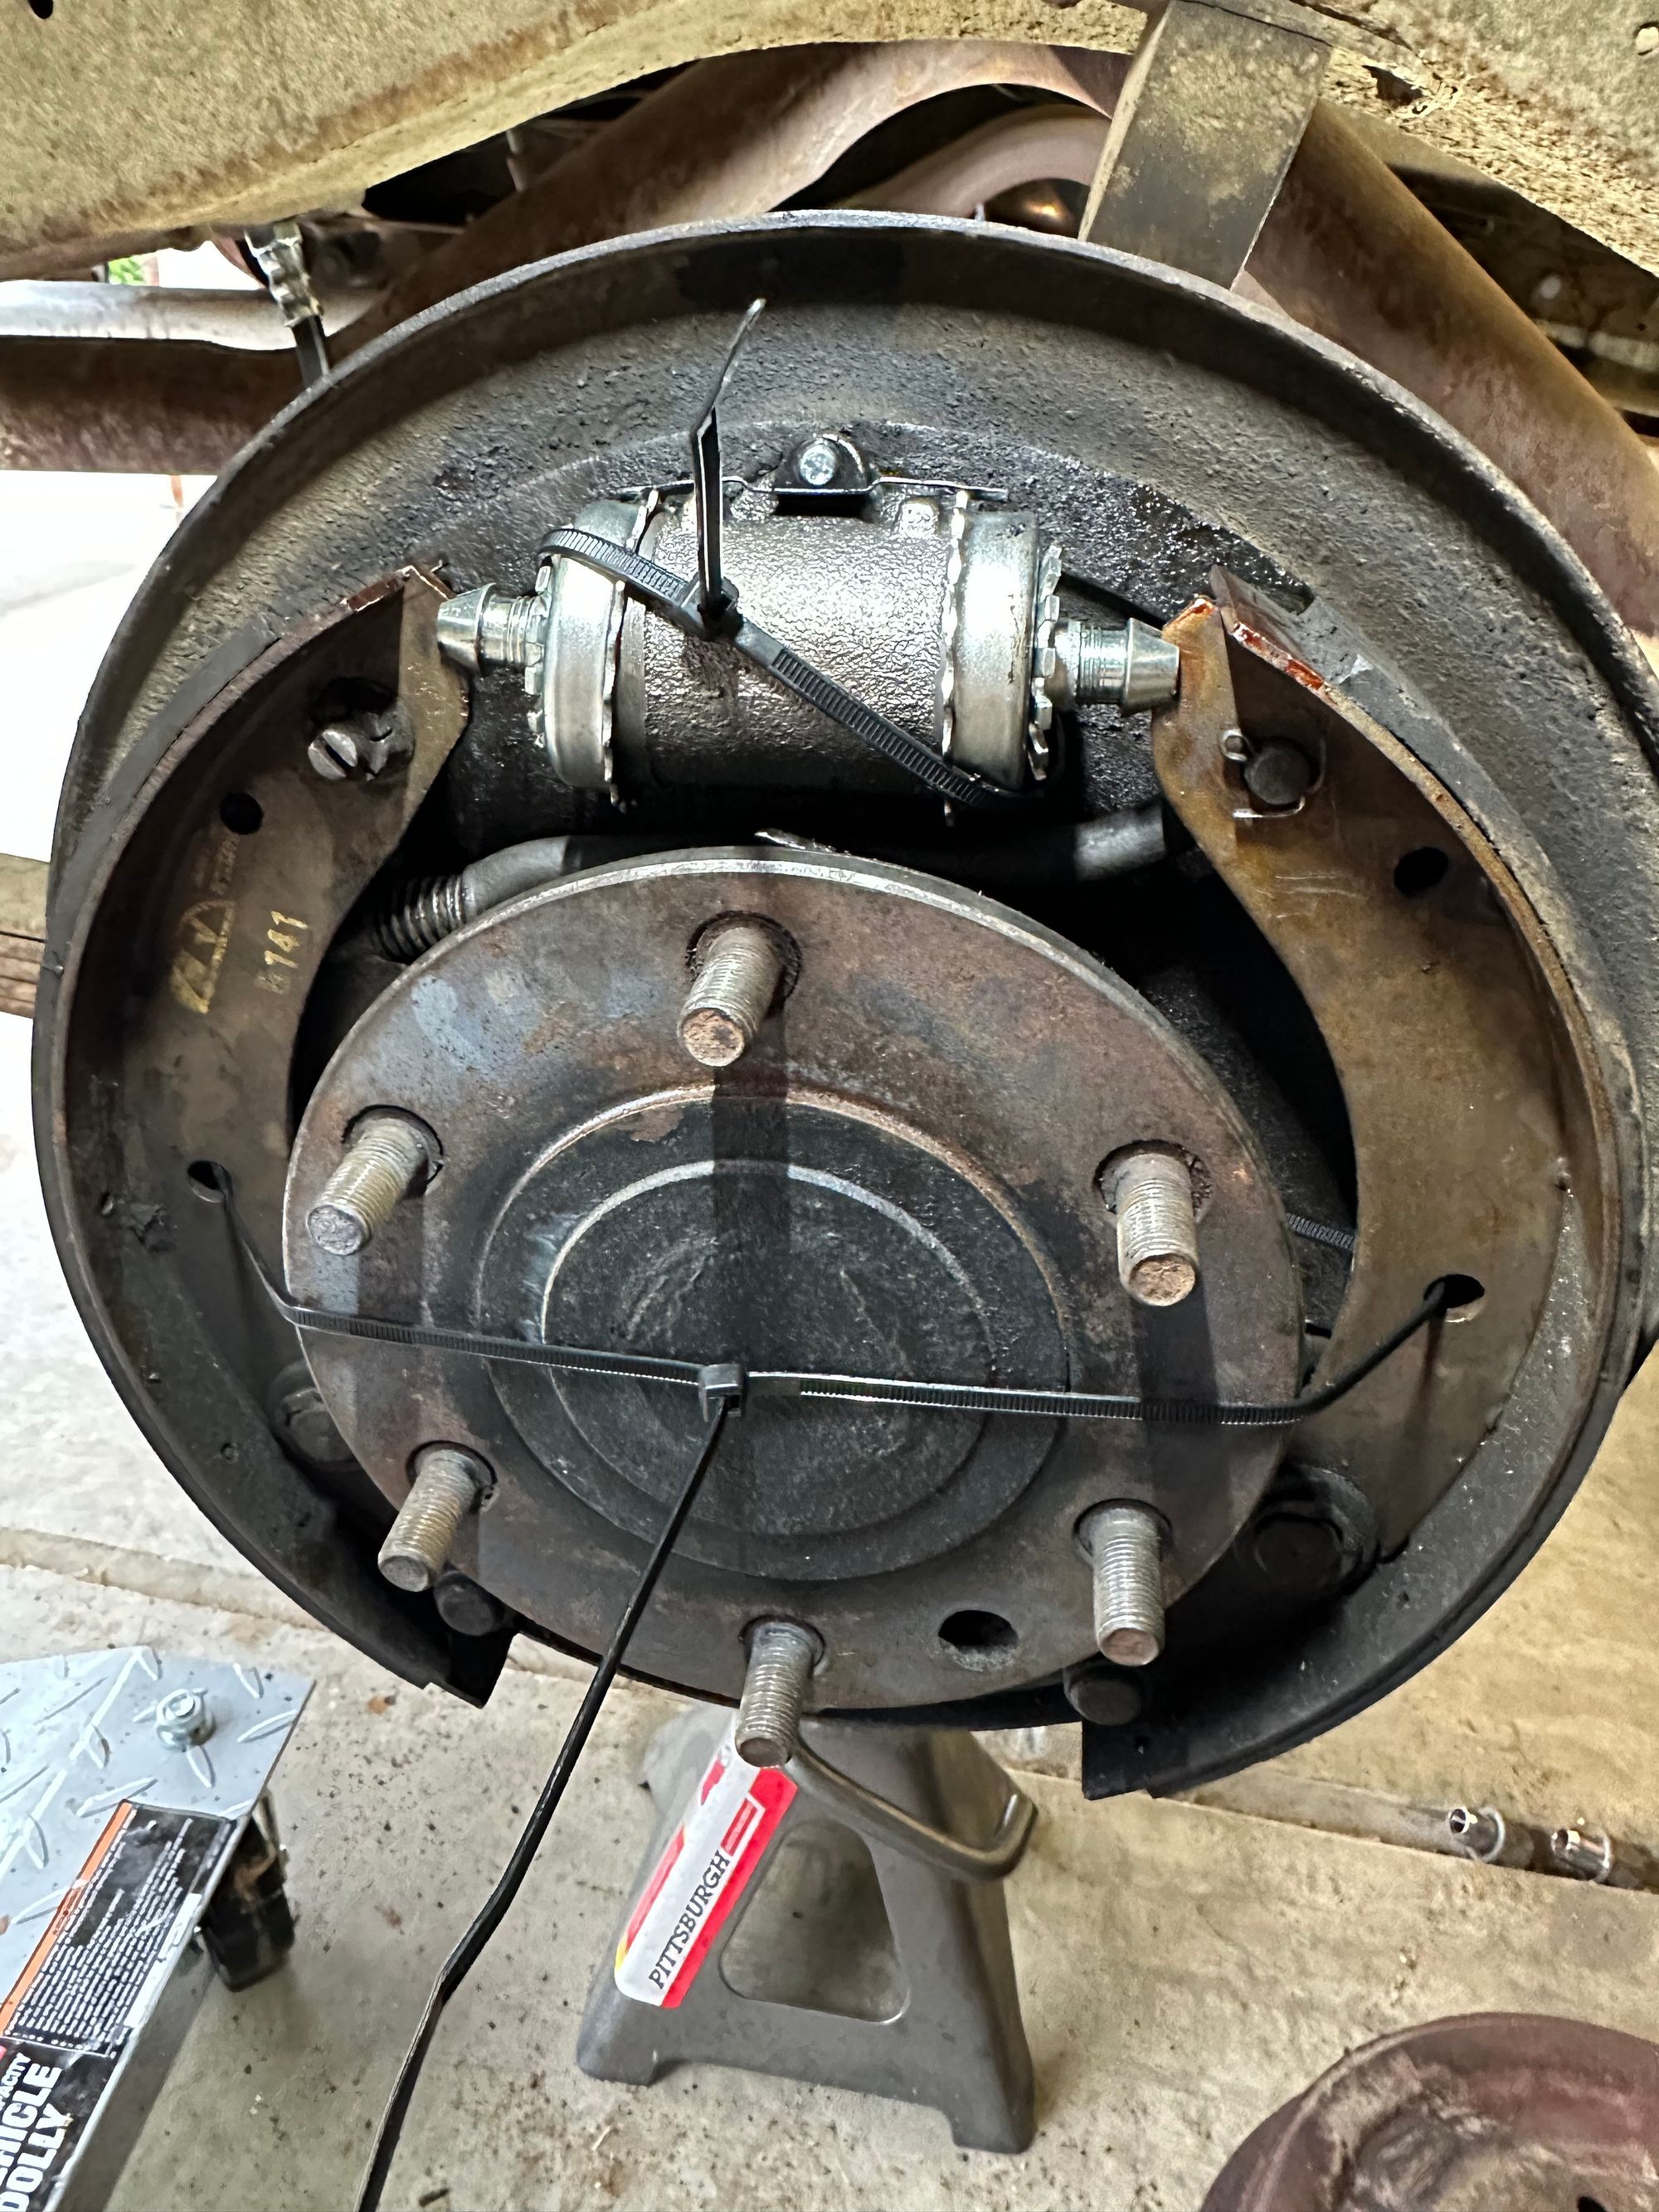
To overcome this without an extra set of hands available, I came up with a zip tie and wood clamp strategy: I zip tied the wheel cylinder ends and then put one on the shoes, later using a large wood clamp on the shoes. This worked great...but then it was time to install the new main spring.
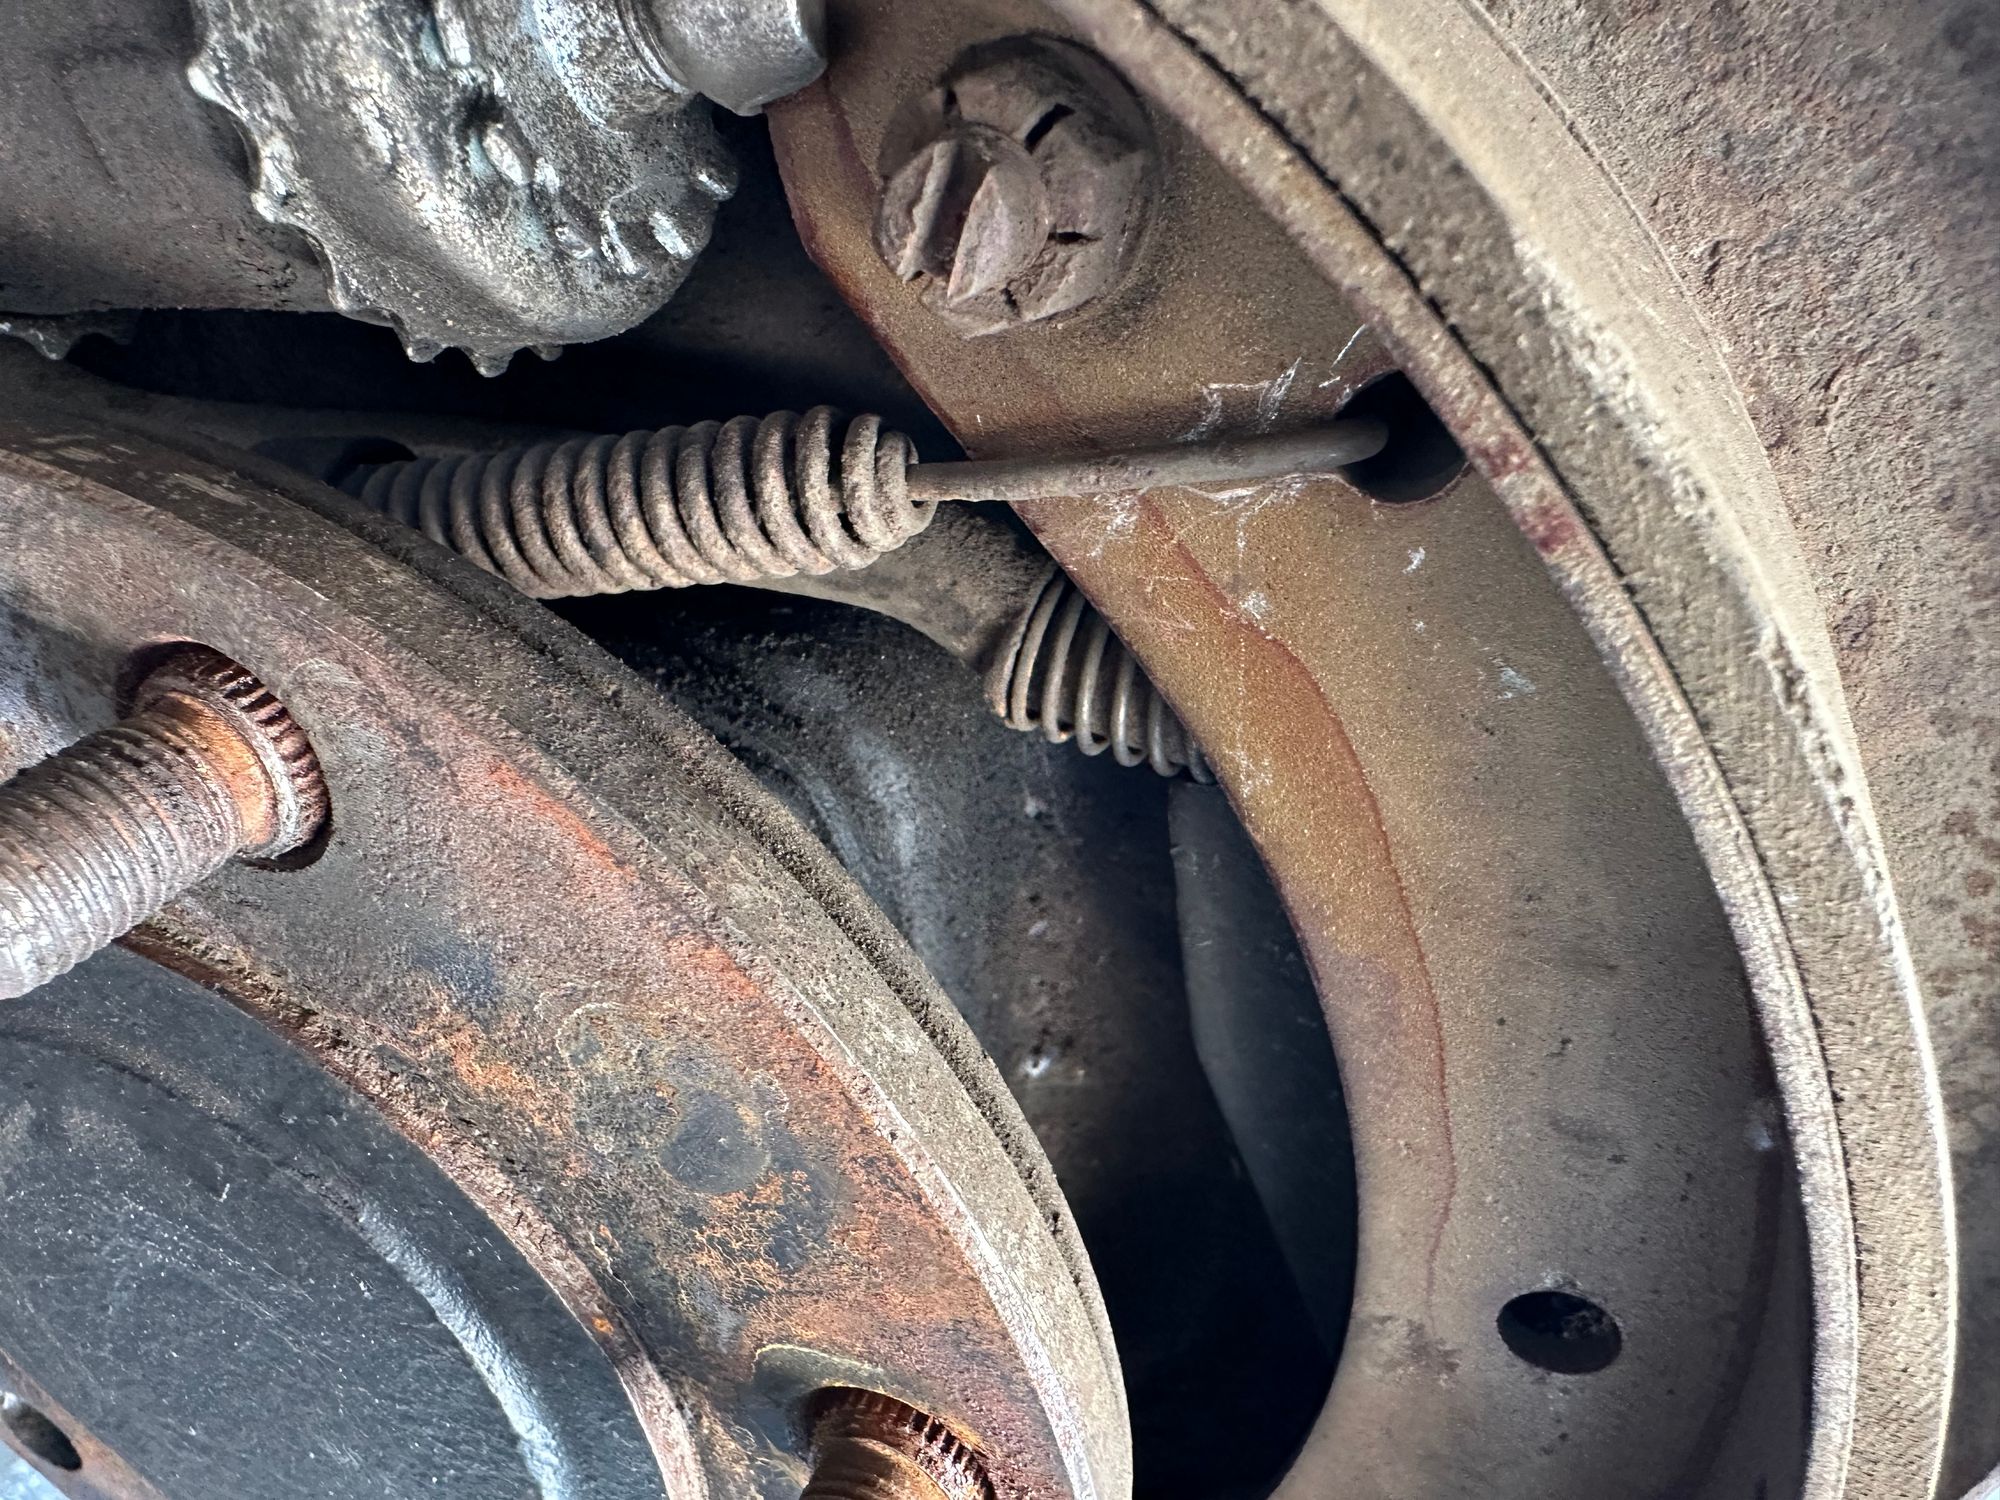
See how the hole for the main spring is all the way on the outside edge of the shoe? What. The. Huck! Those scratches are remnants of the last person that struggled with trying to get this spring on. I don't think that was Dad....he did not really do any work on these brakes as far as I know. I hadn't worked on shoe brakes in many, many moons. My first attempt installing the spring was with a pair of $13.99 brake spring pliers from Harbor Freight.
FAIL.
Turns out, the little hooked end on the Harbor Freight specials was too large to get close enough to the hole without hitting the outside edge of the shoe. This may have been fine on Bendix style shoes, but no good on the Huck brakes. I tried a few other options....most notably needle nose vice grips, but the spring pressure was just too strong for me to overcome in my old age. Time to improvise, adapt and overcome!
After perusing various online sources including ebay, I ordered a pair of vintage snap-on brake spring pliers. These would take a week or more to arrive. In my impatience, I decided to try a pair form NAPA, which were a little different than the HF ones and looked like they might work. For $16.99 I figured it was worth a try.
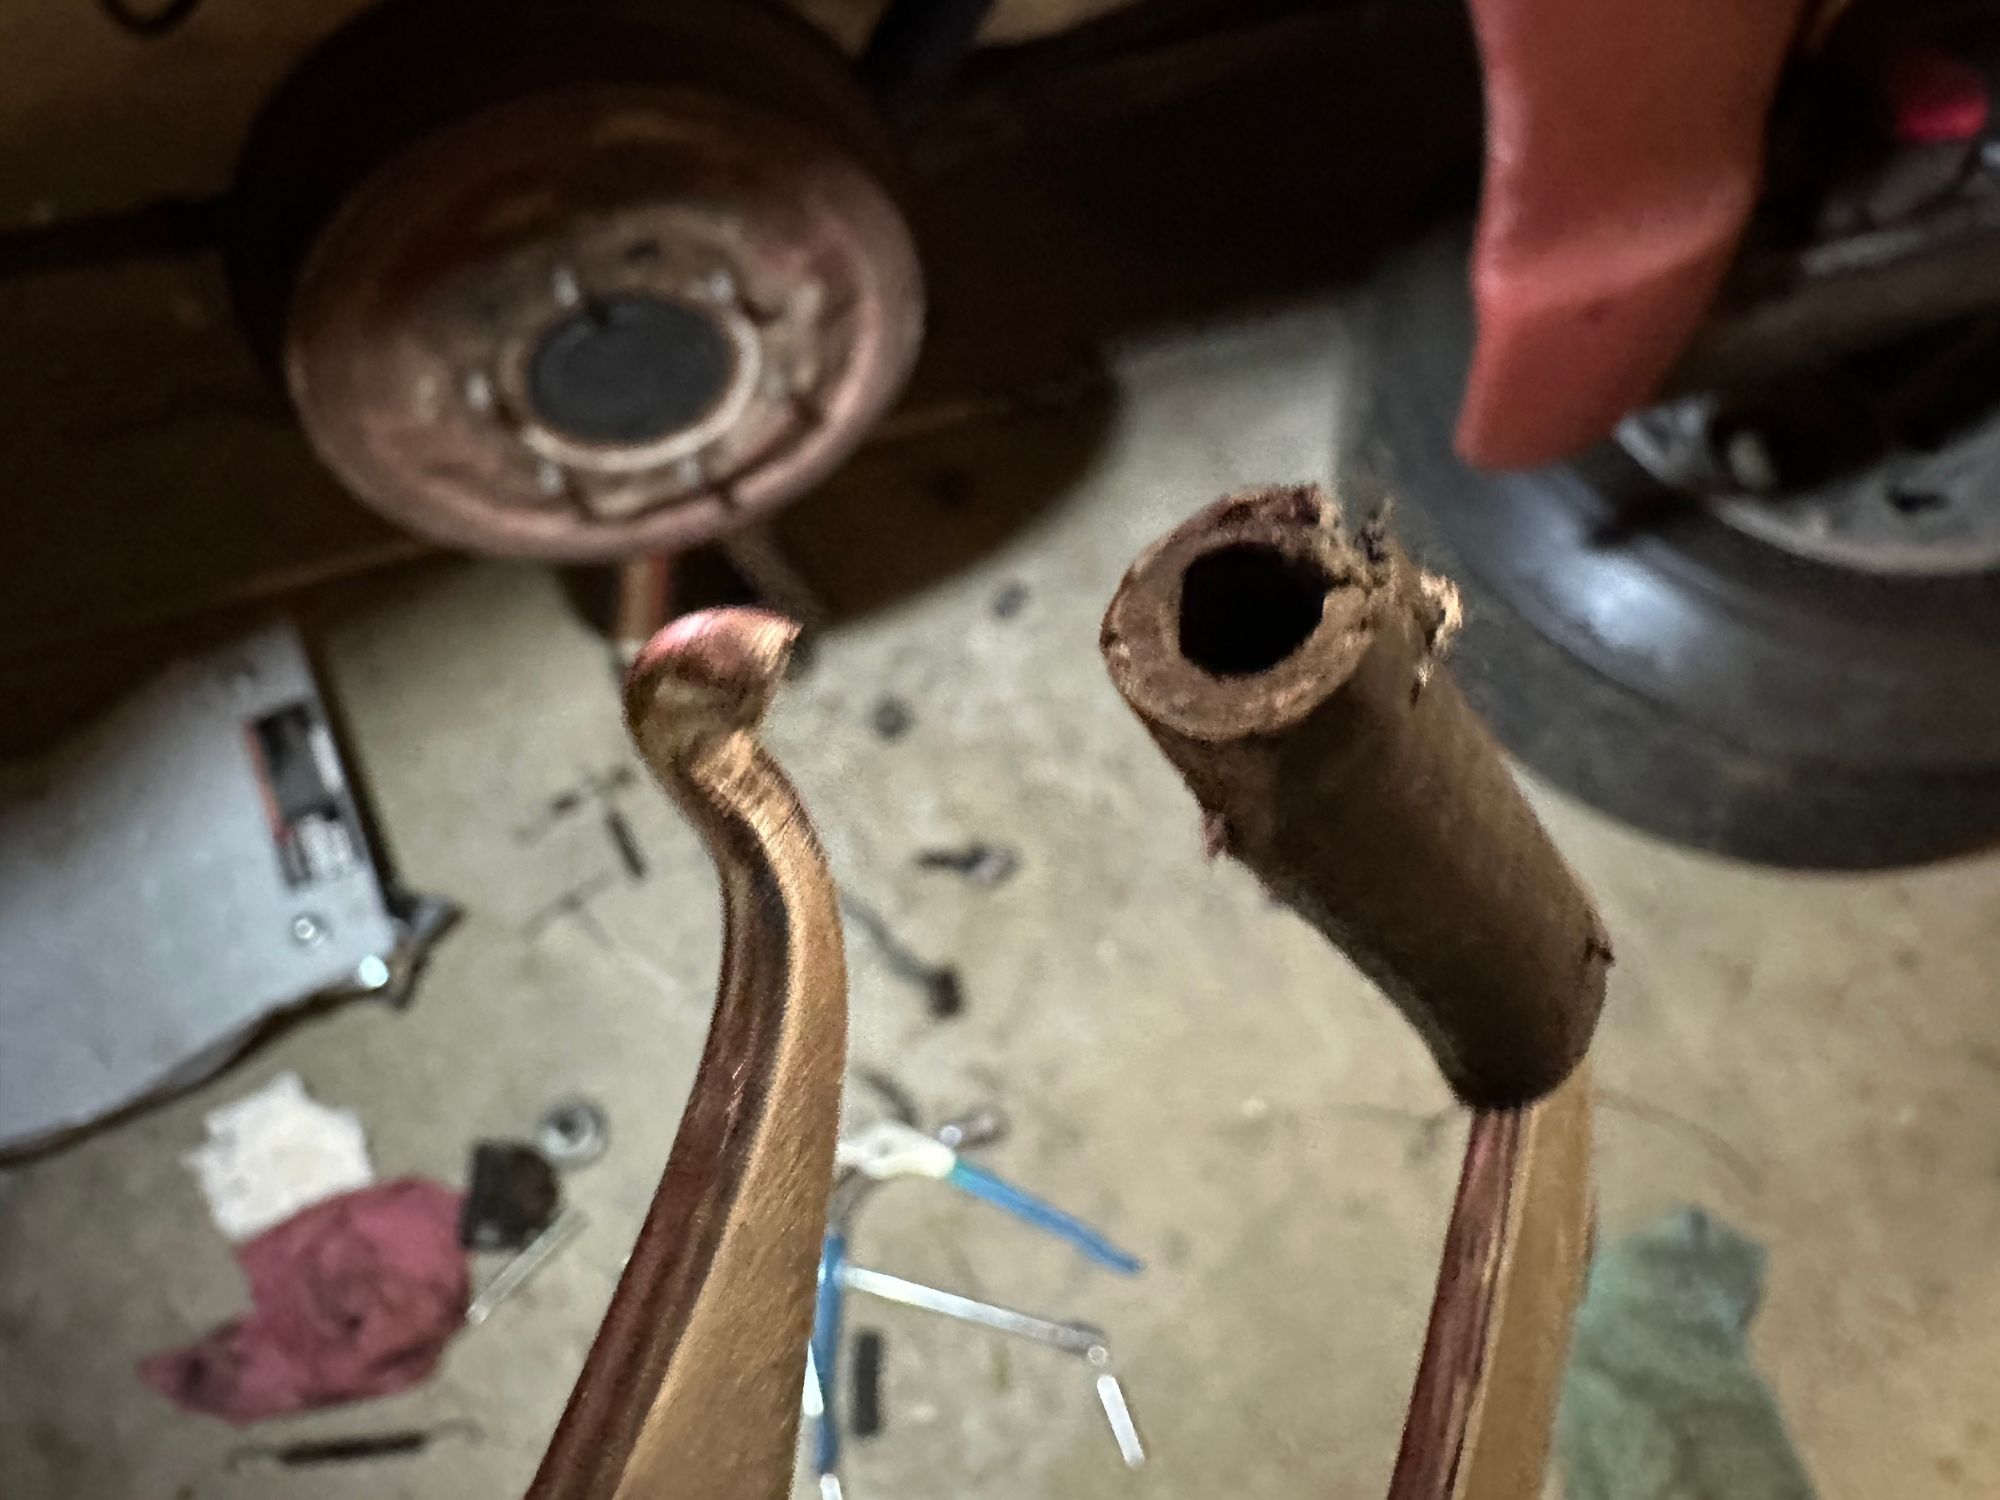
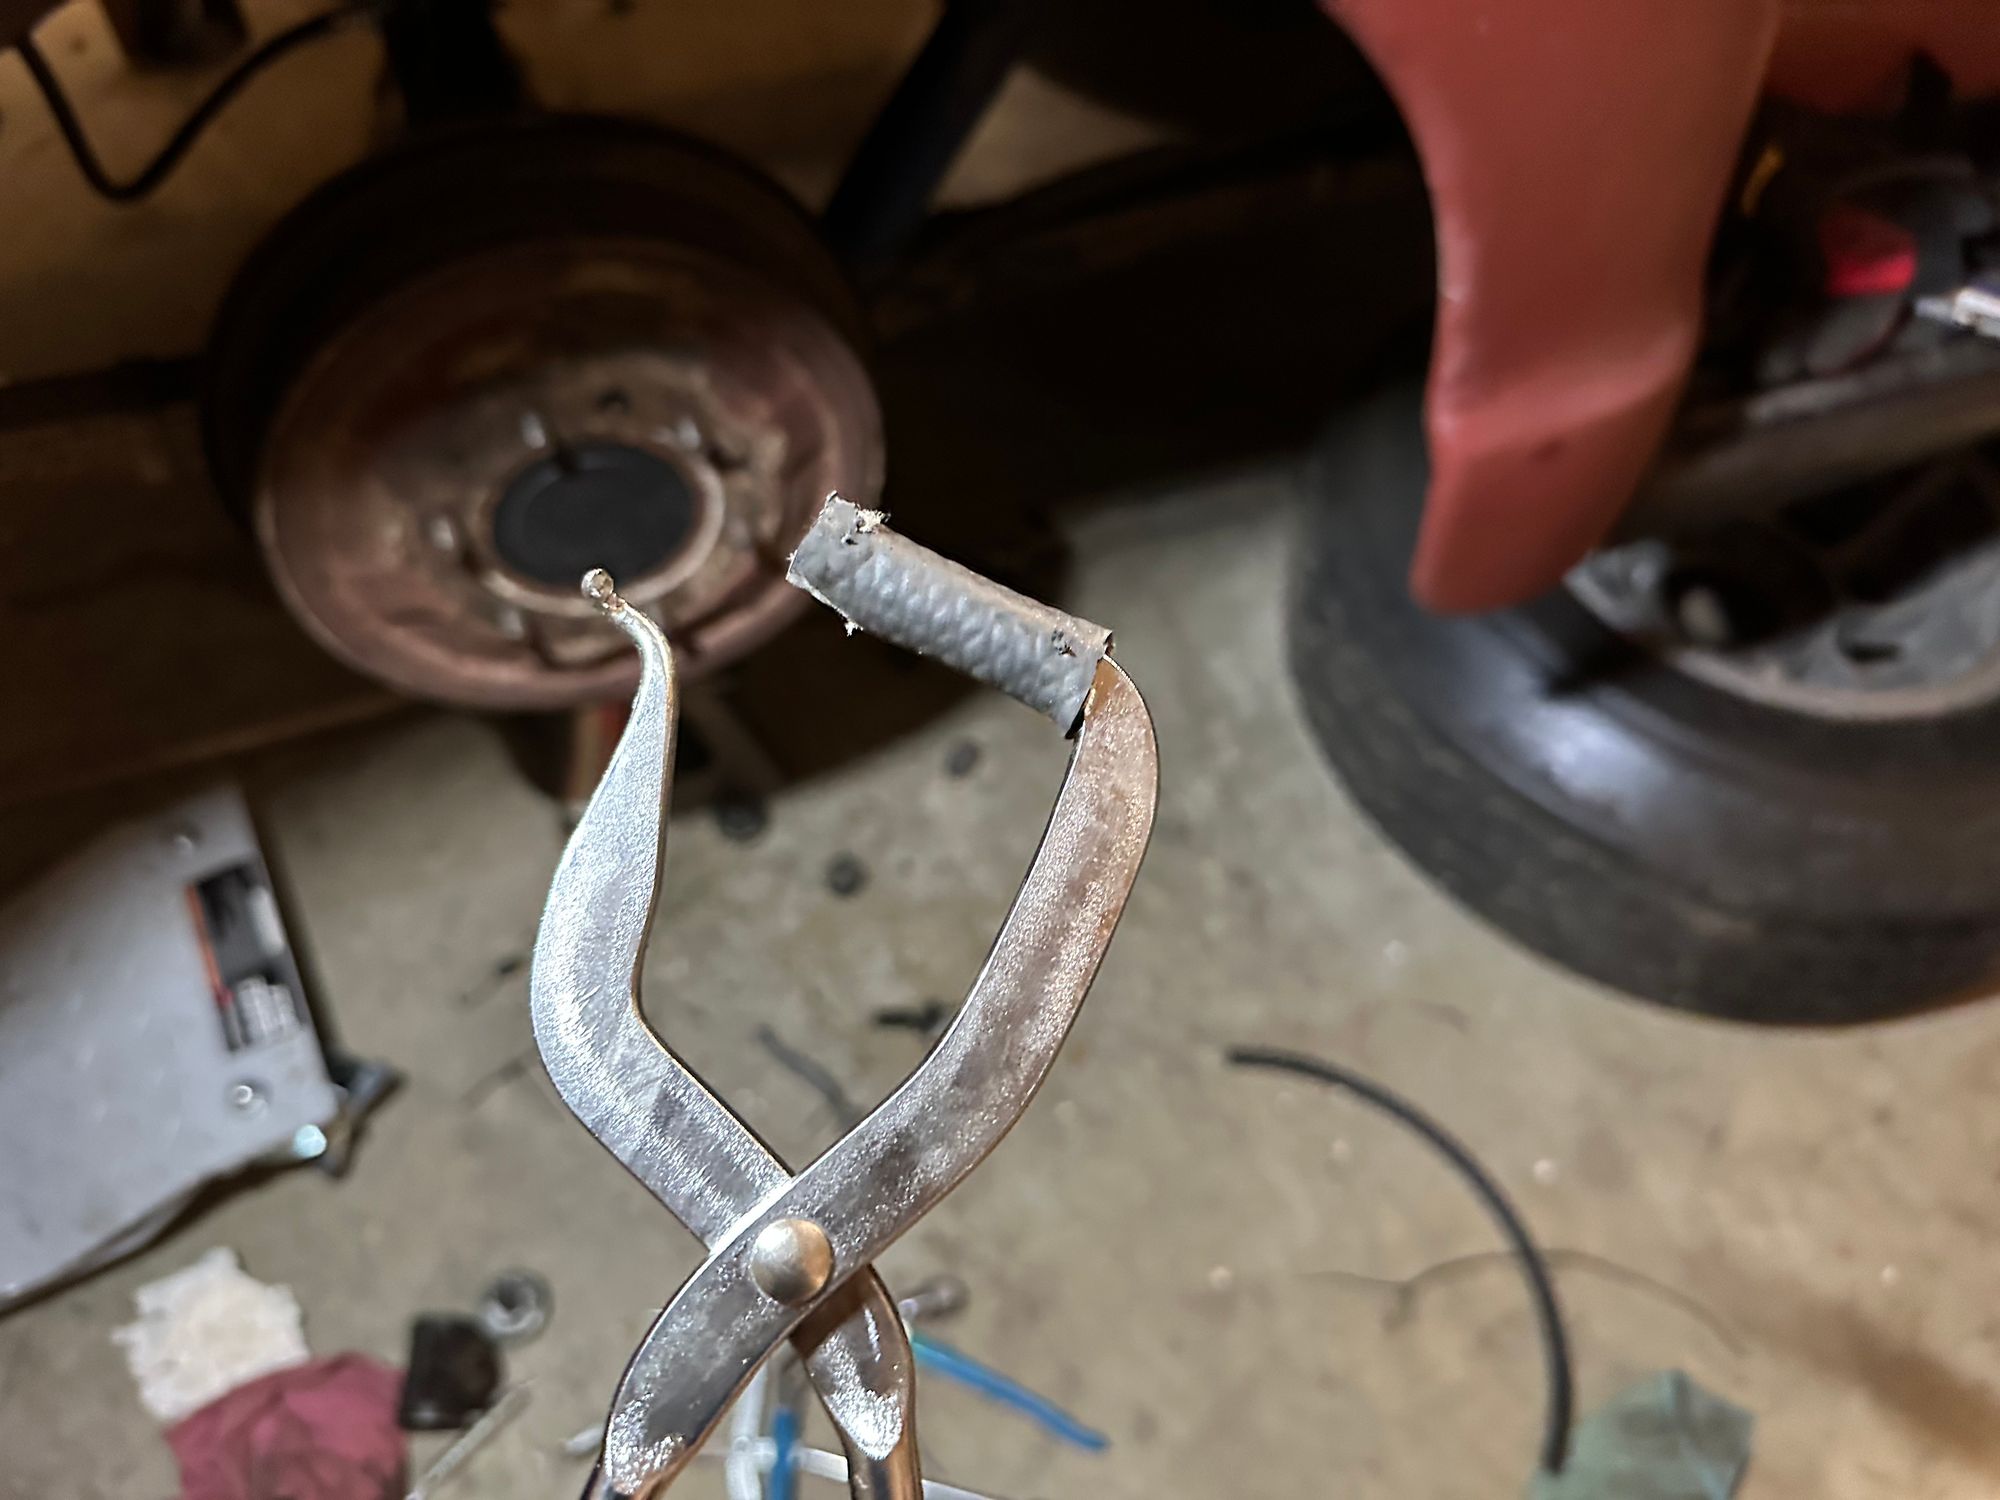
The first few attempts were just as futile as the harbor freight debacle. I just couldn't get close enough to the edge to get the spring on. If you've ever done this job before, you know how frustrating it can be. There was a ton of cussing 🤬 from the garage.
Finally, the spring pliers broke....the little hooked edge gave way, as this is cheap pot metal. I guess I'll just wait for the vintage snap-on's to arrive. However, I'm not one to give up easily, so I continued to try with the broken pliers.
Image my surprise when it tured out that the little break in the hooked end was EXACTLY what I needed! There was now enough clearance to get the spring seated! Sometimes the universe provides a solution and you just have to have enough tenacity to find it!
Lines, Lines, Everywhere Lines
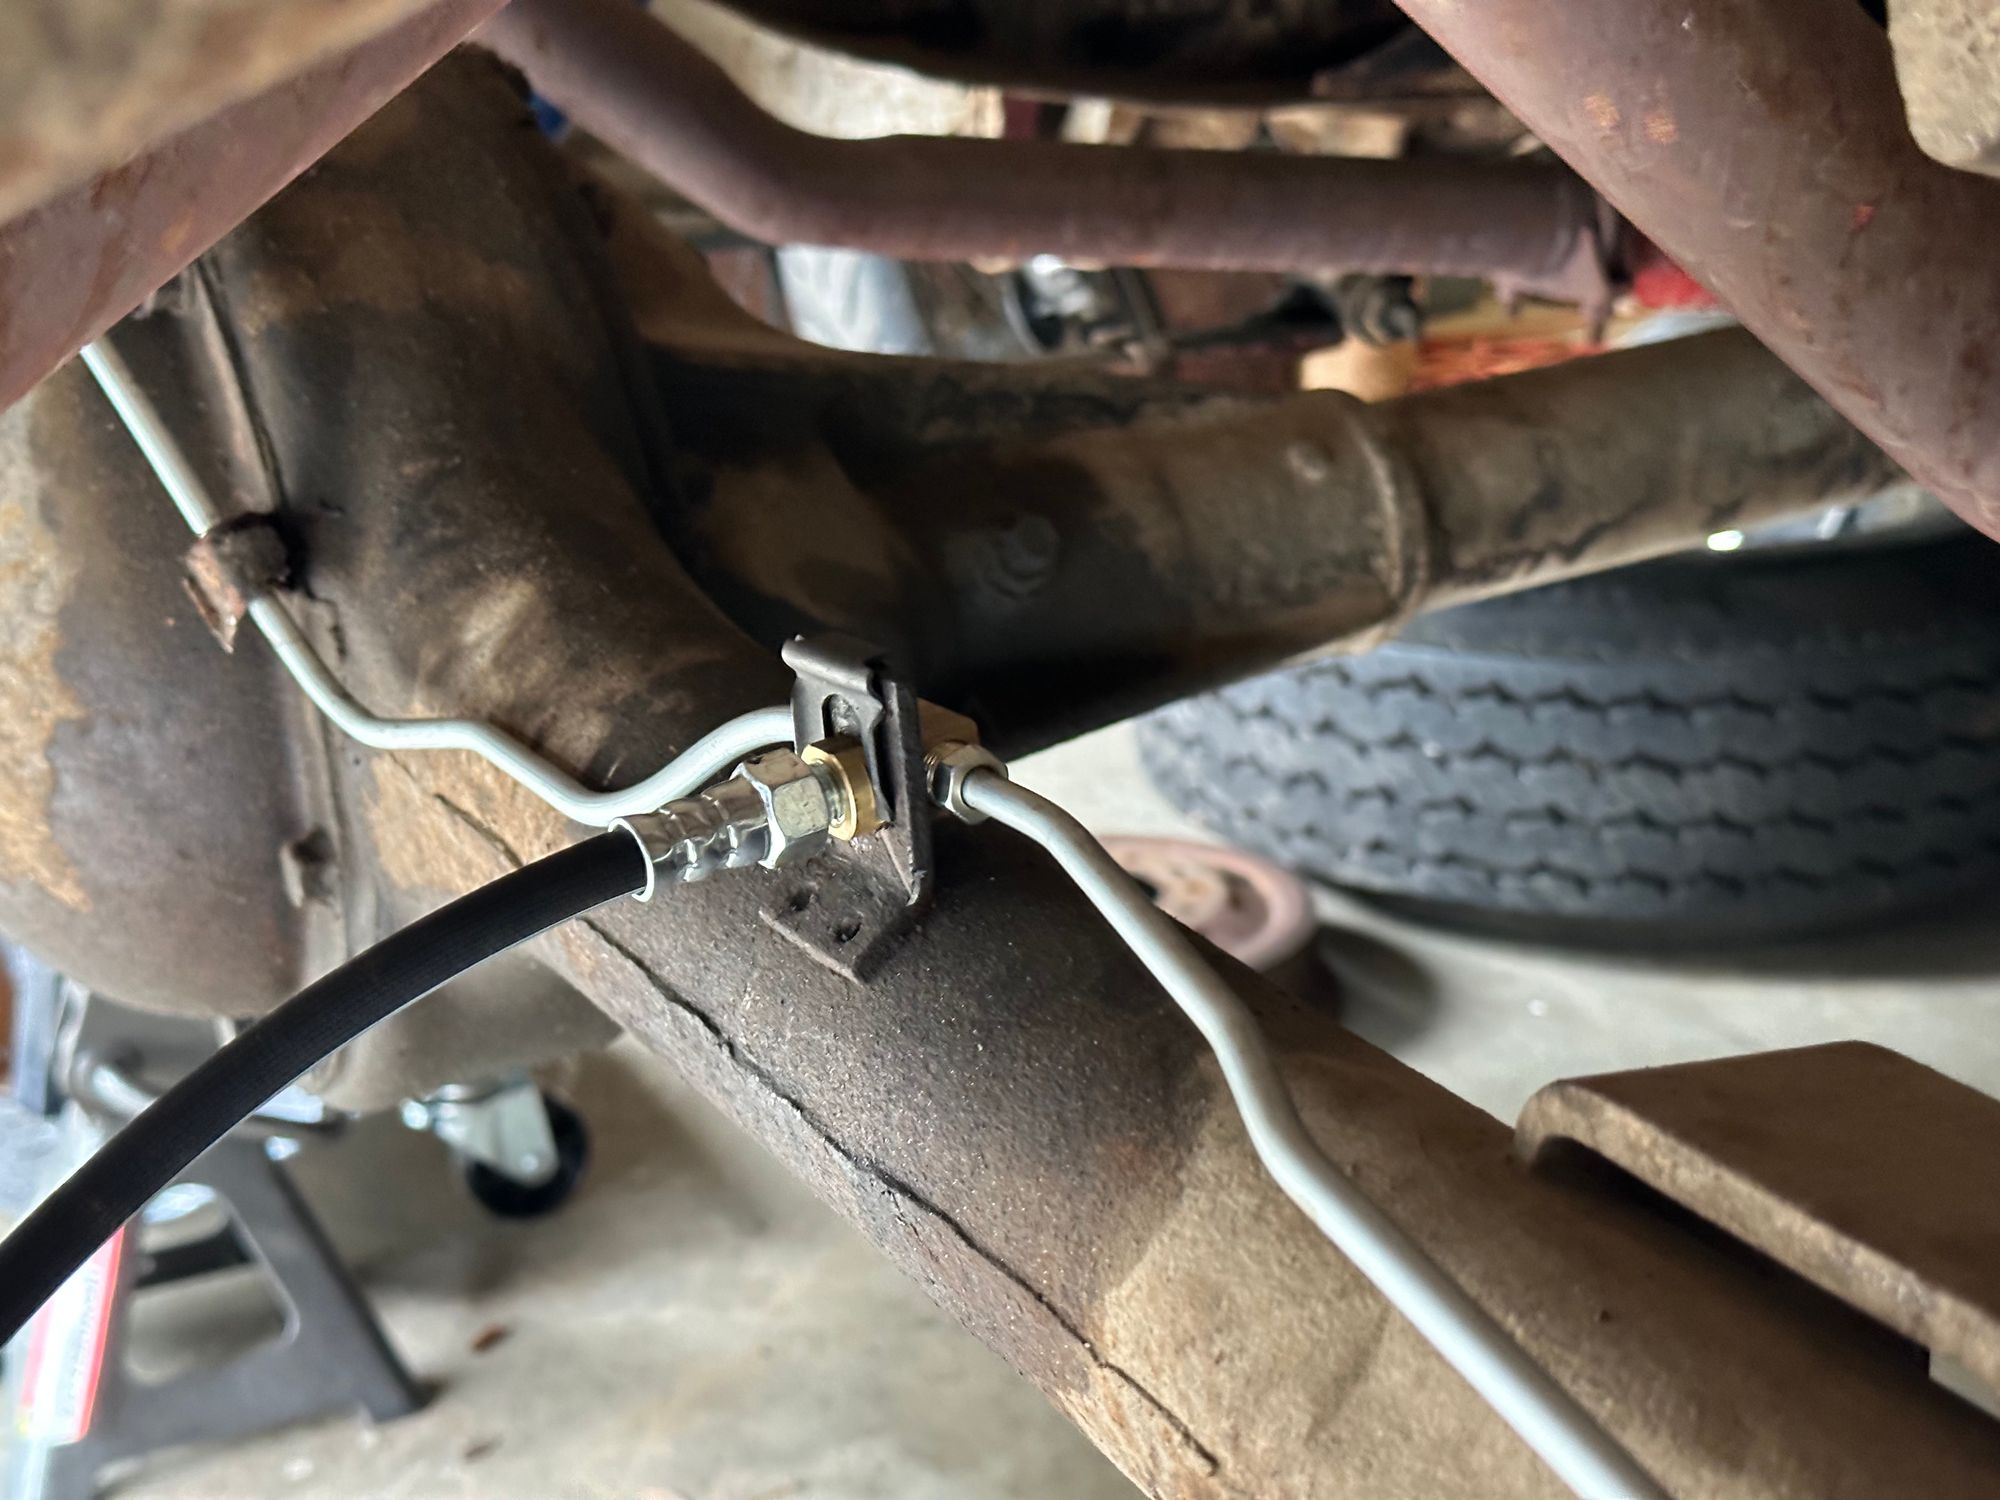
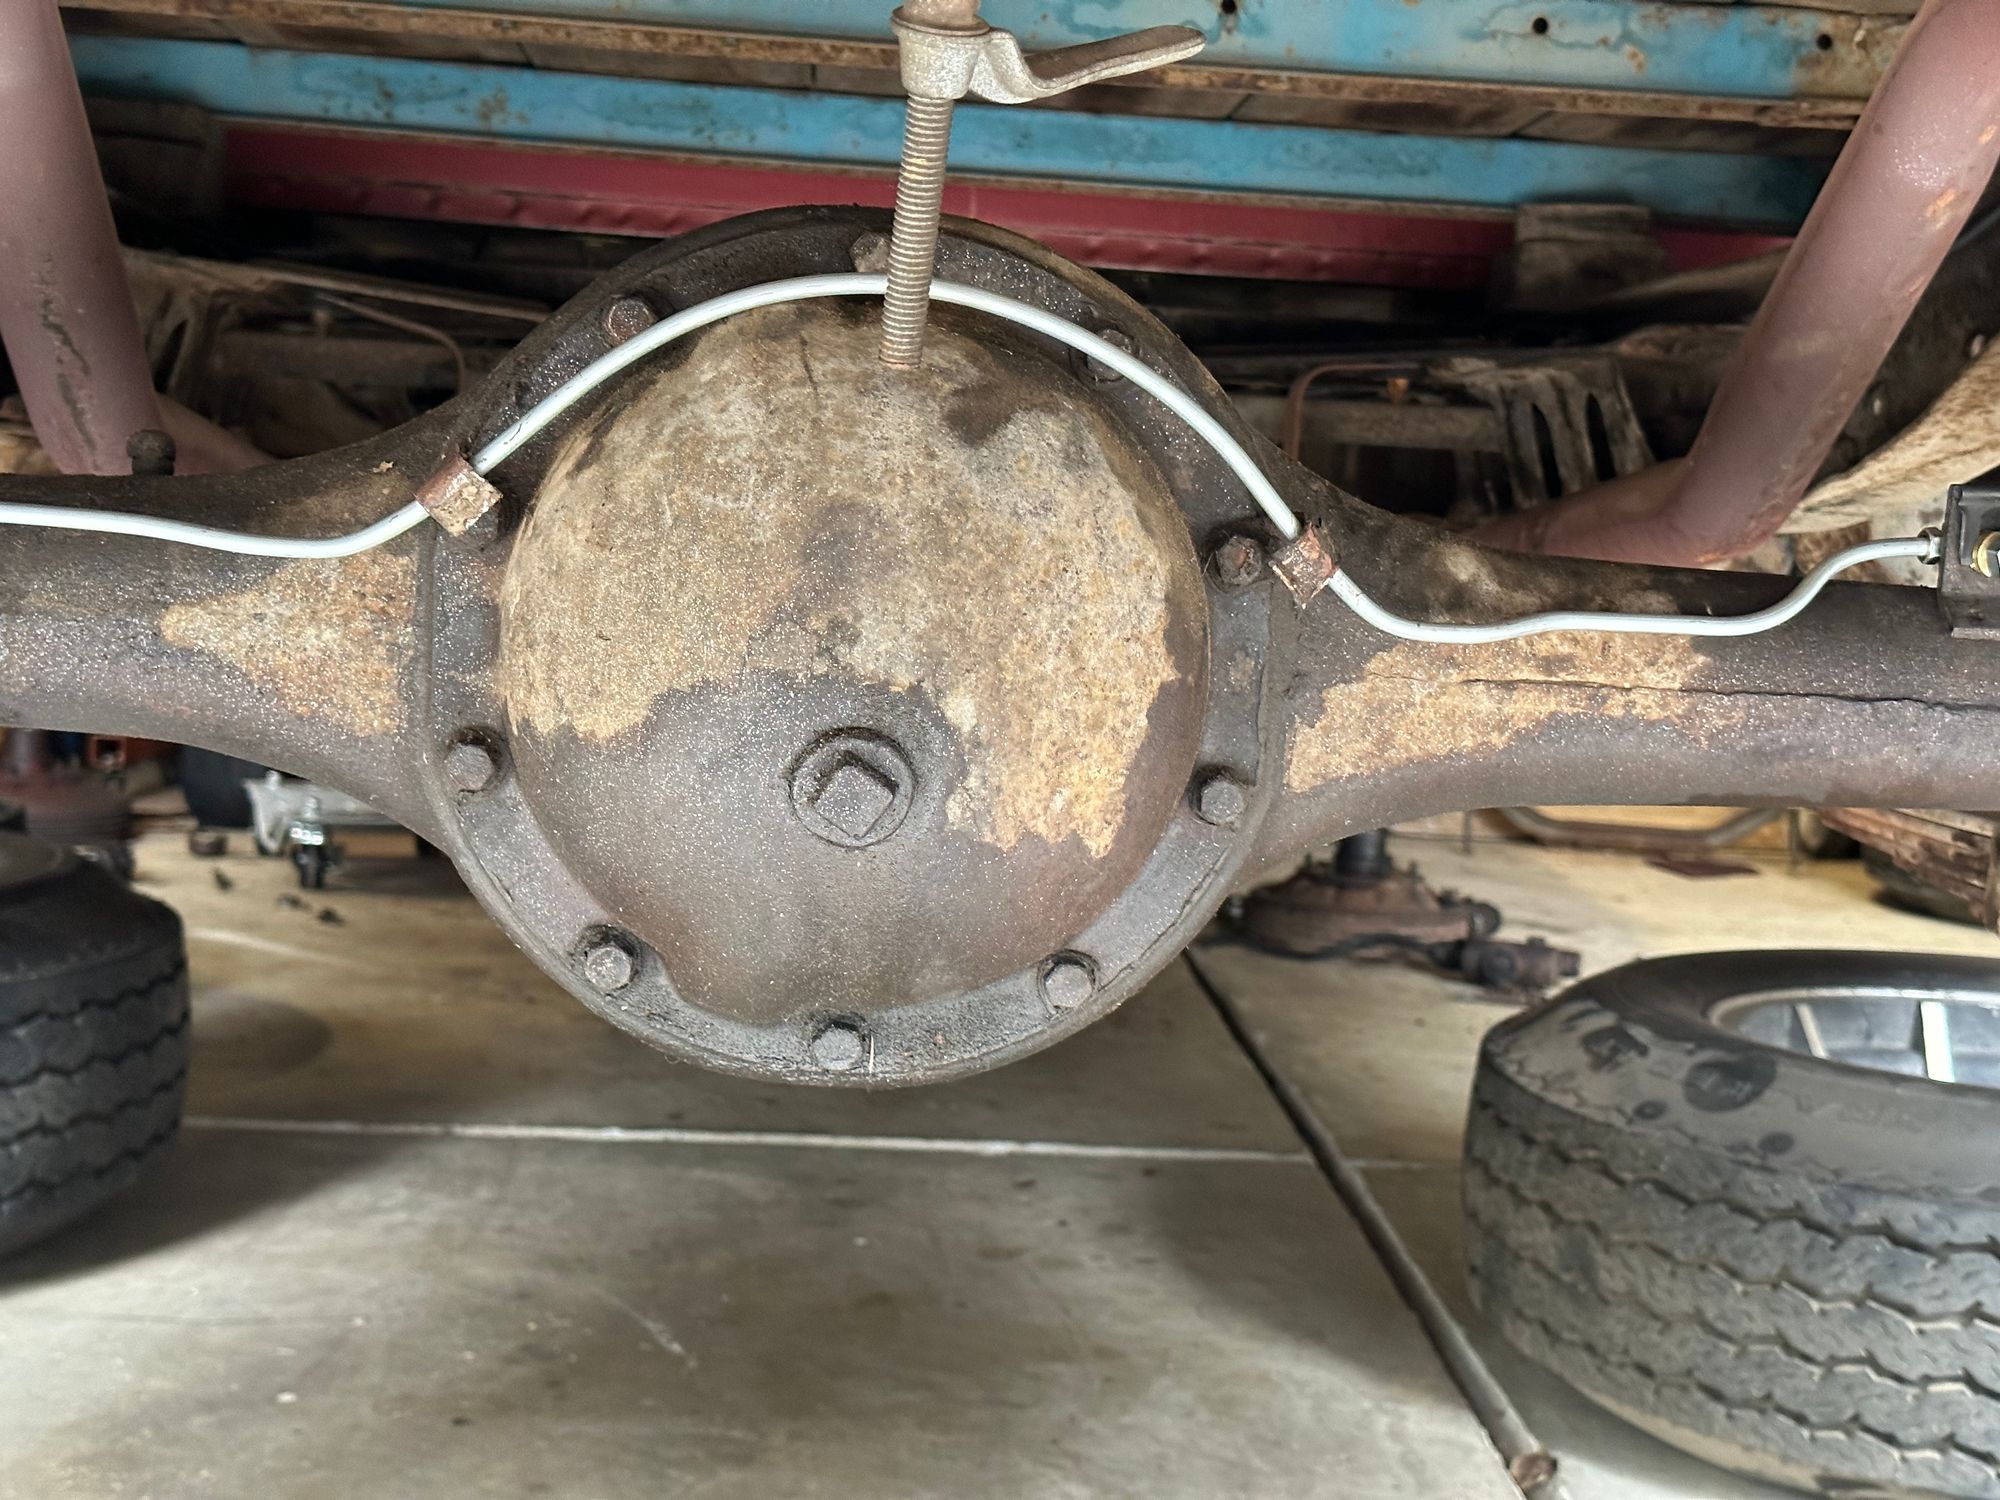
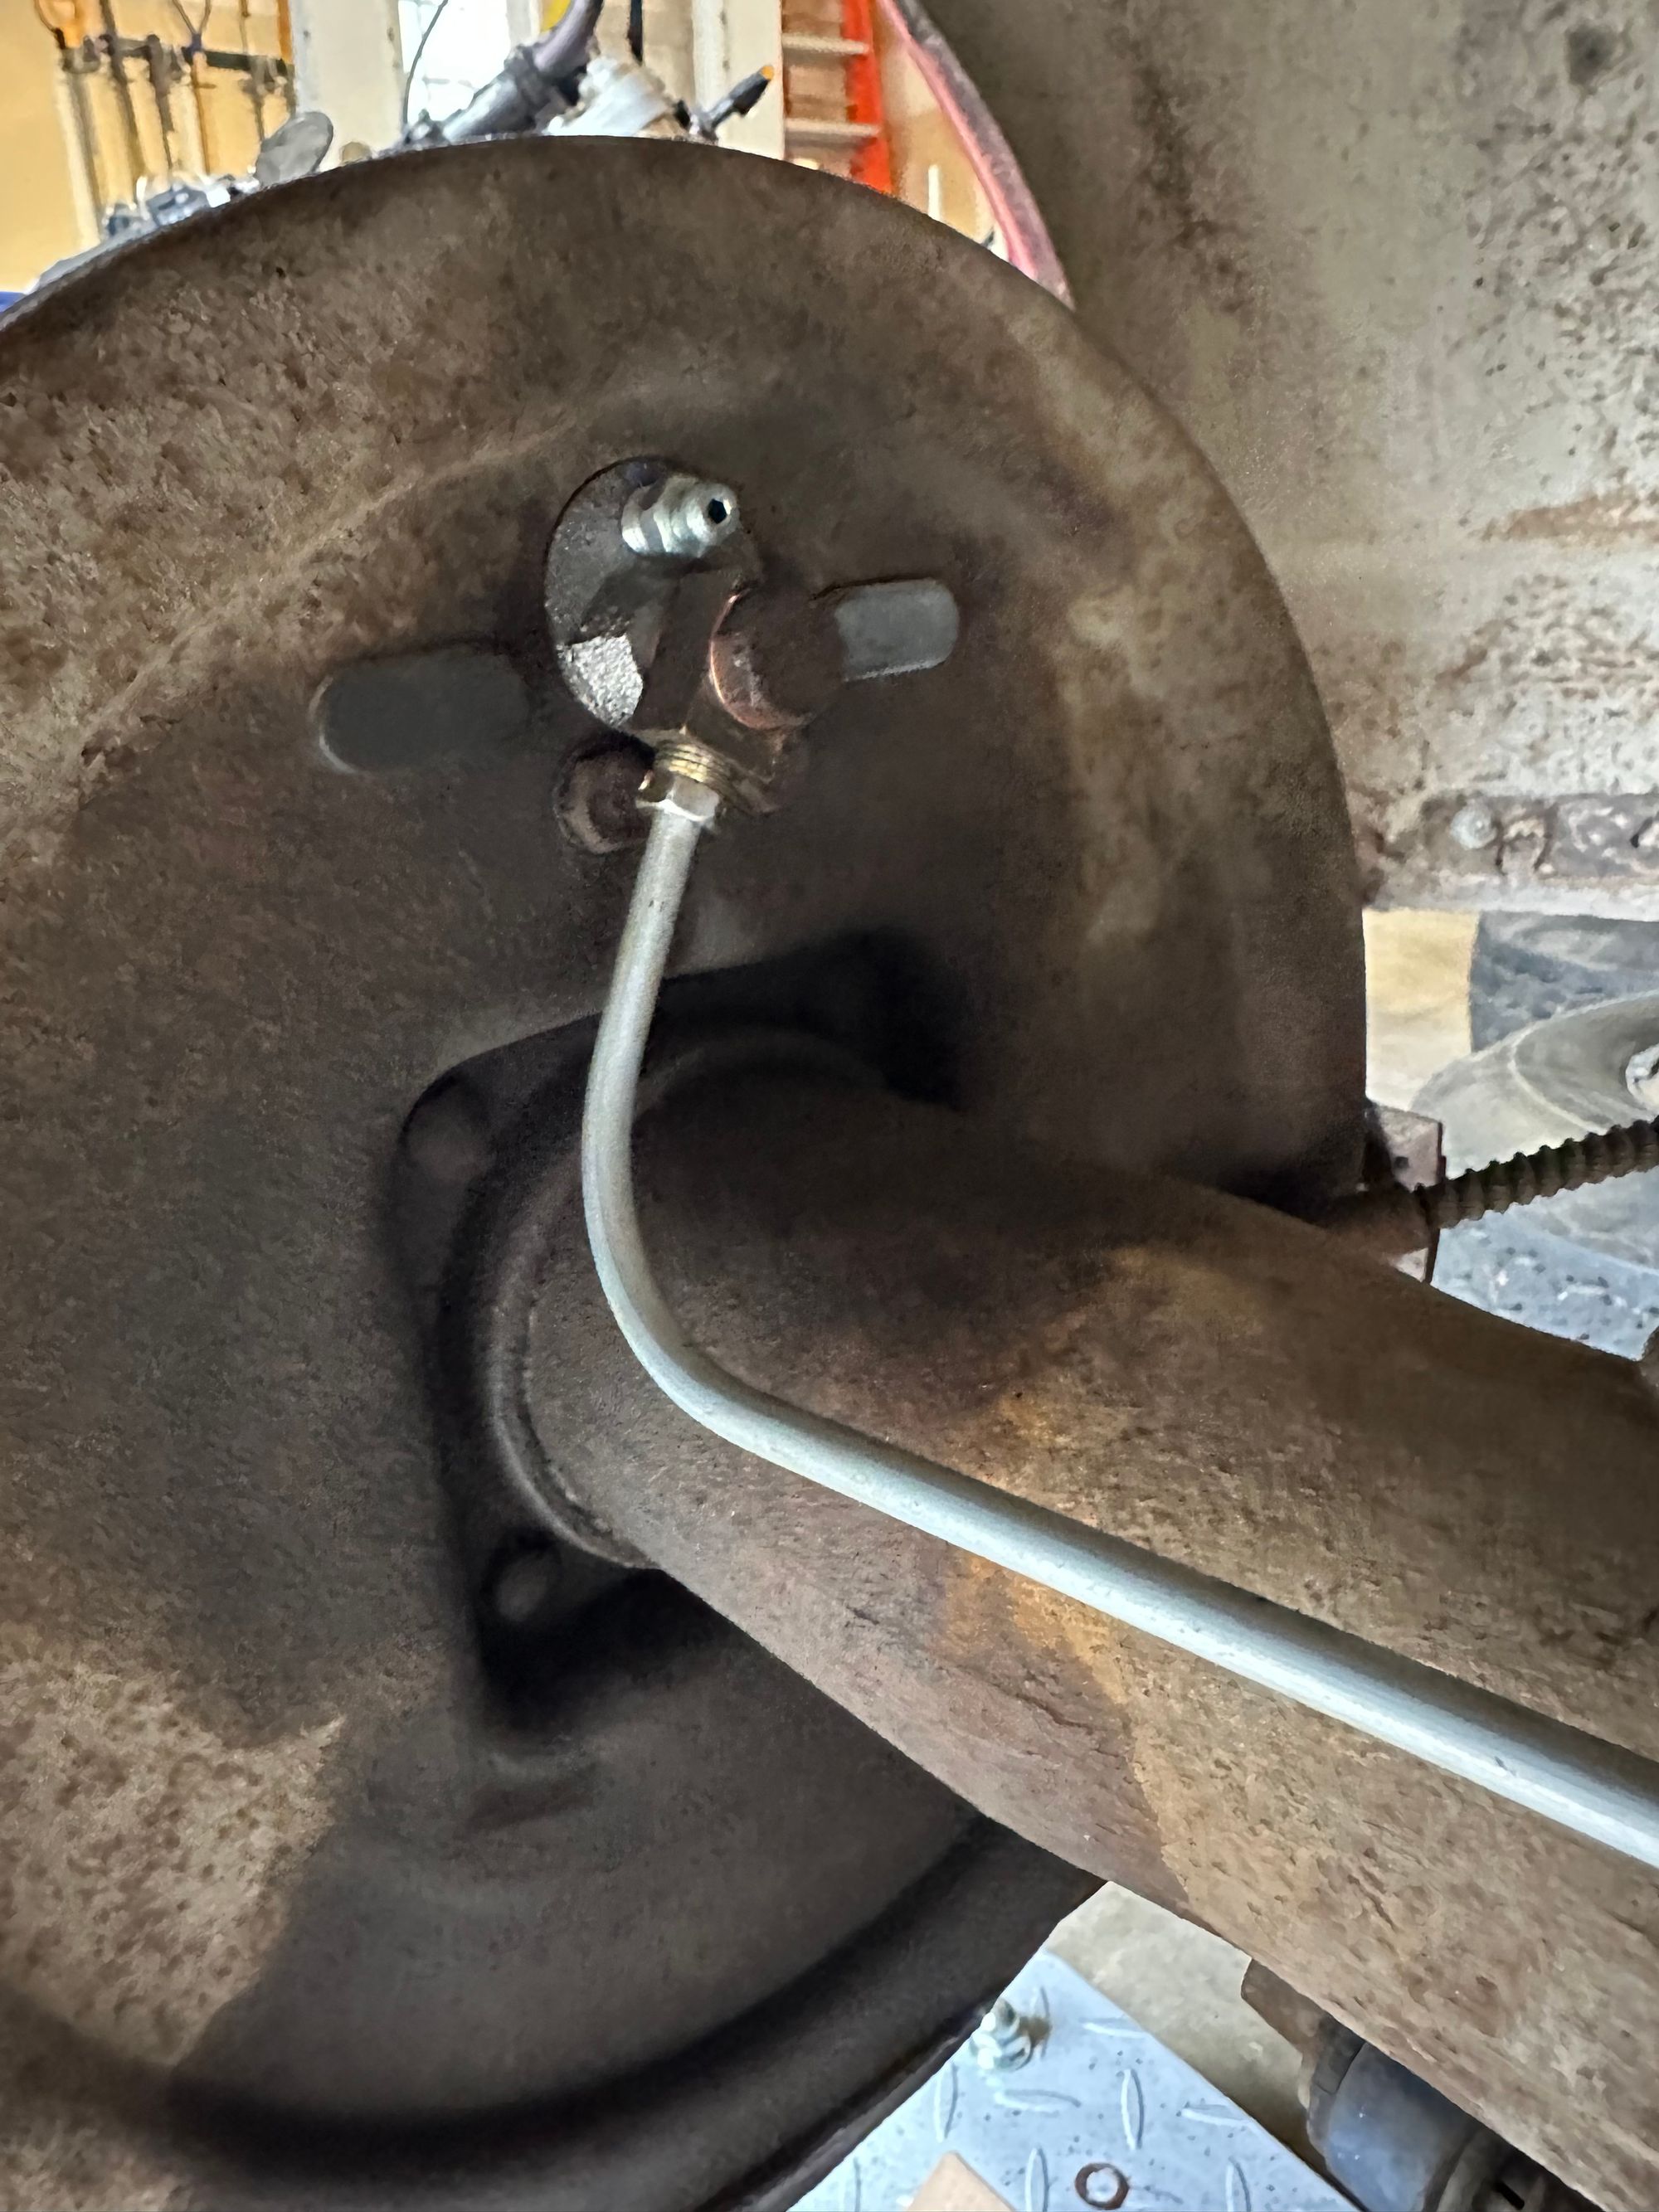
Thankfully the Truck Shop had pre-bent lines available, which would save me from having to fabricate new lines (turned out to not be the case for the front...read on). Unfortunately they were out of stainless steel...so original material it is. I mean, the old ones lasted 73 years so OK.
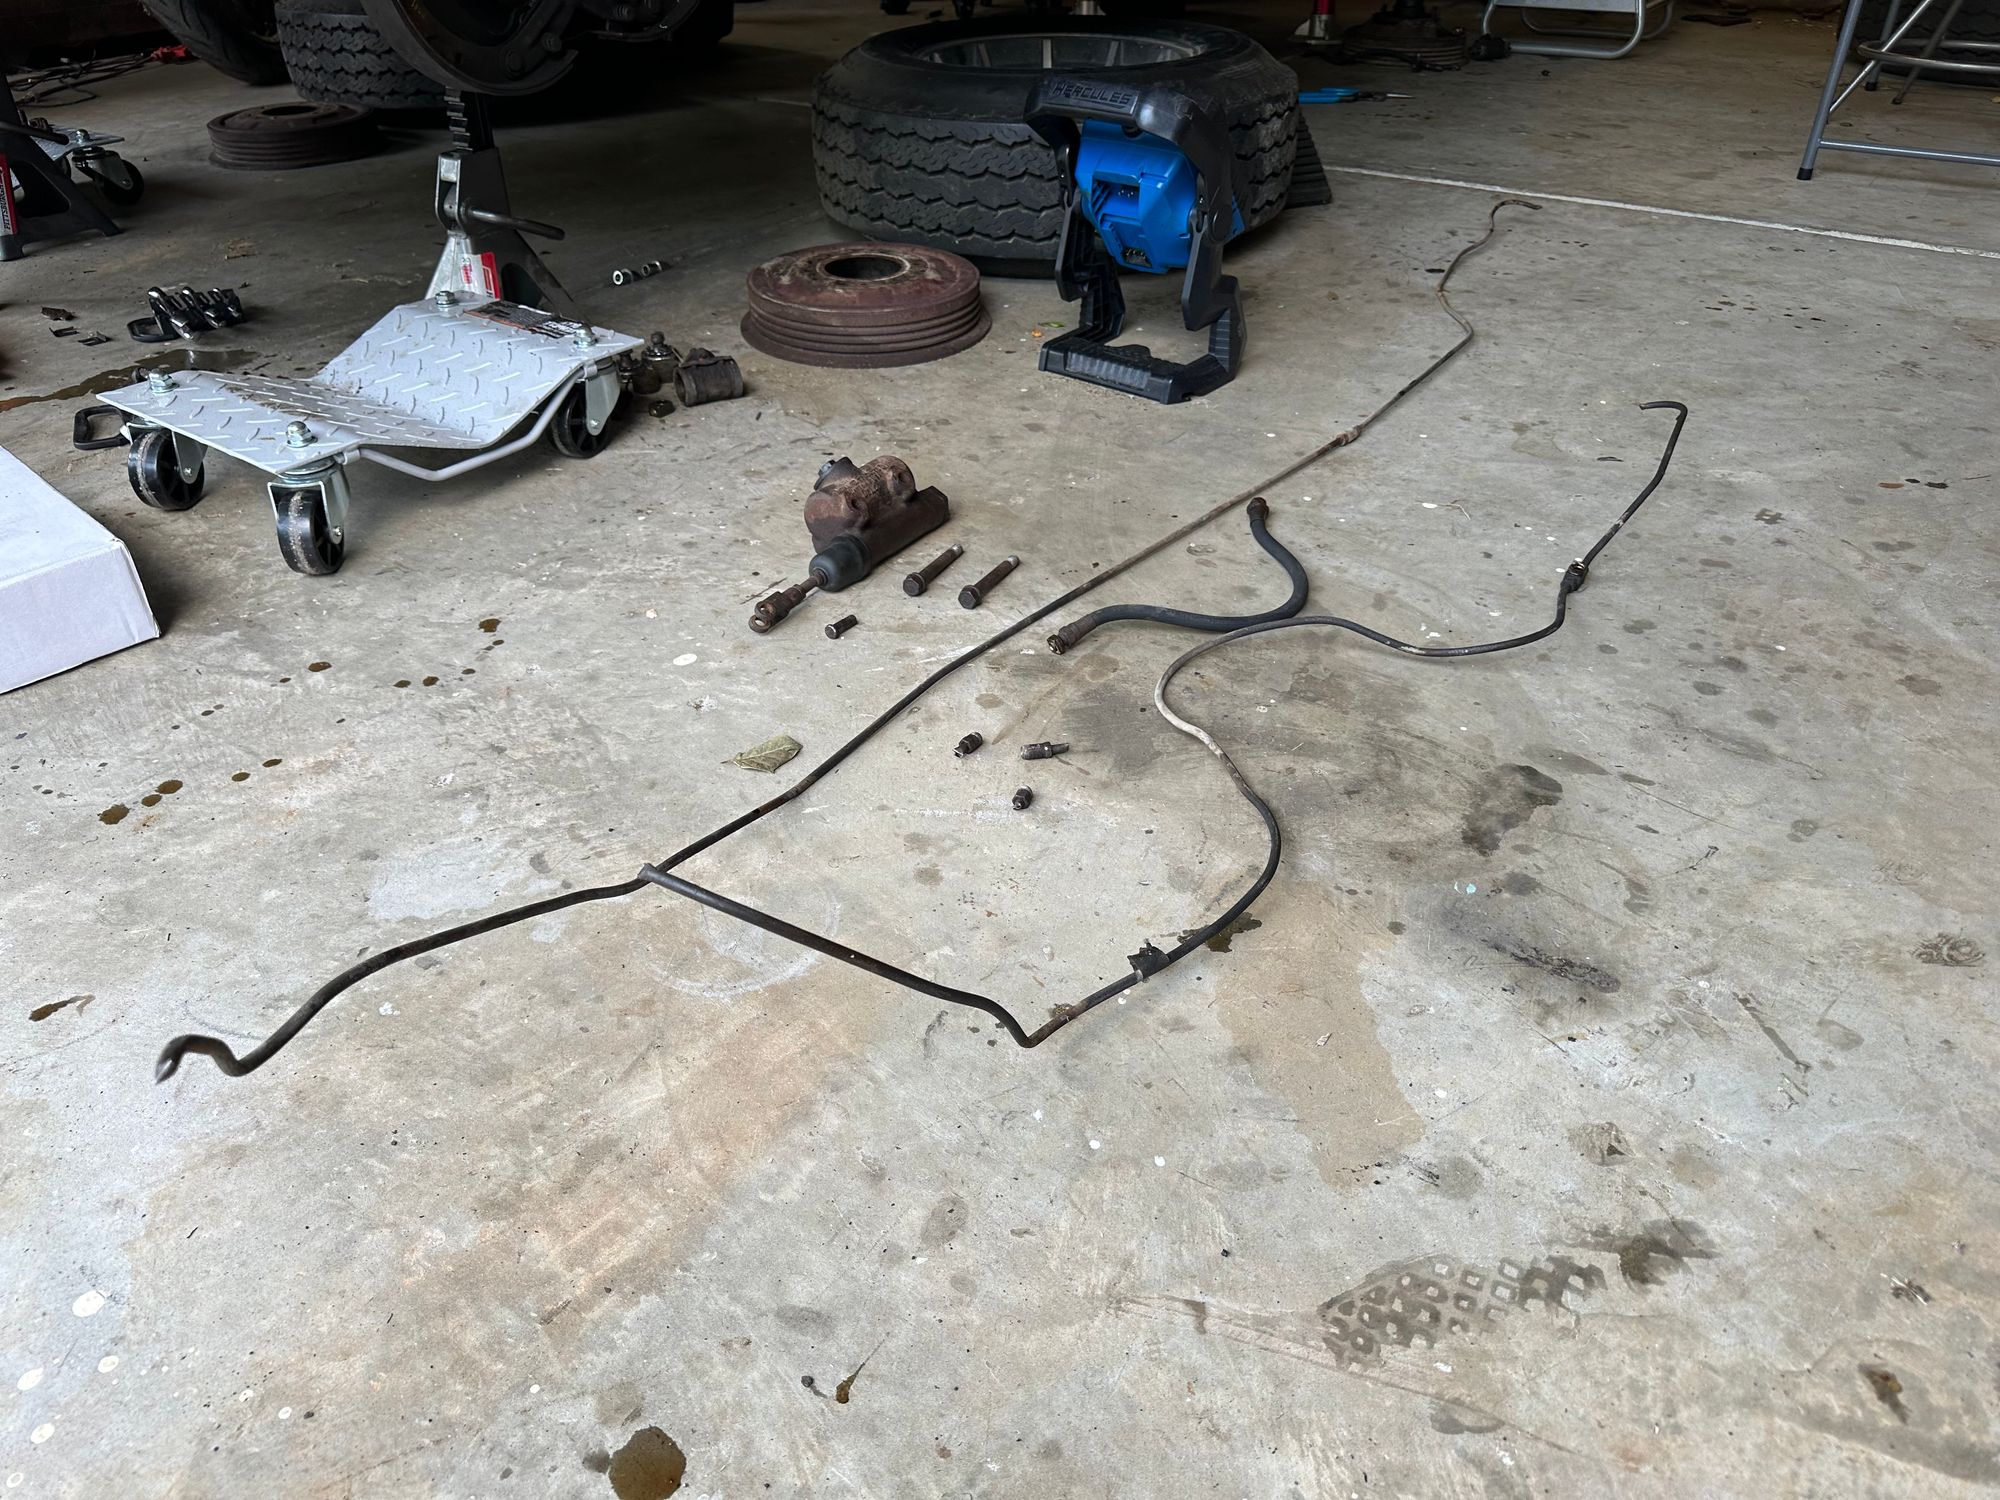
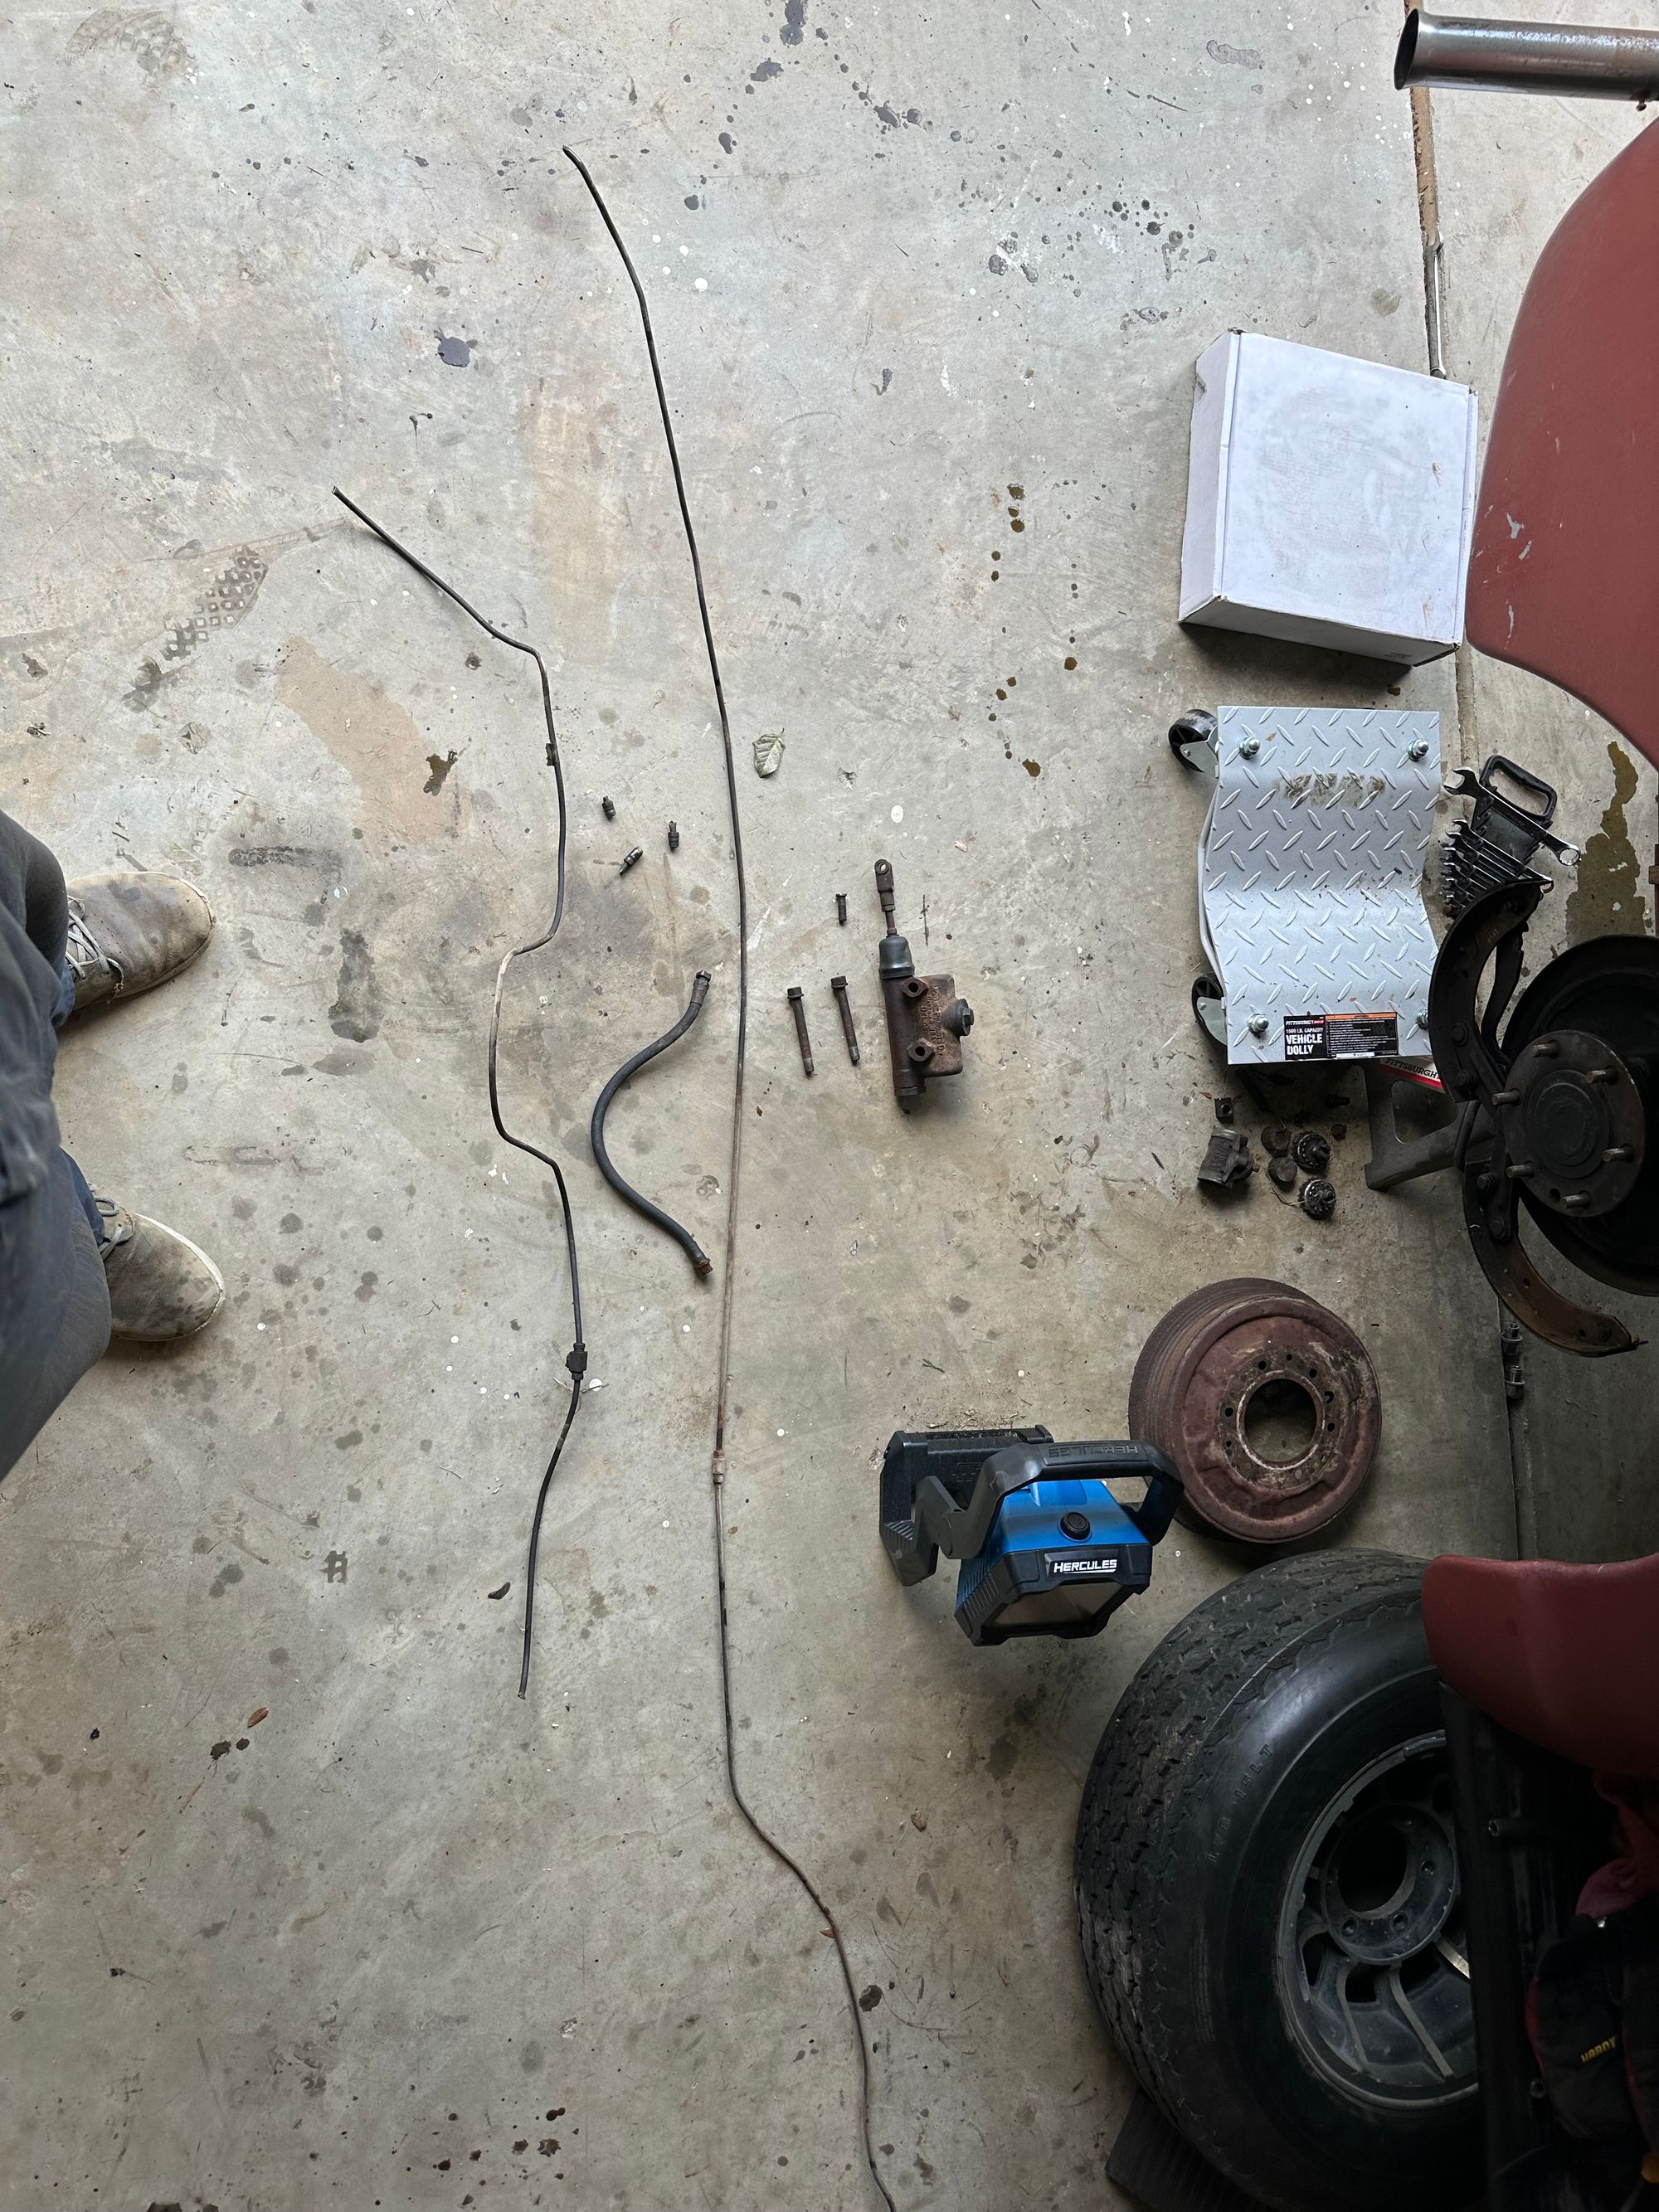
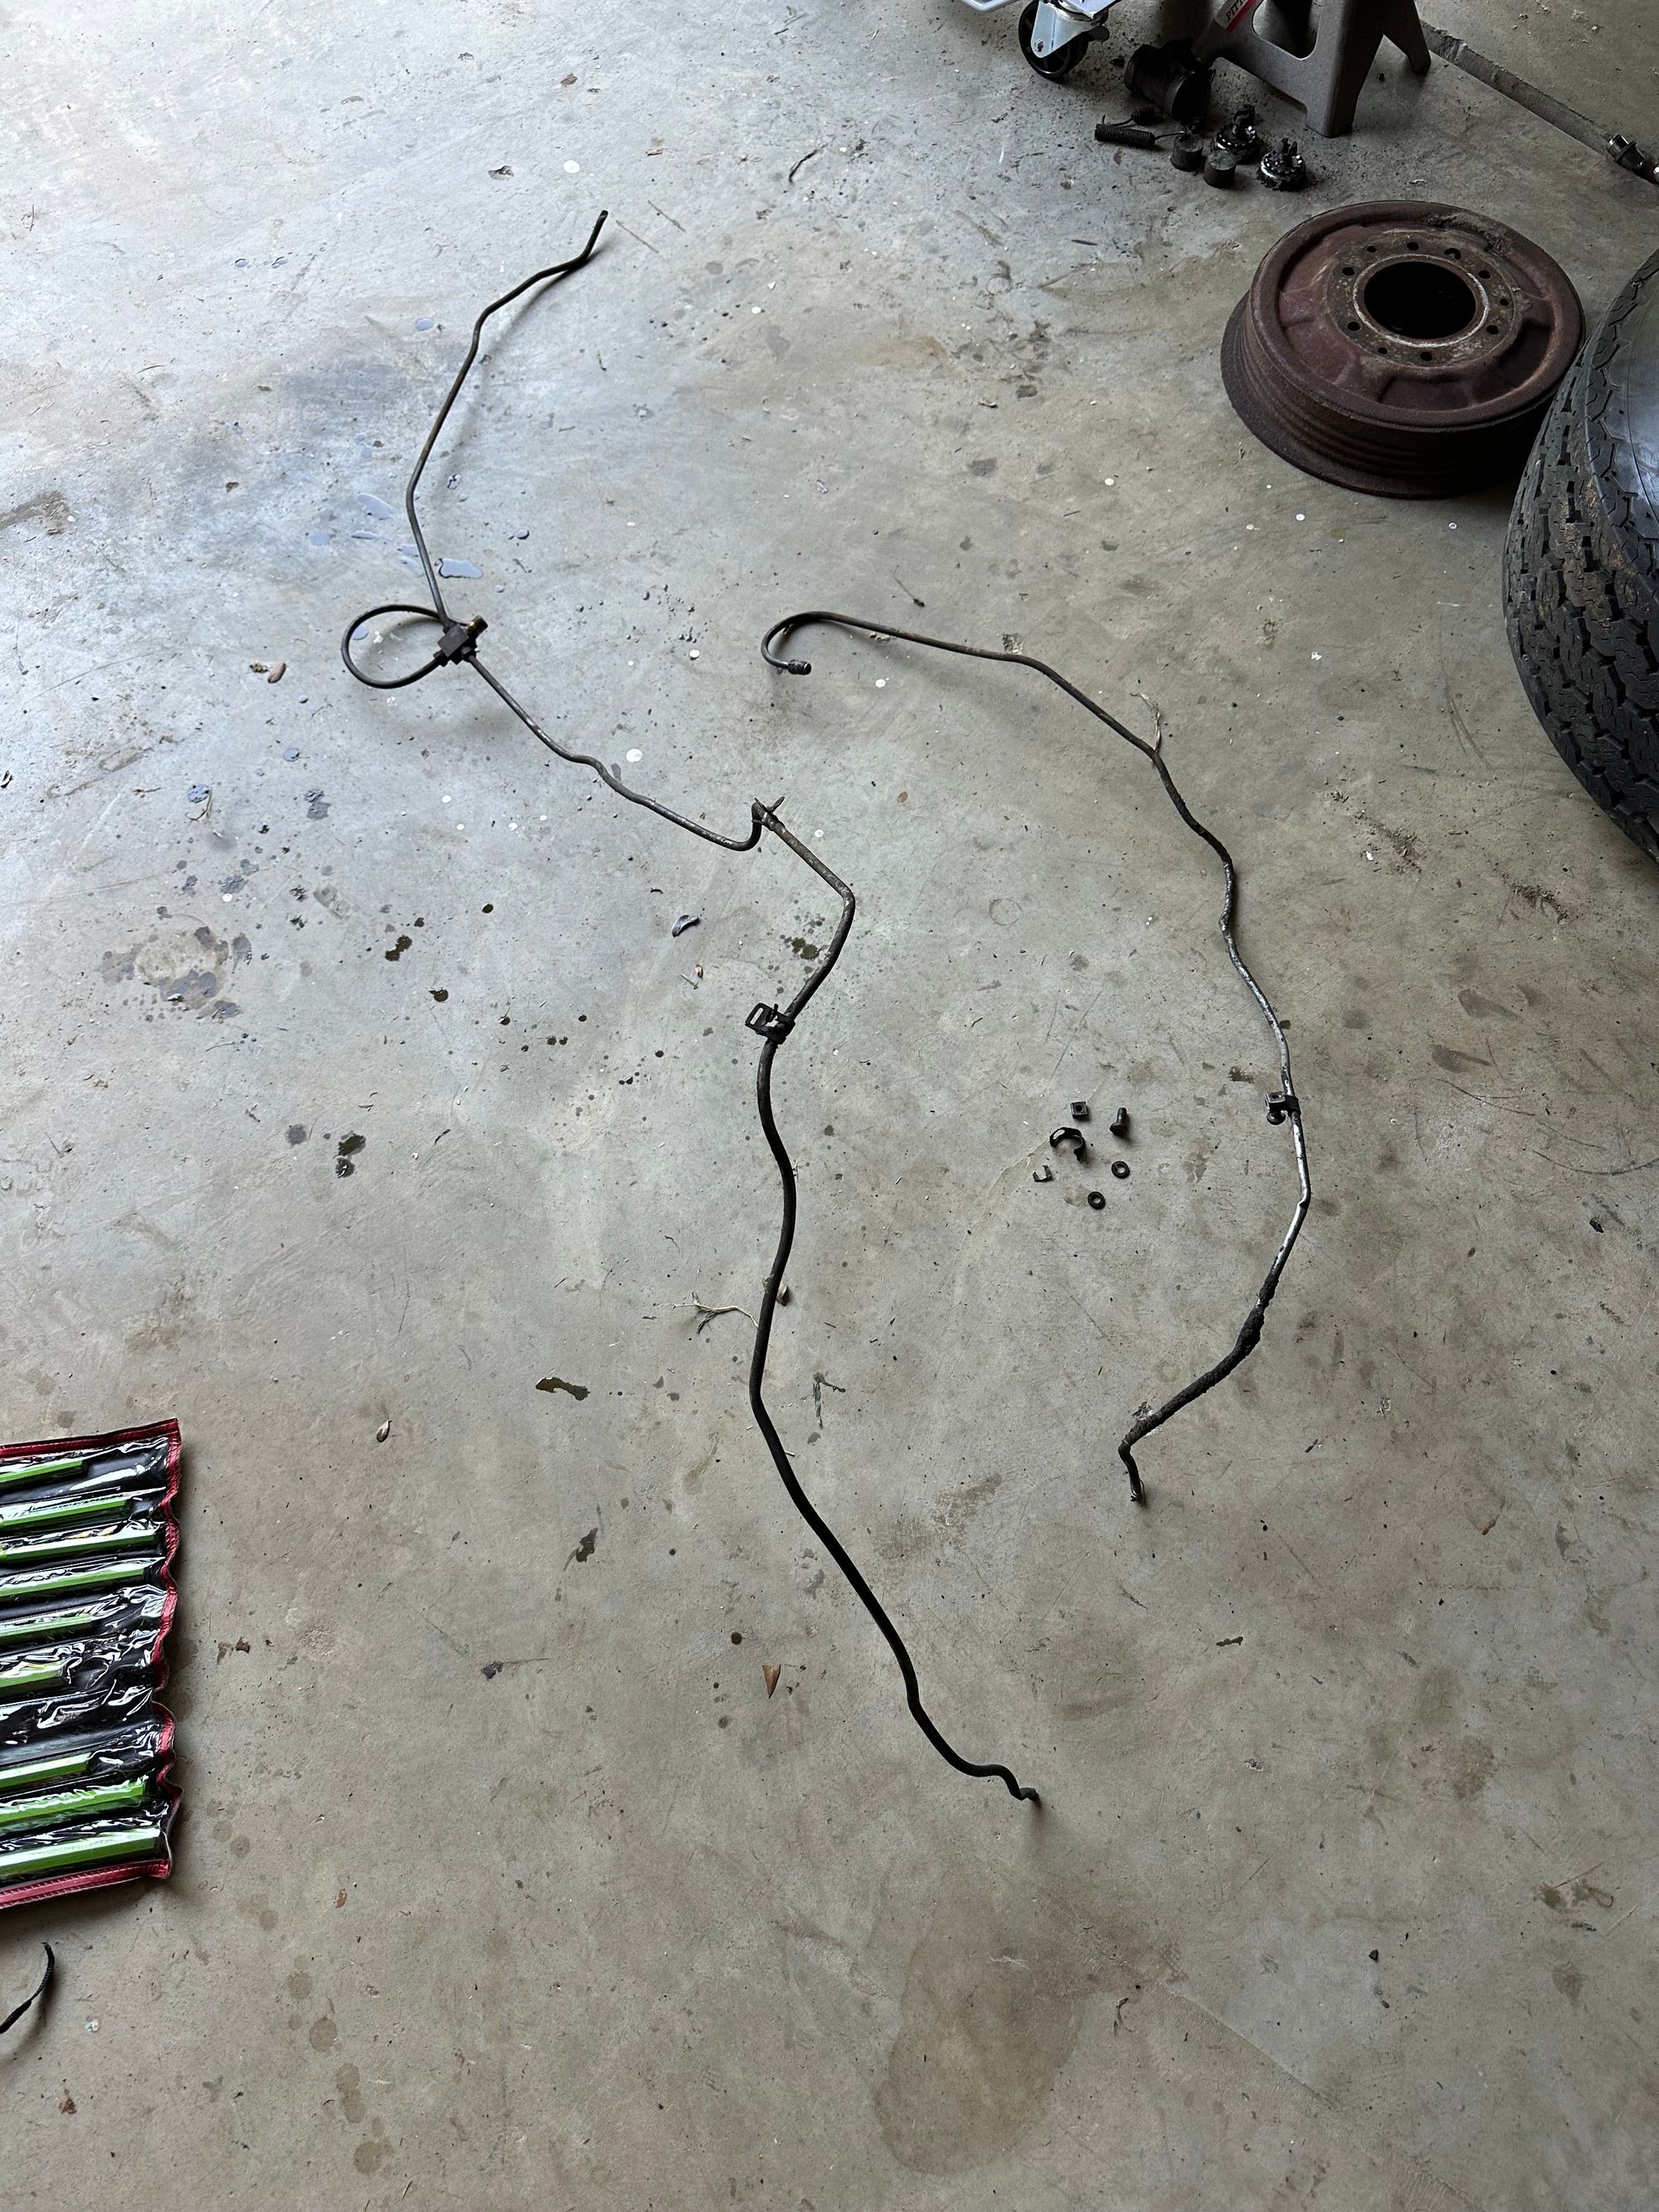
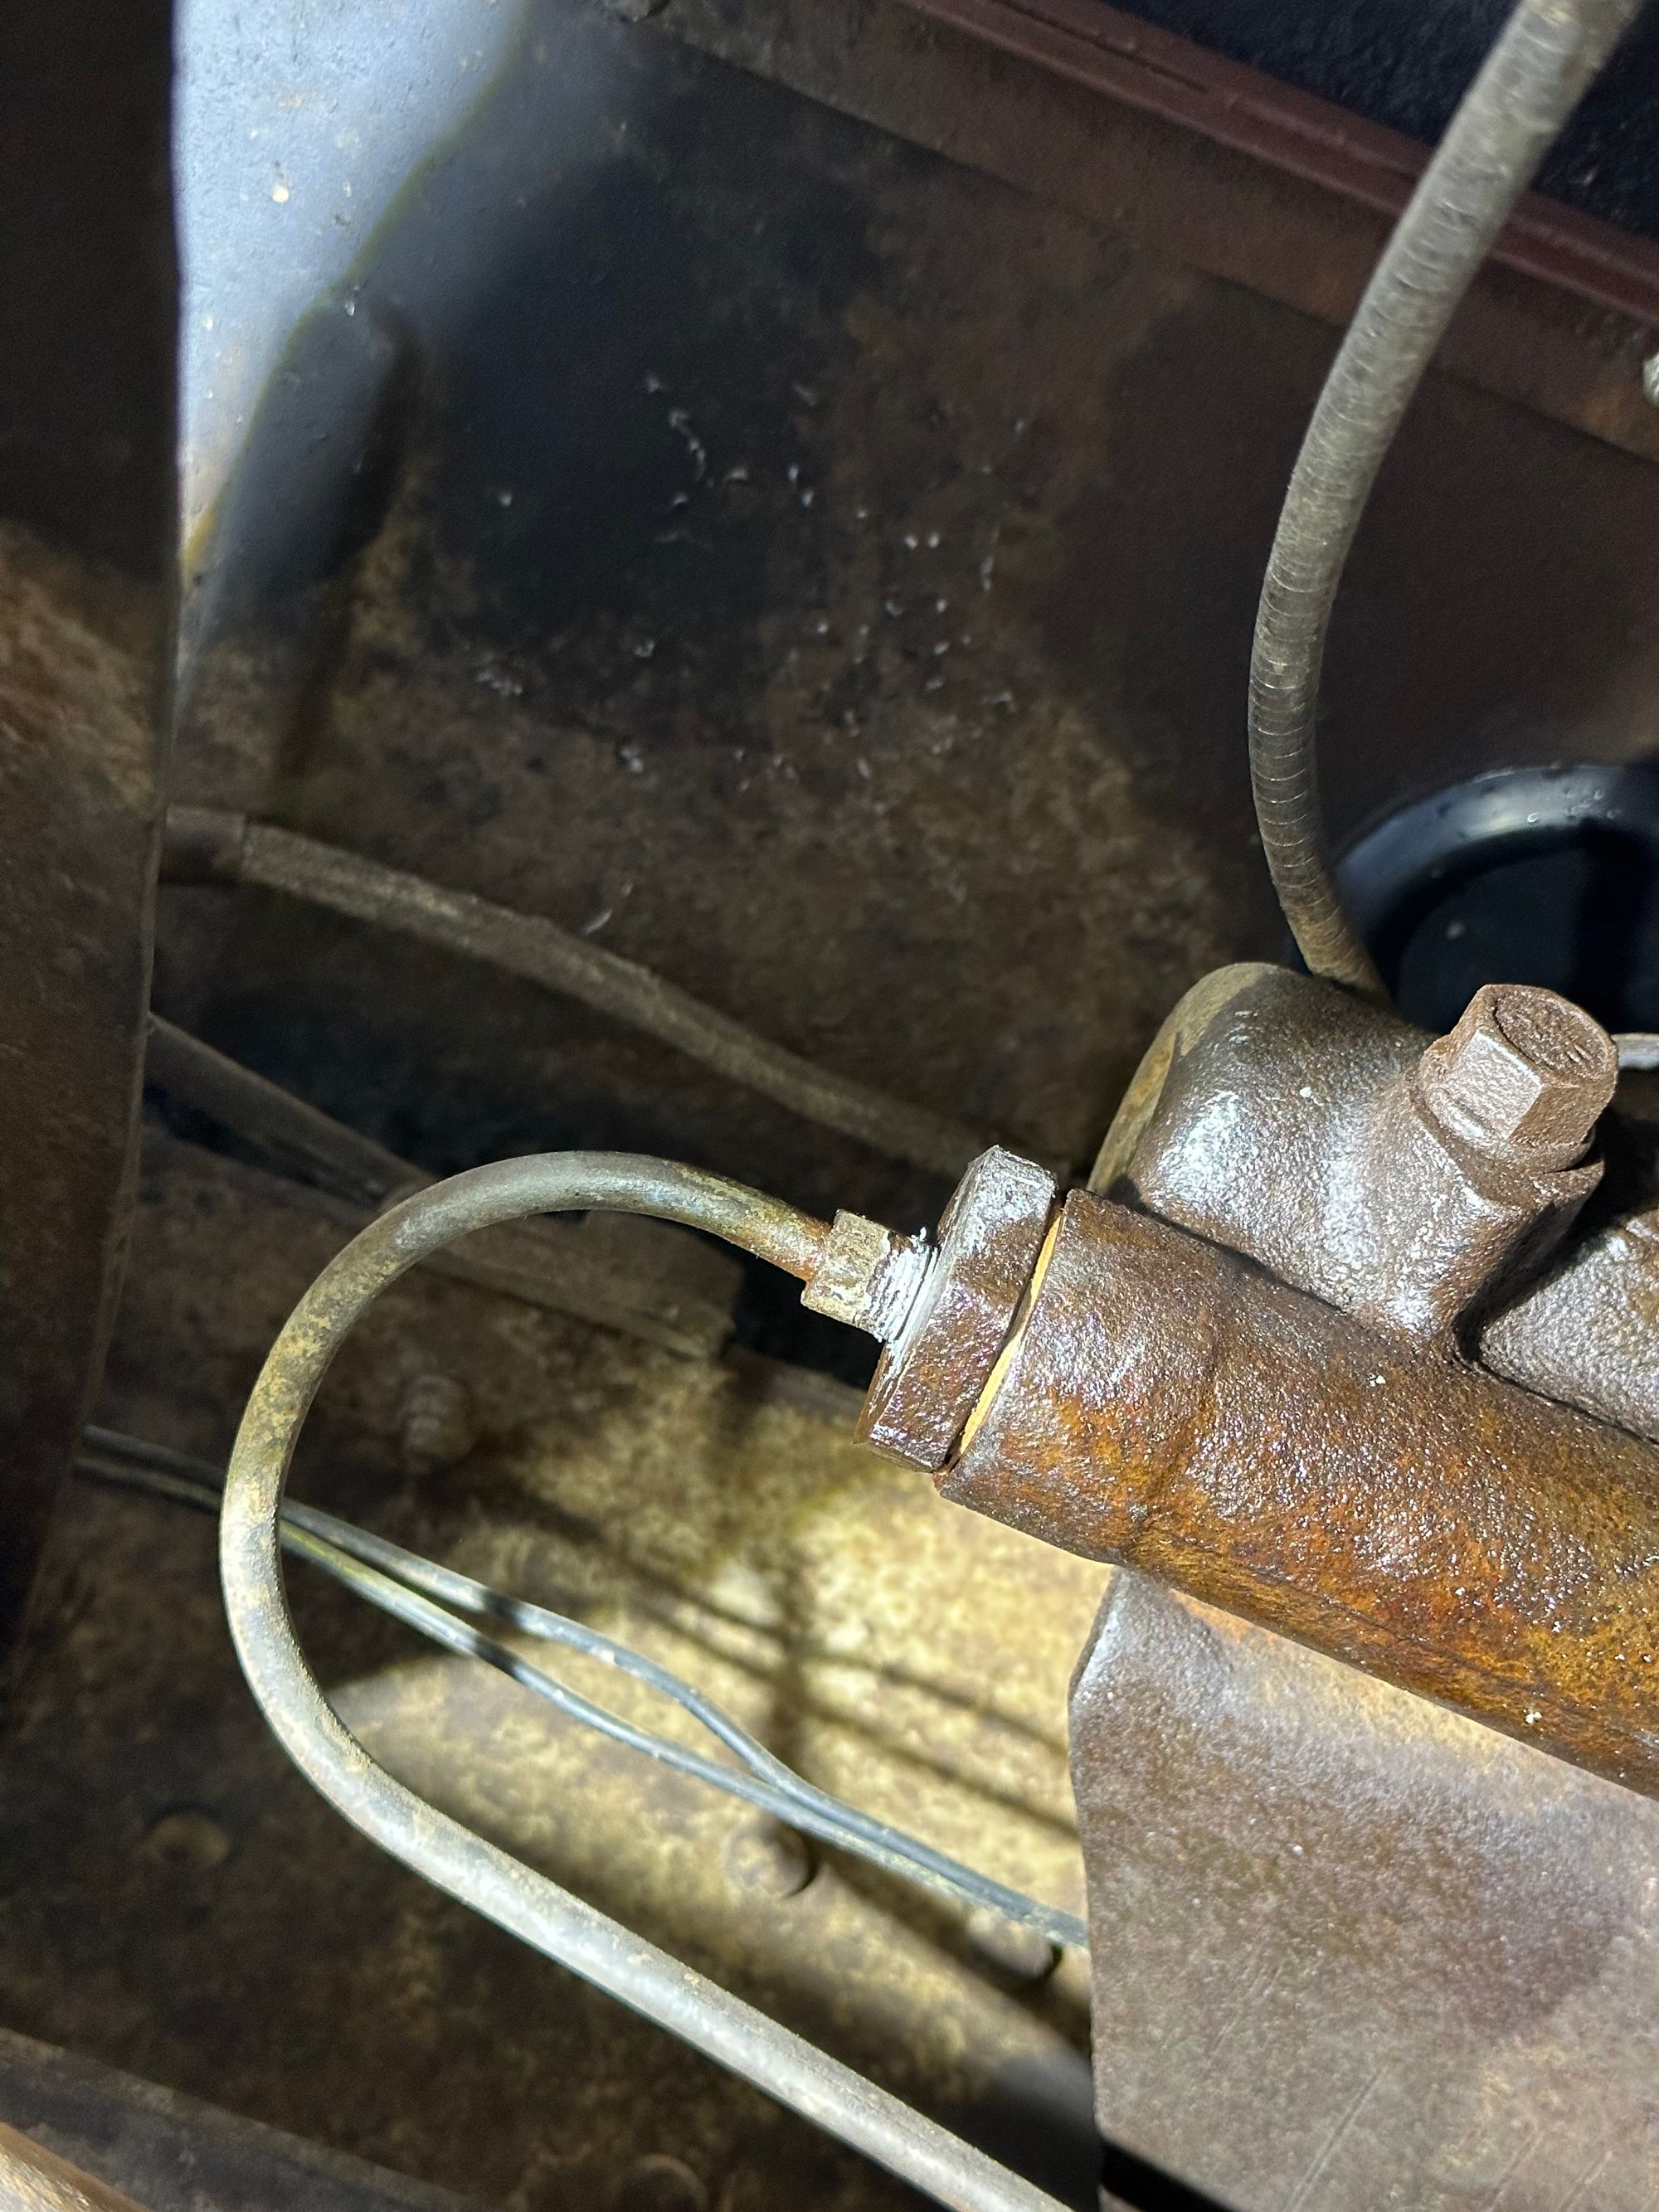
All the rear stuff went in super easy, but I suspected the automotive gods were just teasing me. In my haste to get the old lines out, I wasn't paying super close attention to the front line routing. When it came time to route the front lines, I could not for the life of me figure out a way to get the front line routed without destroying them.
So, I got hold of some copper nickel alloy line, which is way more bendable and pliable than steel lines but still strong enough to hold pressure. A few bends and flared ends and I'm back in business right? Not so fast....
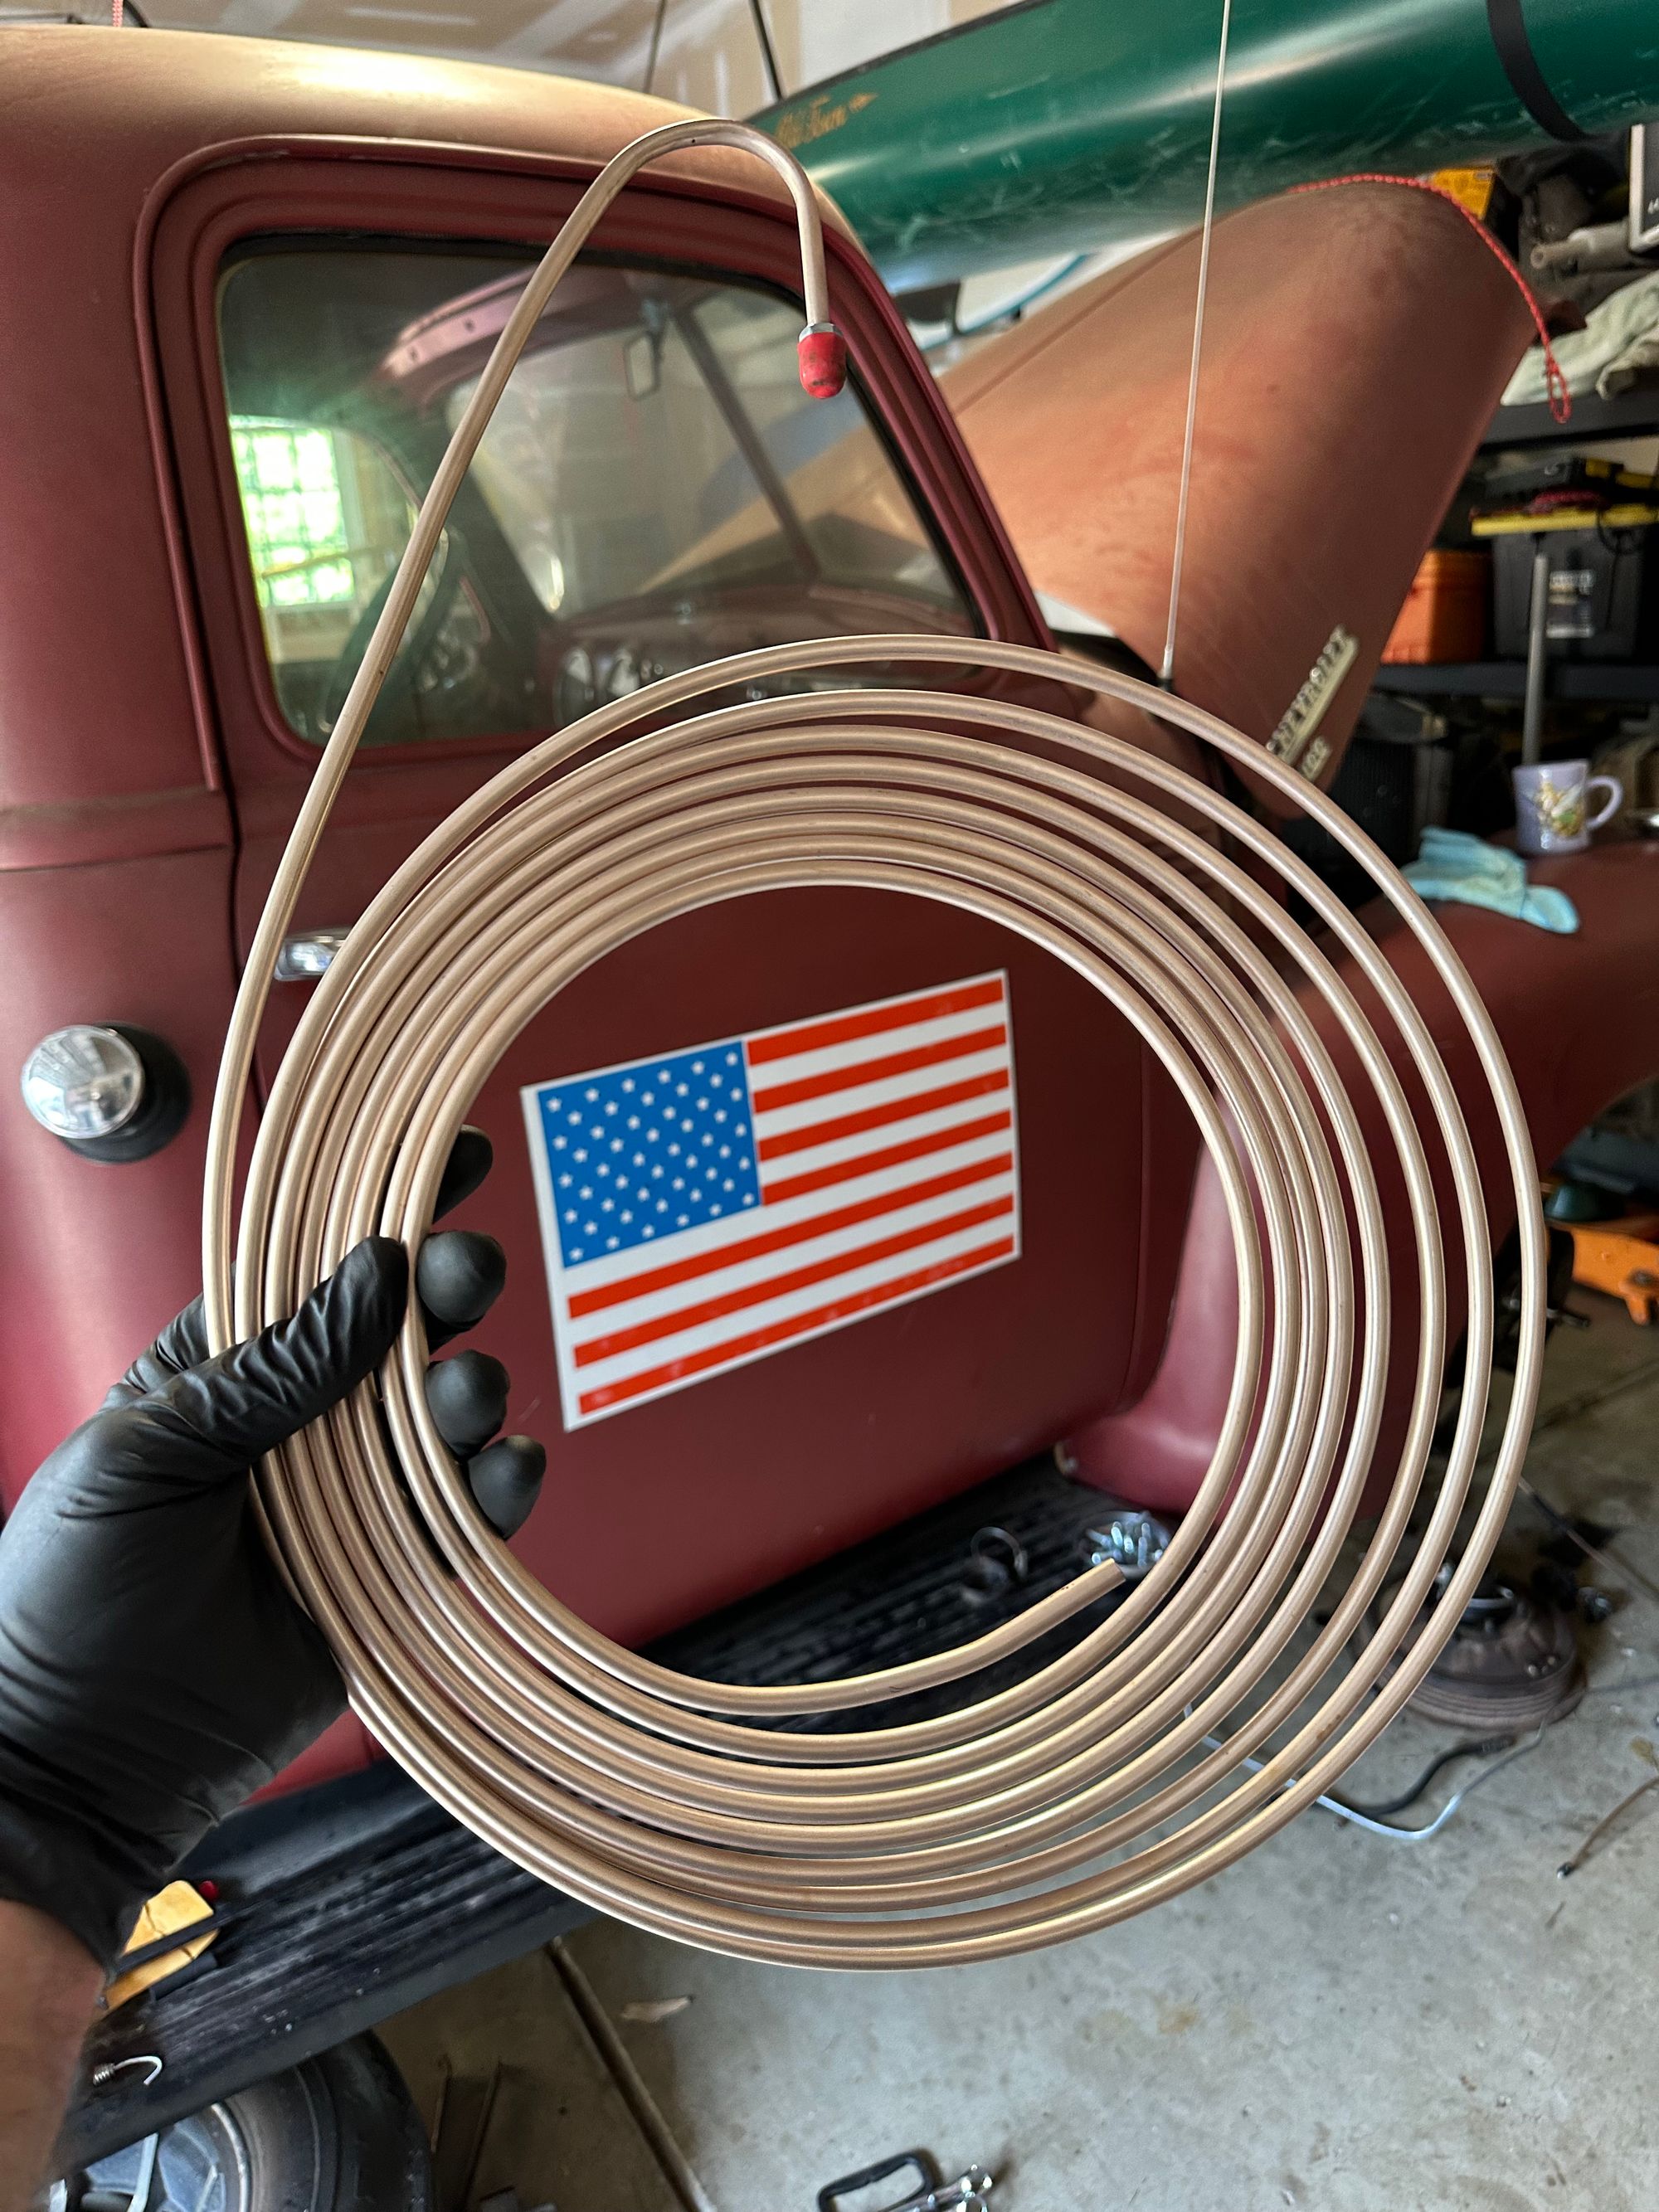
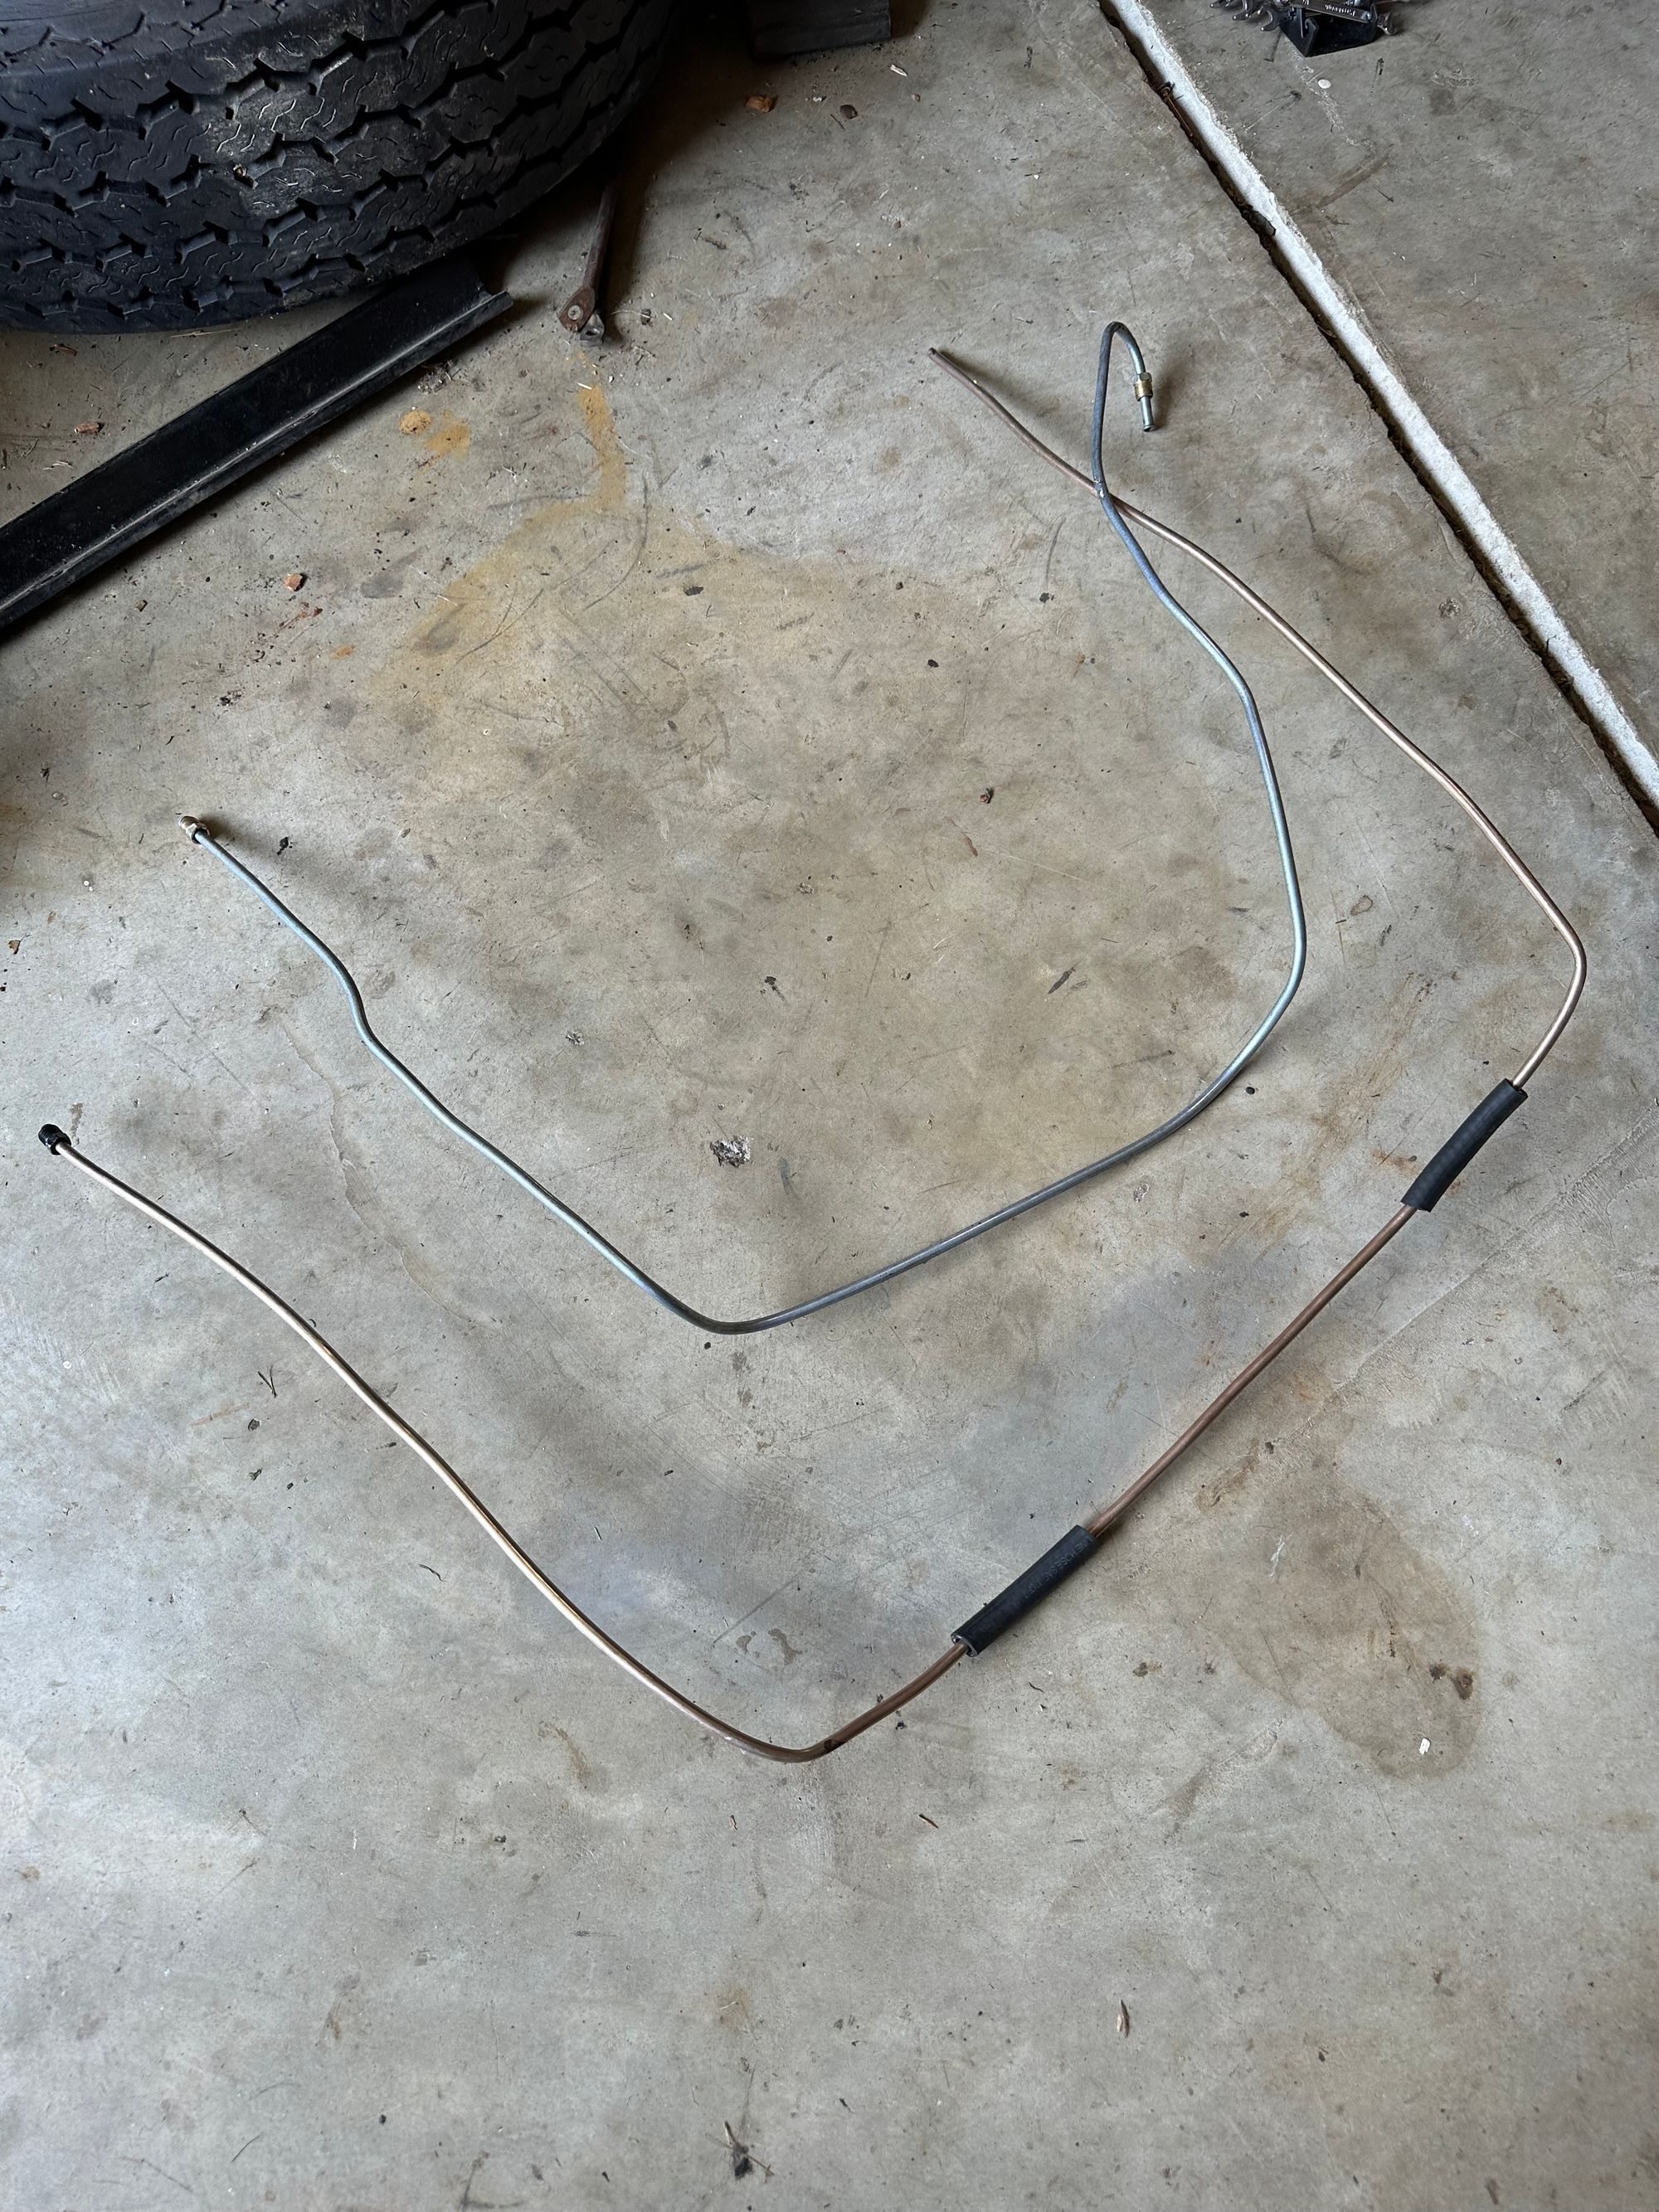
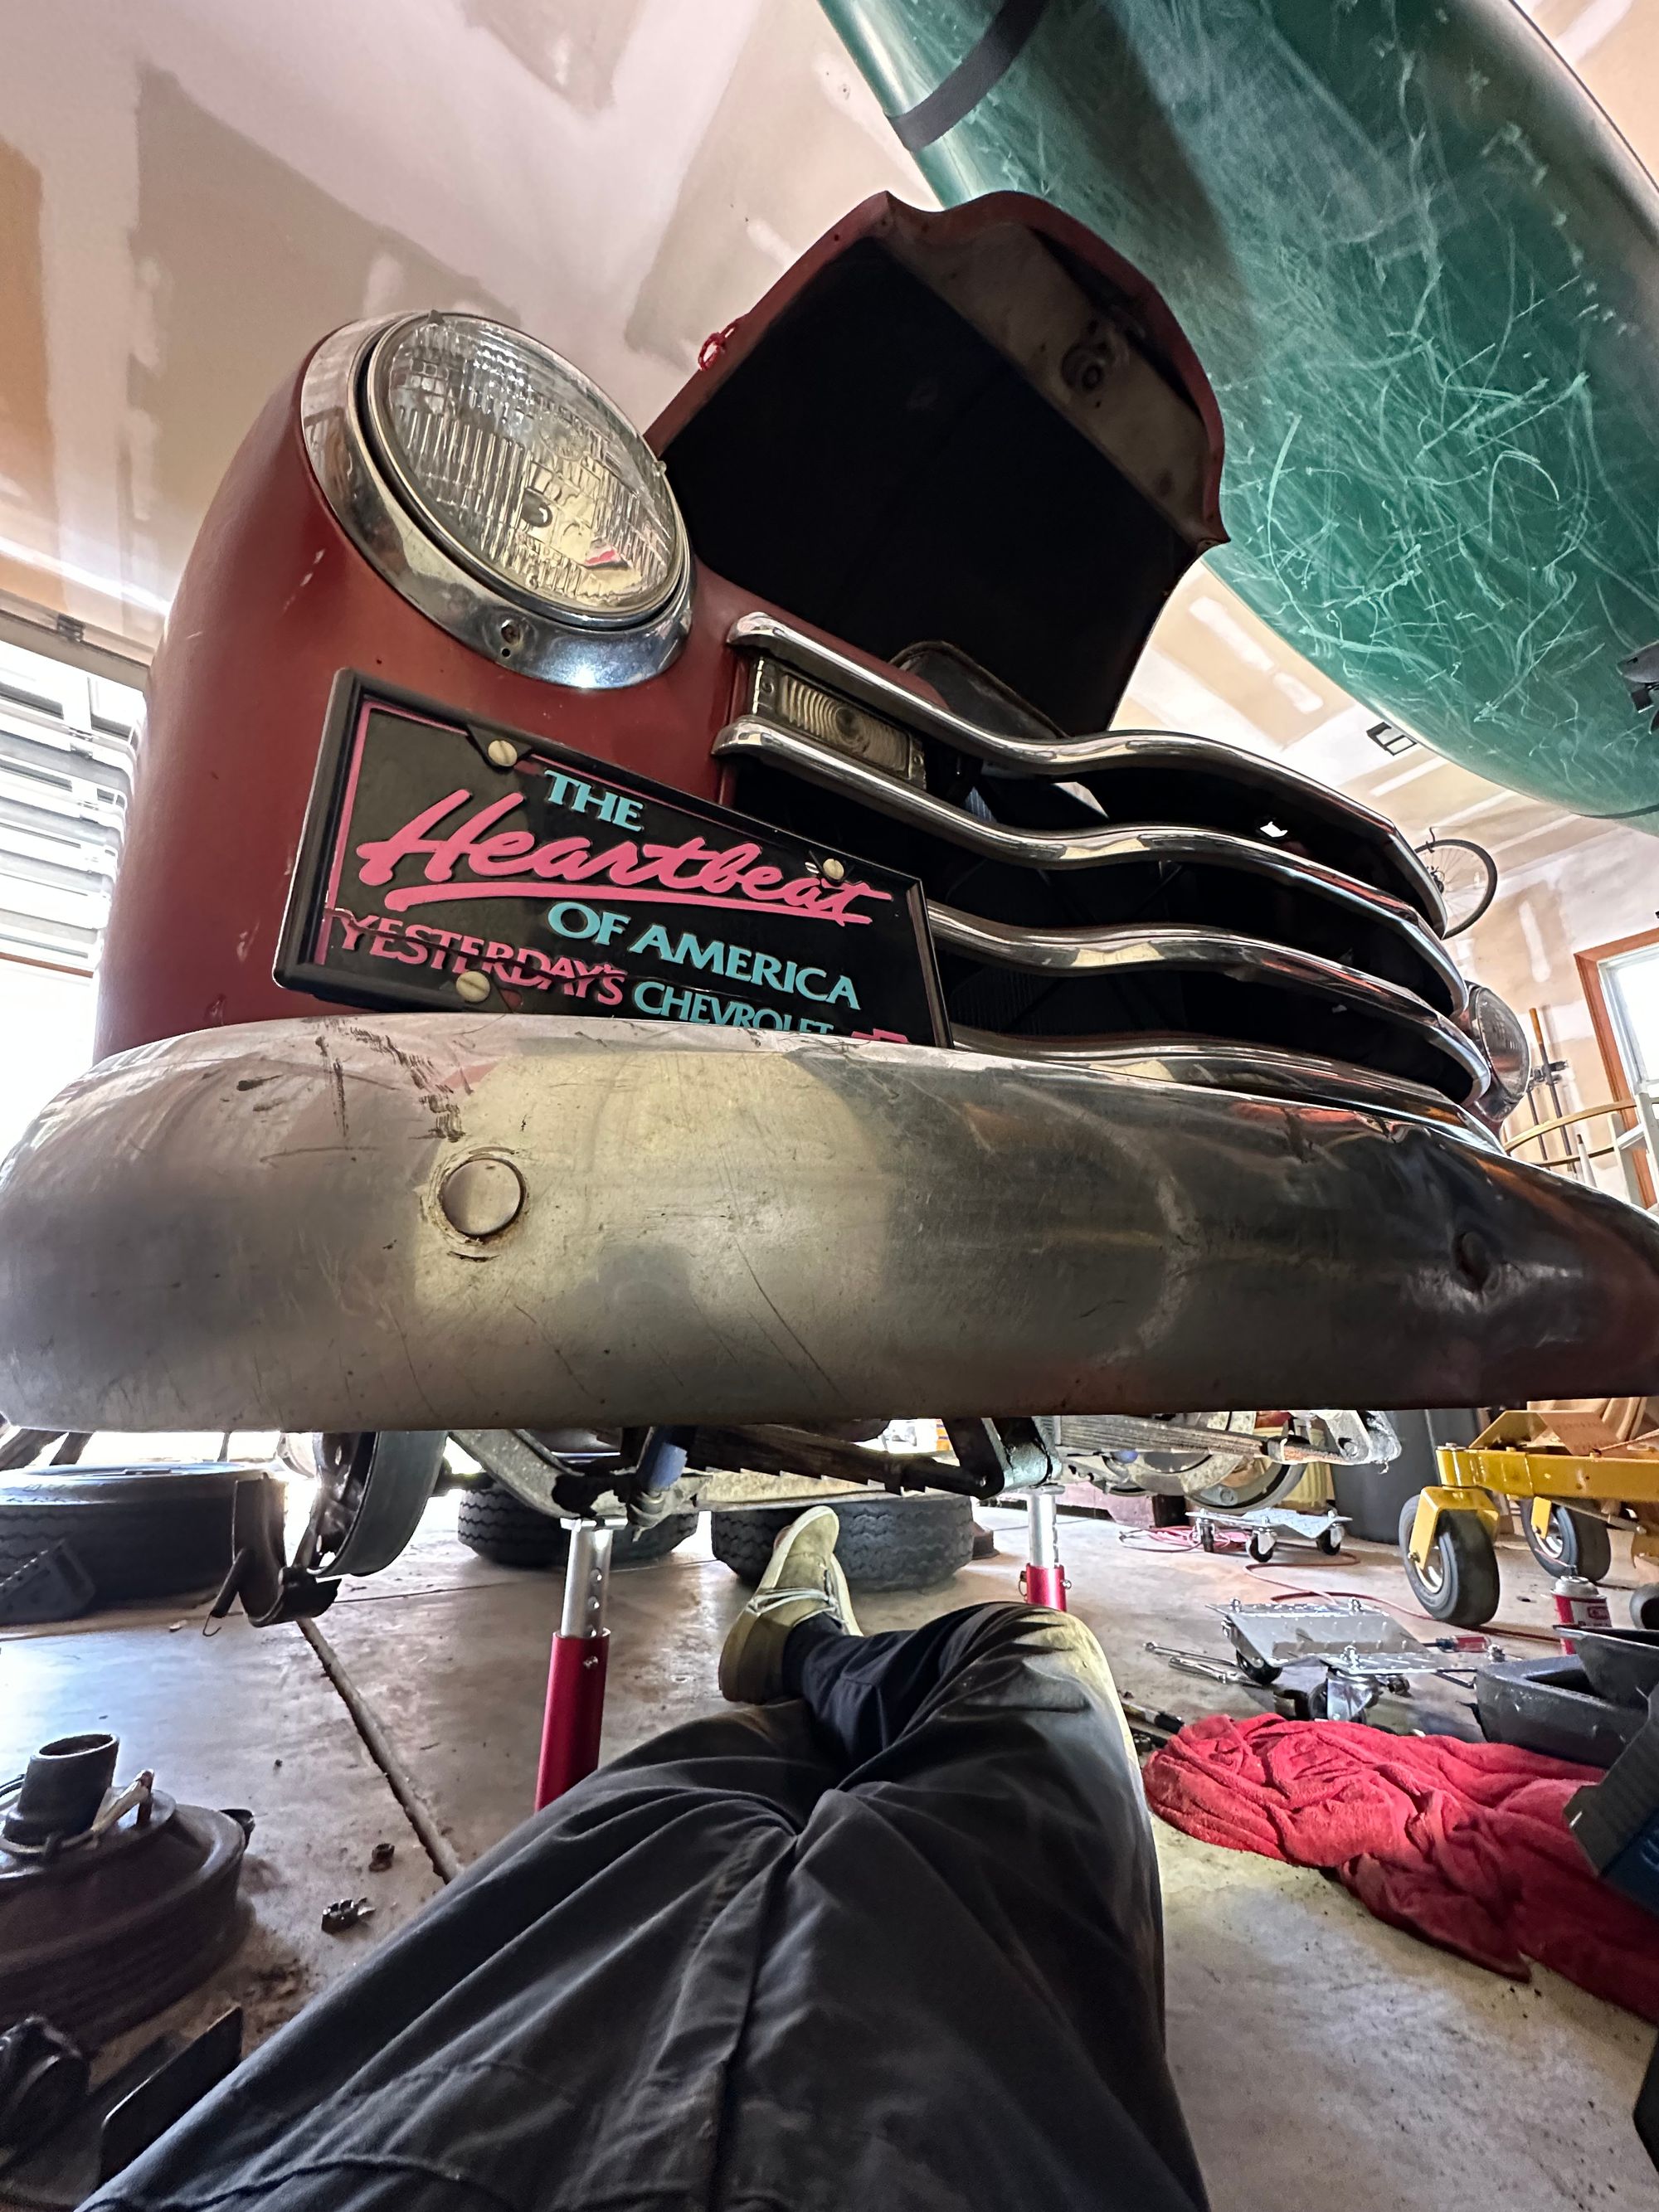
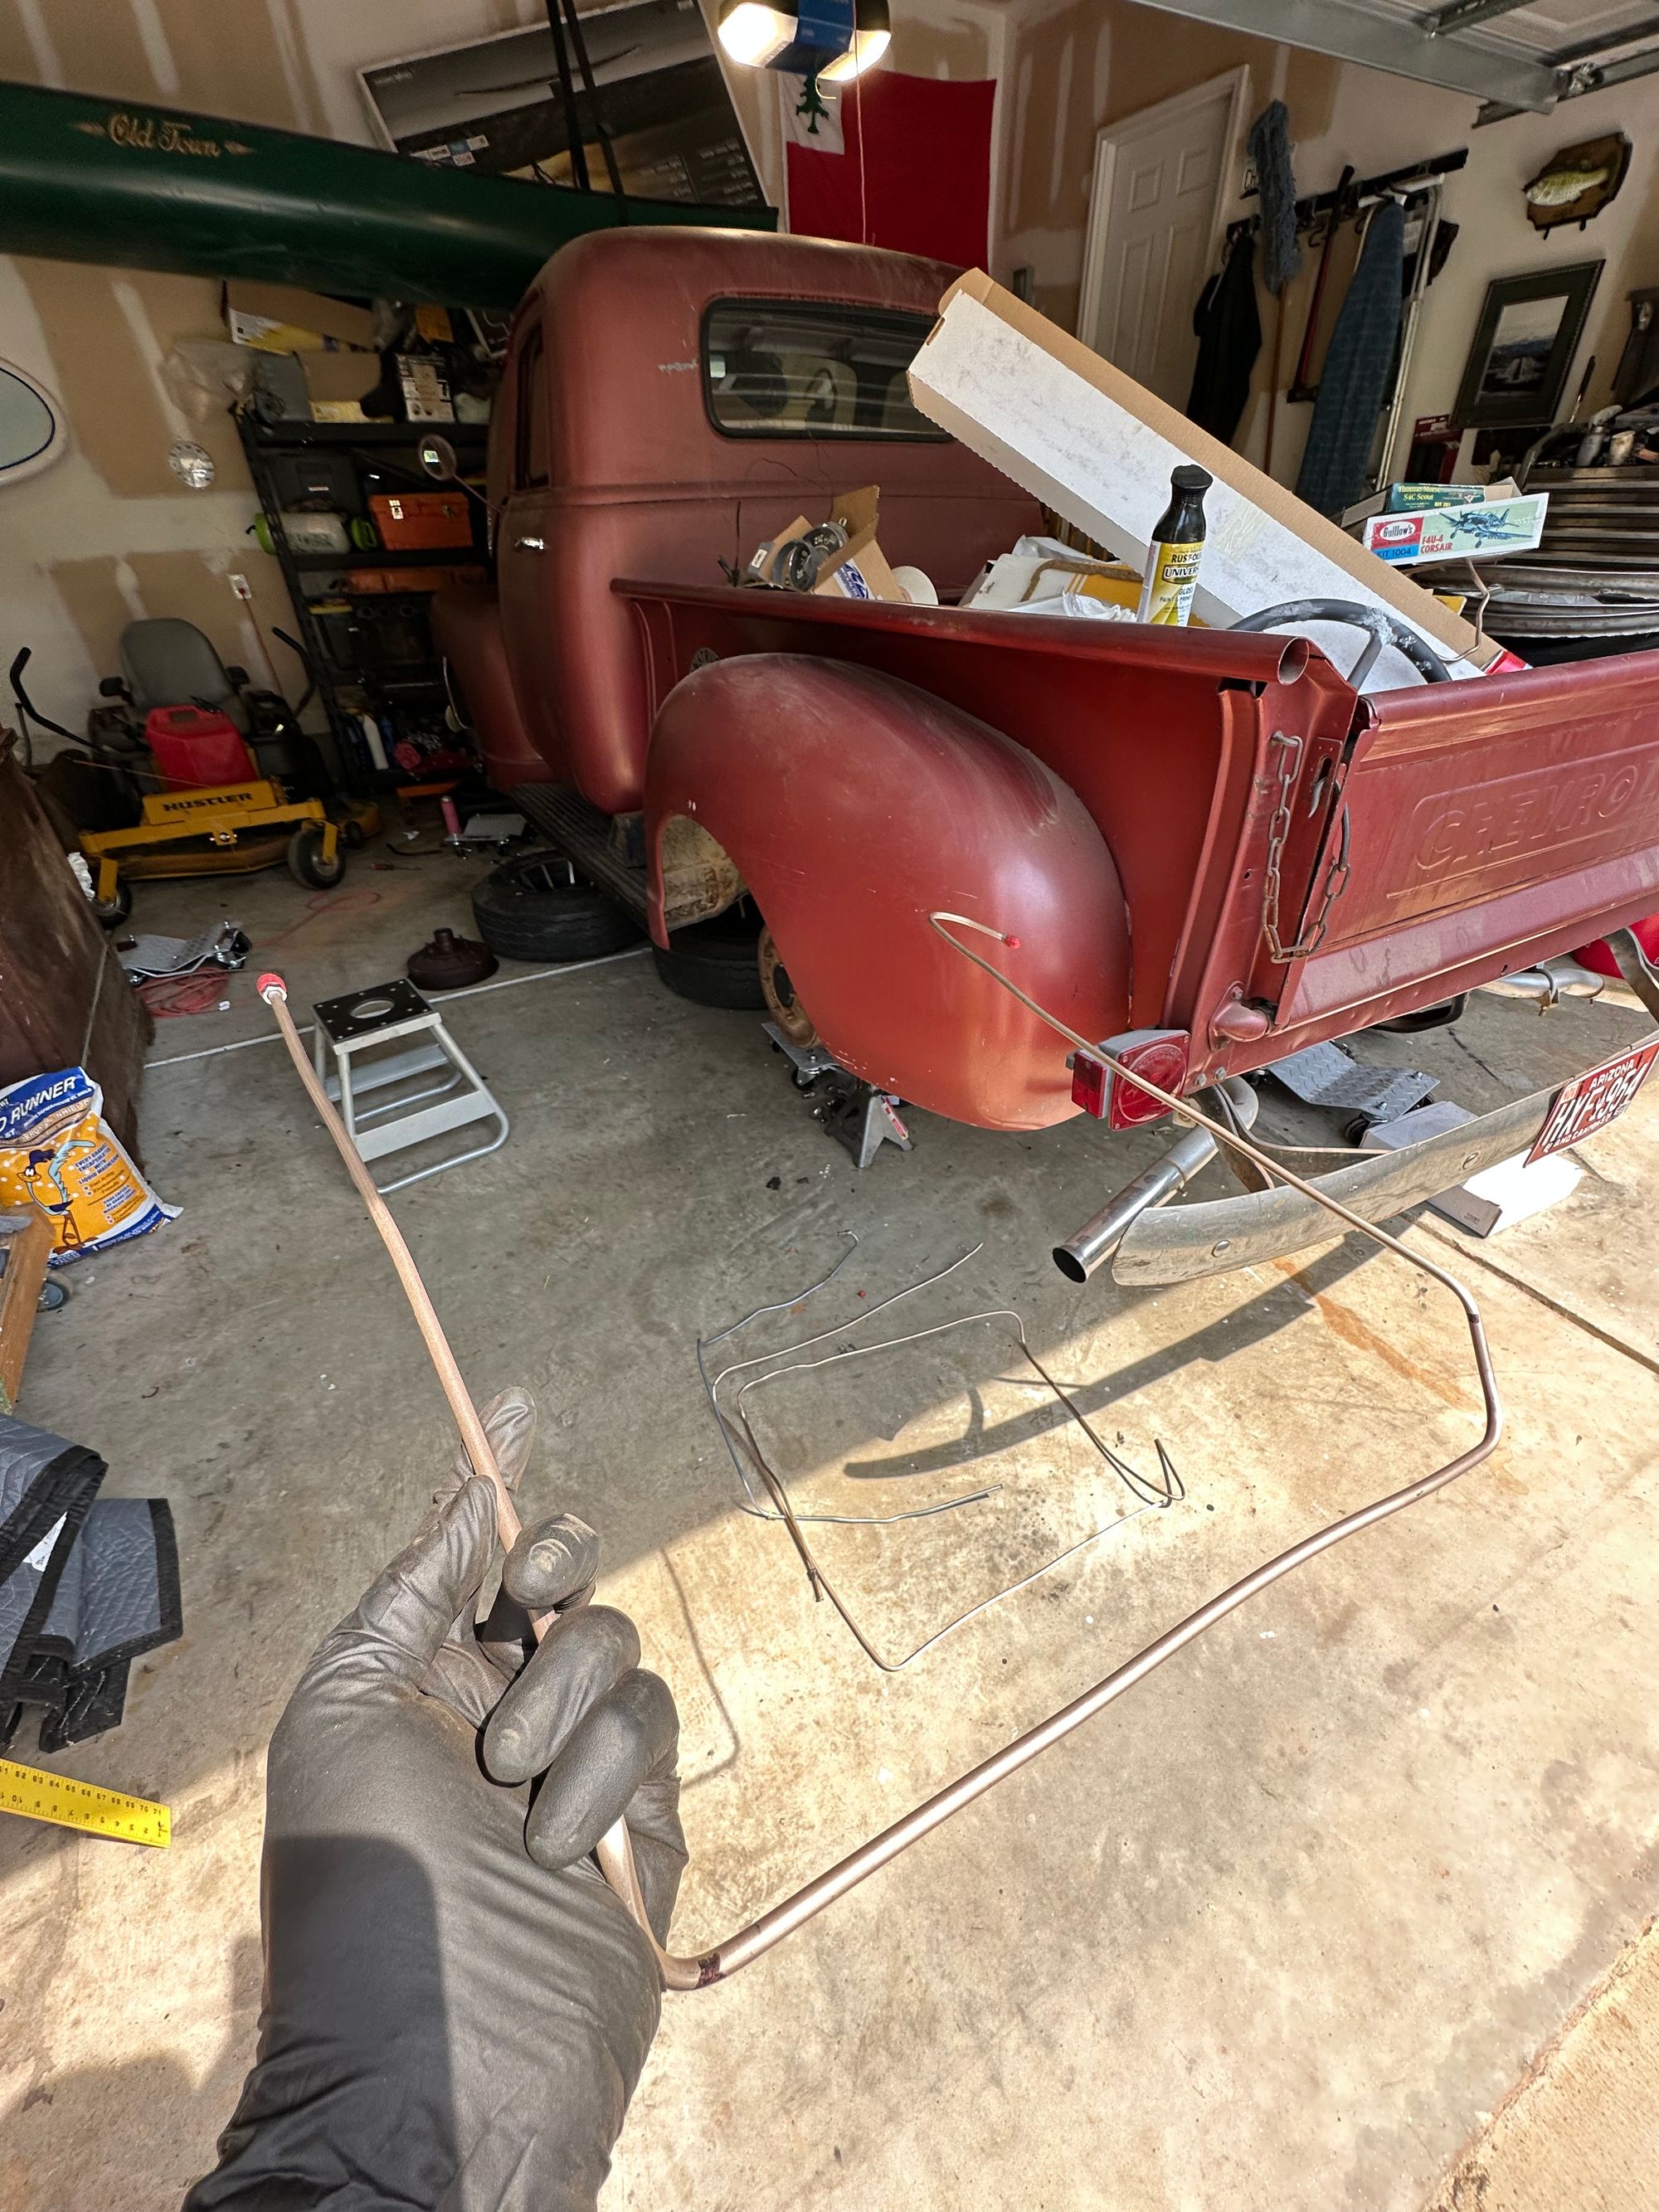
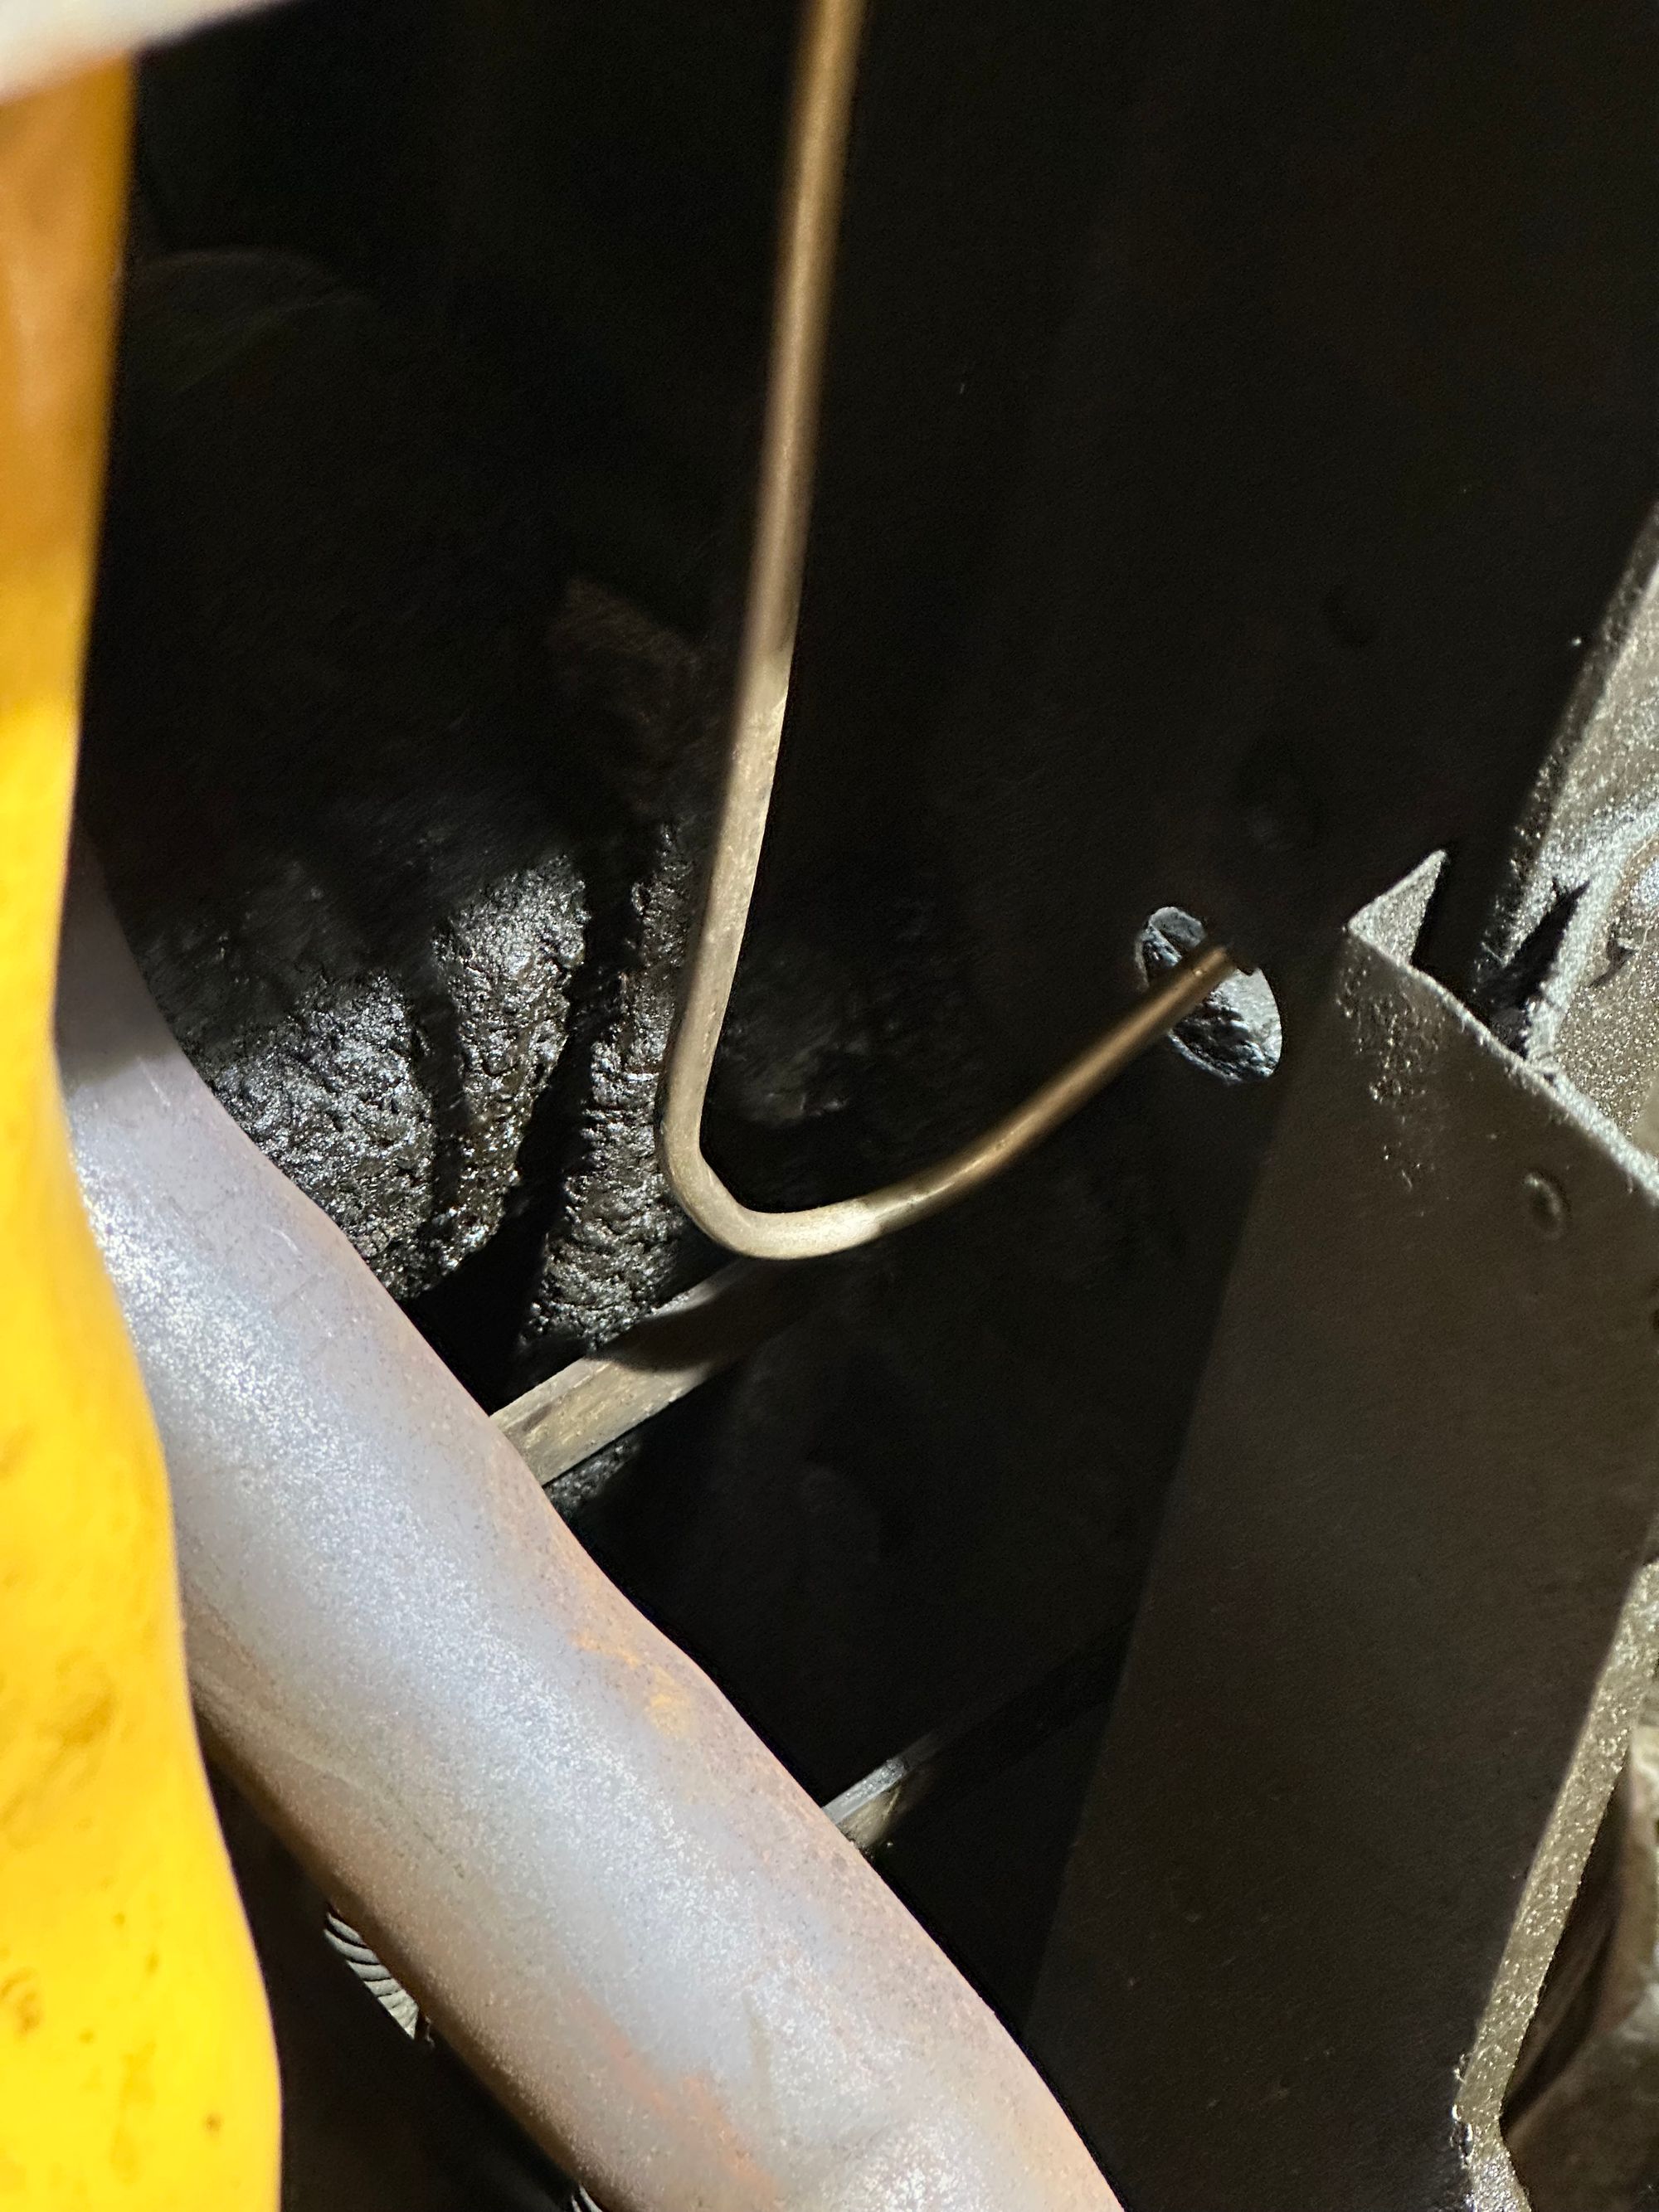
The flared ends are pretty easy. I have a double flare tool that makes short work of this...you just have to be slow and careful....and be sure to deburr it all before flaring. The bends are easy too....but getting the exact placement, for me....required some trial and error. After a few attempts I finally had a release candidate.
Let it Bleed
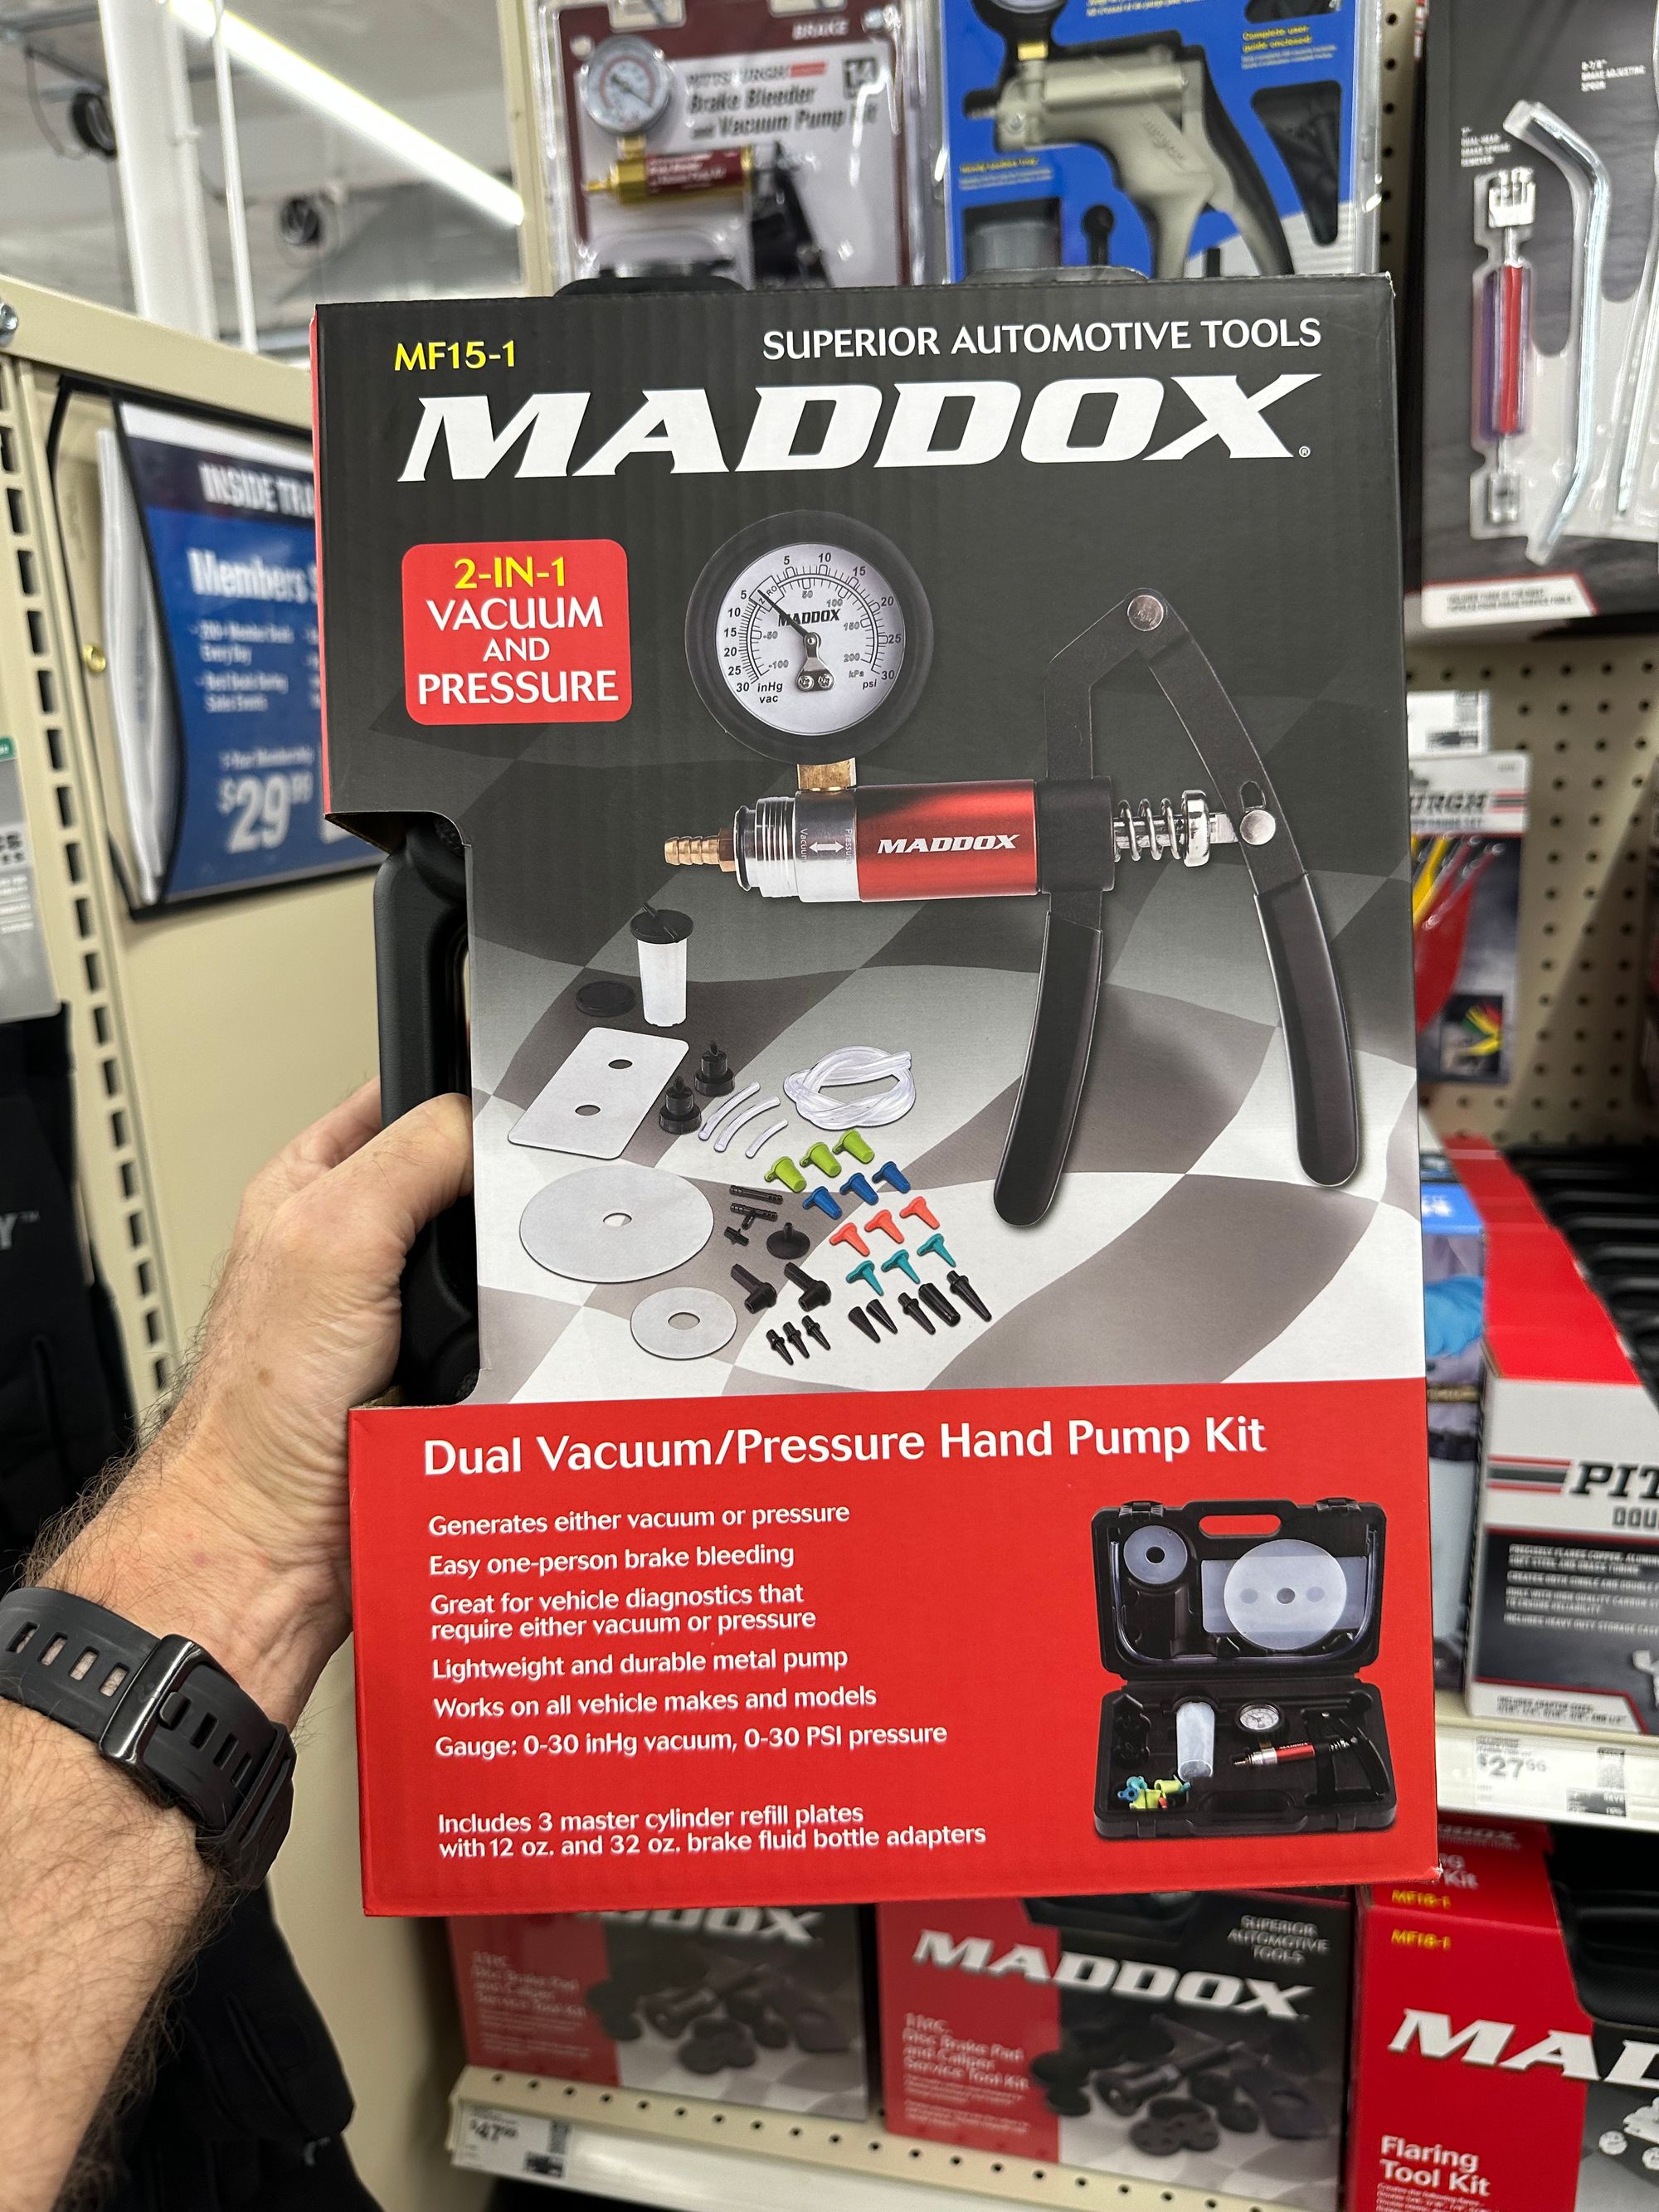
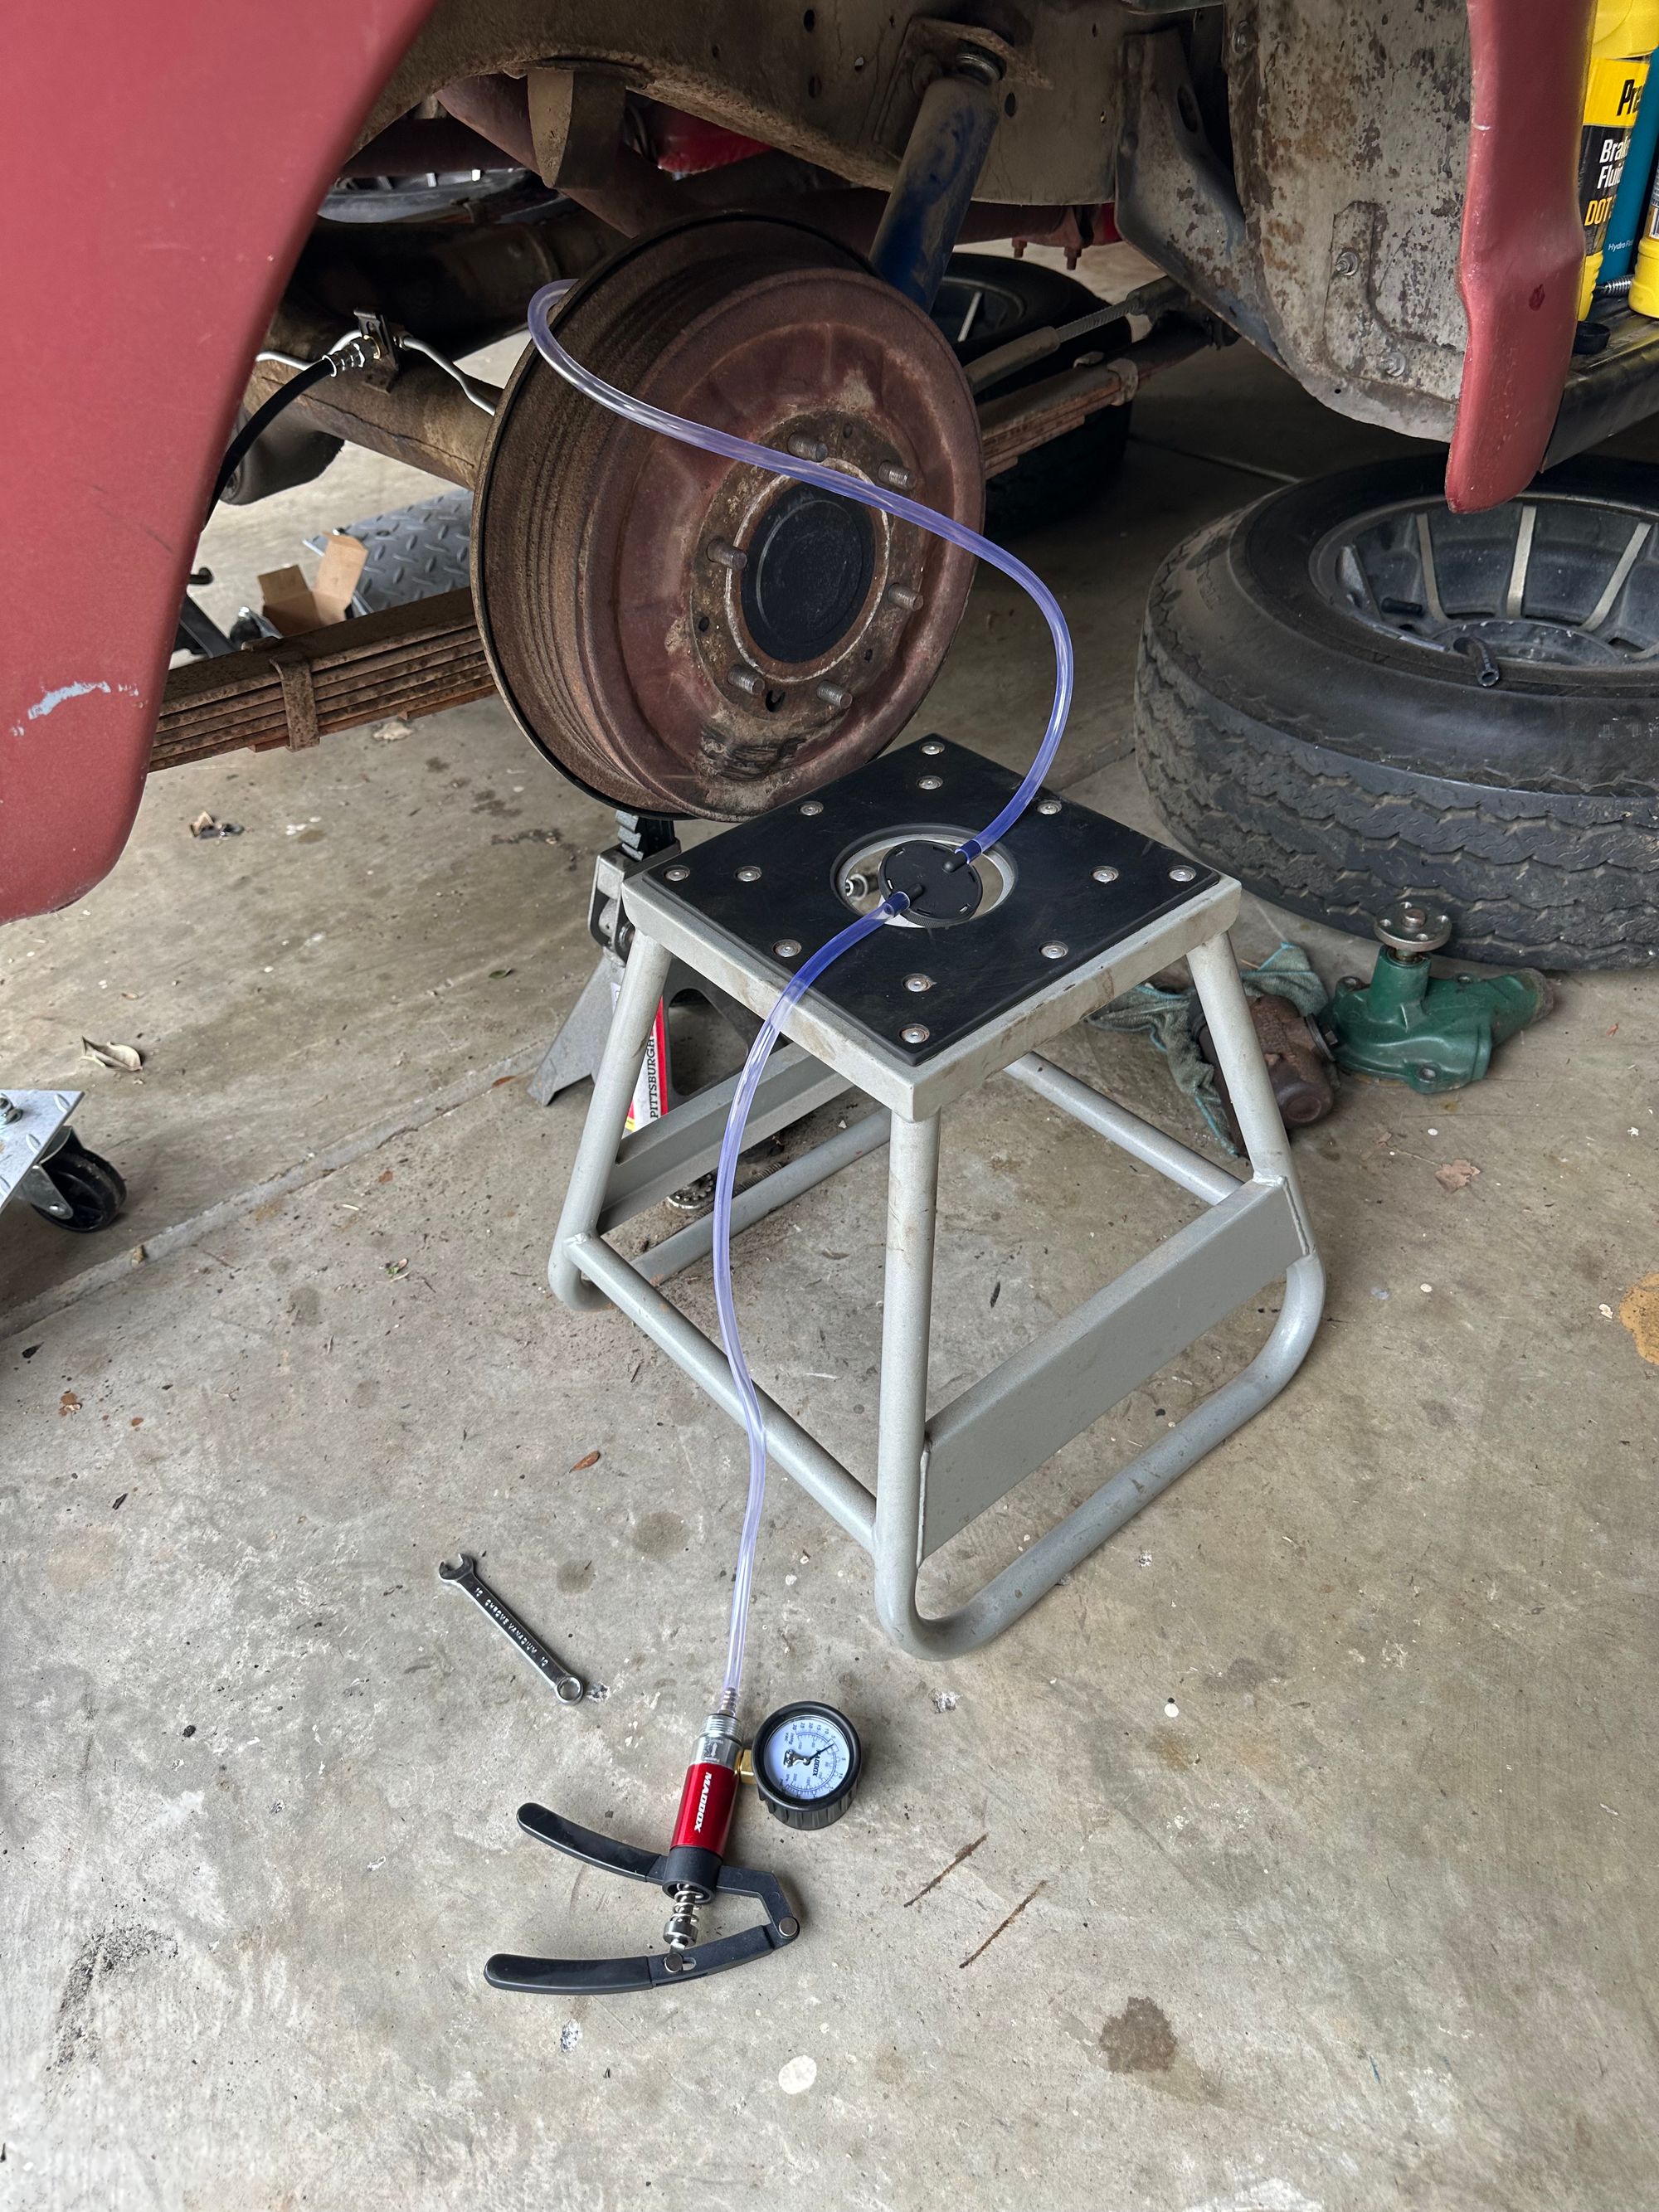
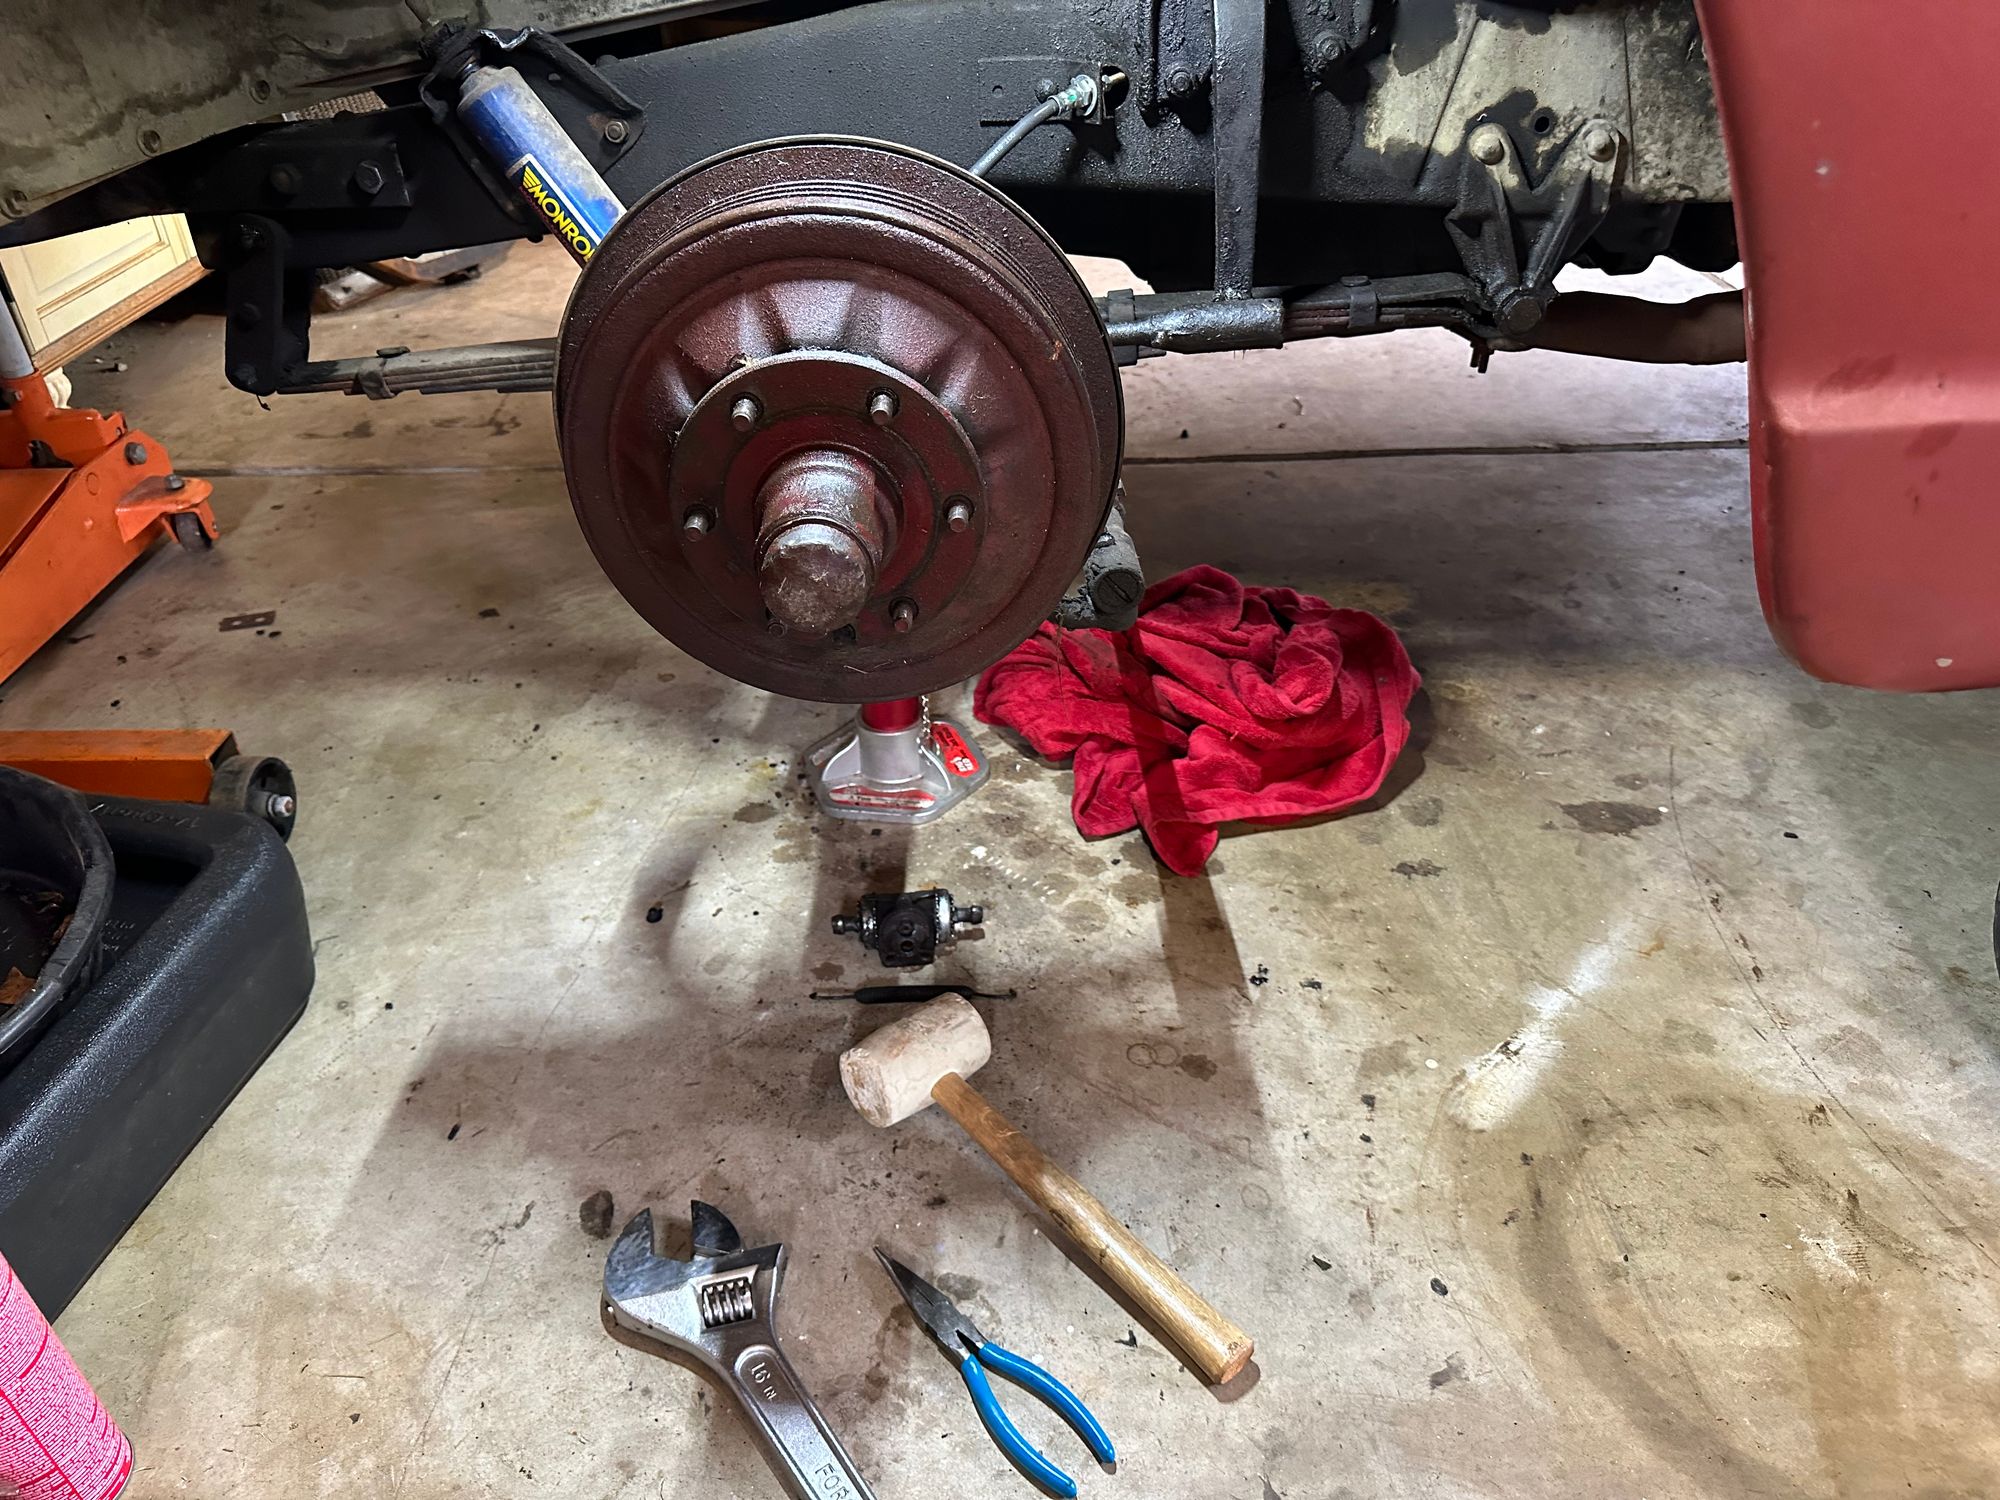
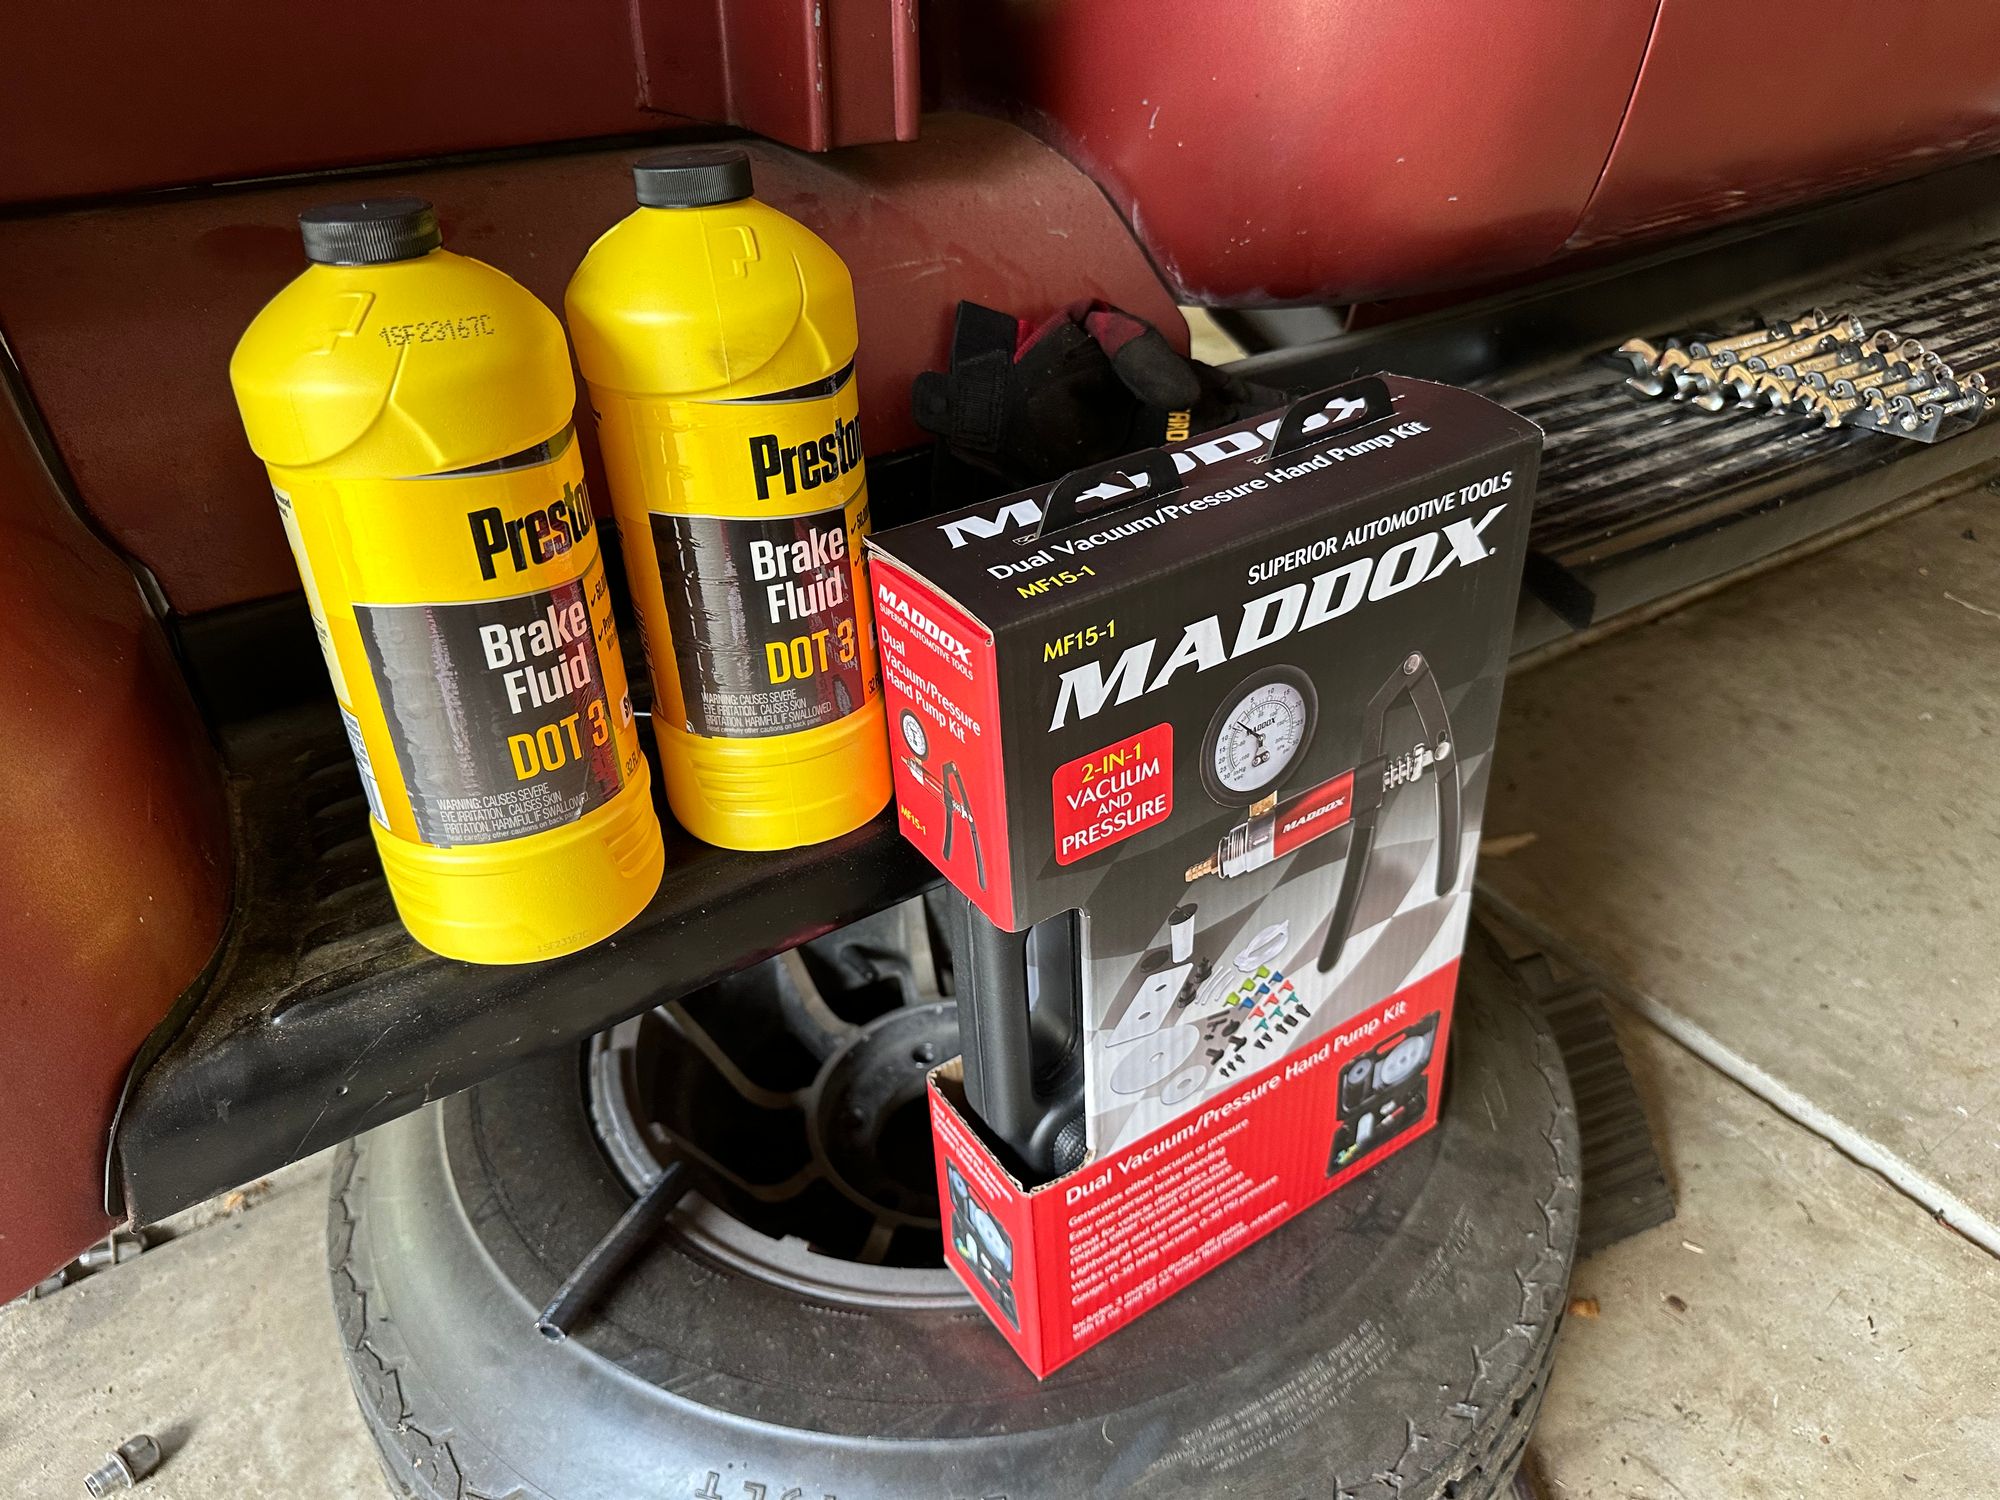
Back to Harbor Freight for a vacuum bleeding kit. This was great for getting fluid in the lines initially, but I ended up bleeding the traditional way with the Craftmaster in the cab on pedal duty to finish this. I just couldn't get enough pressure doing it the vacuum way despite the fact that there were no visible bubbles.
Testing and First Drive
We live on a fairly significant hill, so there is no way I am running this truck down the driveway (probably a 7-10% grade) after major work on the brakes on a vehicle that hasn't been driven in 30+ years. I did some back and forth testing in the garage, moving the truck in and out with strategically placed chocks in case something went wrong. After a few iterations of this, I was ready to for a little test drive in the backyard.
There is an Instagram reel of this here if you'd like to check it out.
https://www.instagram.com/p/CuS8ANJJi5N/
On to the next Boss!
